18
Getting Started
Charging the battery
Before using the camera for the rst time, charge the lithium-ion battery. Place the battery into the includ-
ed quick charger, and plug the charger into a standard 110- or 220-volt, 50-60 Hz electrical outlet. When
taking the battery out of the box, it may be partially charged; a fully discharged battery may take four
hours or more to charge completely.
During charging, the LED on the charger will illuminate. When charging is complete, the LED will turn off.
A blinking LED indicates a power or connection problem, such as the battery not being inserted properly.
Inserting the charged battery
The battery compartment is on the underside of the camera. Hold the camera upside down and slide the
thumb-latch to one side to open the door. Insert the charged battery, hold the door fully closed, and slide
the latch back to the locked position.
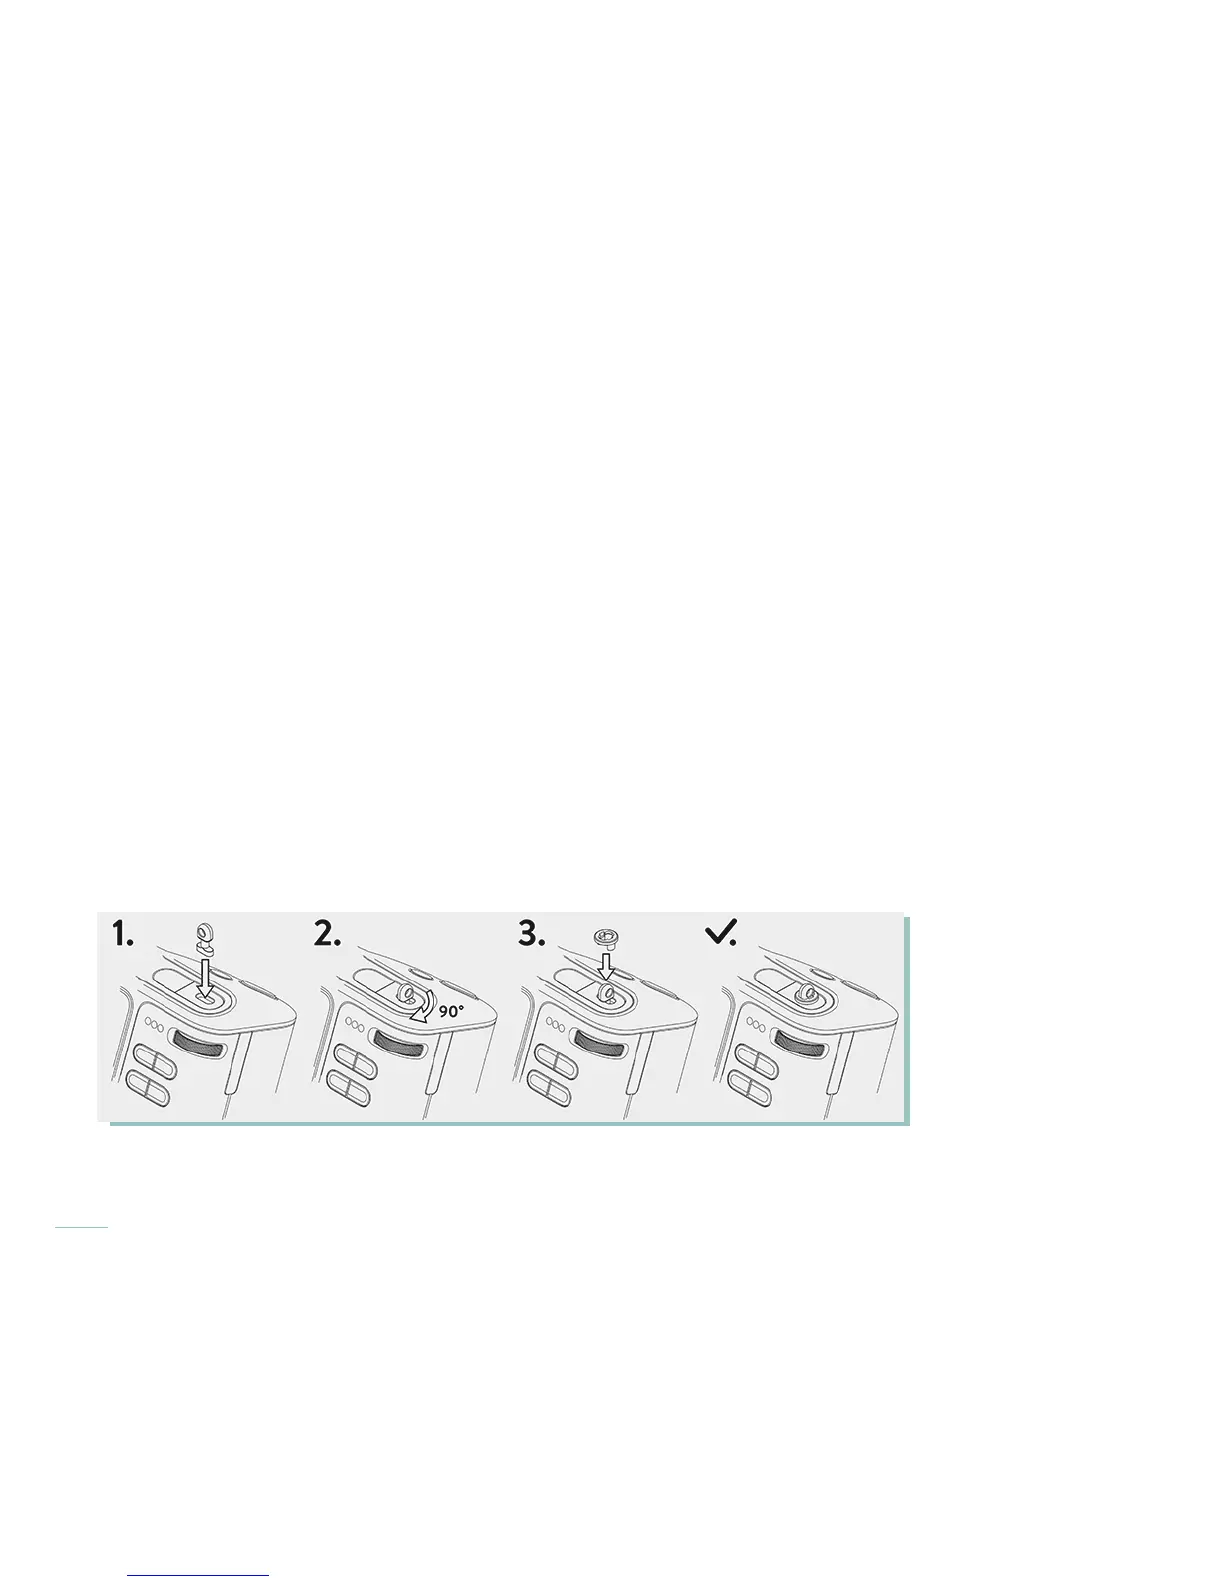
Inserting the strap rings
To prepare camera for use with a strap, install the included strap anchors. Insert an anchor into the strap
point on the top of the camera beside the power button. Turn it 90 degrees to position it. Then place one
of the included collars over the strap anchor and press down until it snaps into place. Repeat these steps
for the strap point on the side of the camera, below the port cover.
Once strap anchors are installed, attach the strap using the split-rings.