PREVENTATIVE MAINTENANCE 5540F/YB5515 SERVICE MANUAL
5-12 Published 10-21-2010, Control# 198-04
Remove the Element
NOTE: Service the air cleaner only with the engine shut
down. Dirt and debris can enter the engine and
cause damage if the engine is operated with the air
cleaner element removed.
1. Remove the housing cover.
2. Remove the wing nut securing the air cleaner element to
the air housing. Remove the element as gently as
possible until you get it outside of housing. Accidently
bumping it while it is still inside the housing means
dropped dirt and dust that may contaminate the clean
side of the air cleaner housing, before the new or
cleaned filter element has a chance to do its job.
3. Remove the wing nut securing the safety element to the
air housing. Remove the safety element.
4. Clean the inside of the housing carefully. Any dirt left
inside the housing could cause damage to the engine.
Use a clean, water-dampened cloth to wipe every
surface clean. Check it visually to make sure it is clean
before installing a cleaned or new element.
5. Always clean the gasket sealing surfaces of the housing.
An improper gasket seal is one of the most common
causes of engine contamination. Make sure that all
hardened ridges are completely removed, both on the
bottom and top of the housing.
Inspect the Element
1. Don’t be fooled by the appearance of the element, it
should look dirty.
2. Check the element for uneven dirt patterns. The dirty
element is a valuable clue to dust leakage of gasket
sealing problems. A dust trail or pattern on the element
clean side is a sign that the element was not firmly
sealed or that a dust leak exists. Make sure the cause of
the leak is identified and rectified before replacing the
element.
Clean the Element
NOTE: To prevent personal injury, always wear safety
glasses when using compressed air.
NOTE: Air cleaner elements must be replaced after six
cleanings, every three months or after every 500
hours of operation, whichever occurs first.
1. Clean the filter element with compressed air. Use
compressed air with 30 psi (205 Nm) maximum pressure
at the nozzle.
2. Direct the air inside the element and then move the
nozzle up and down while rotating the element.
Install the Element
1. Install the safety element over the stud in the housing
and slide it all the way in.
2. Install and tighten the wing nut. Hand tighten it only.
Install the element over the stud in the housing and slide
it all the way in.
3. Make sure the gasket is seating evenly. If you don’t feel
the gasket is seating evenly for a perfect seal, you won’t
have protection. Recheck to see if the sealing surface in
the housing is clean, or if the element is the right model
number. If may be too short for the housing. Install and
tighten the wing nut. Hand tighten only.
4. Install the air cleaner housing cover and the wing nut.
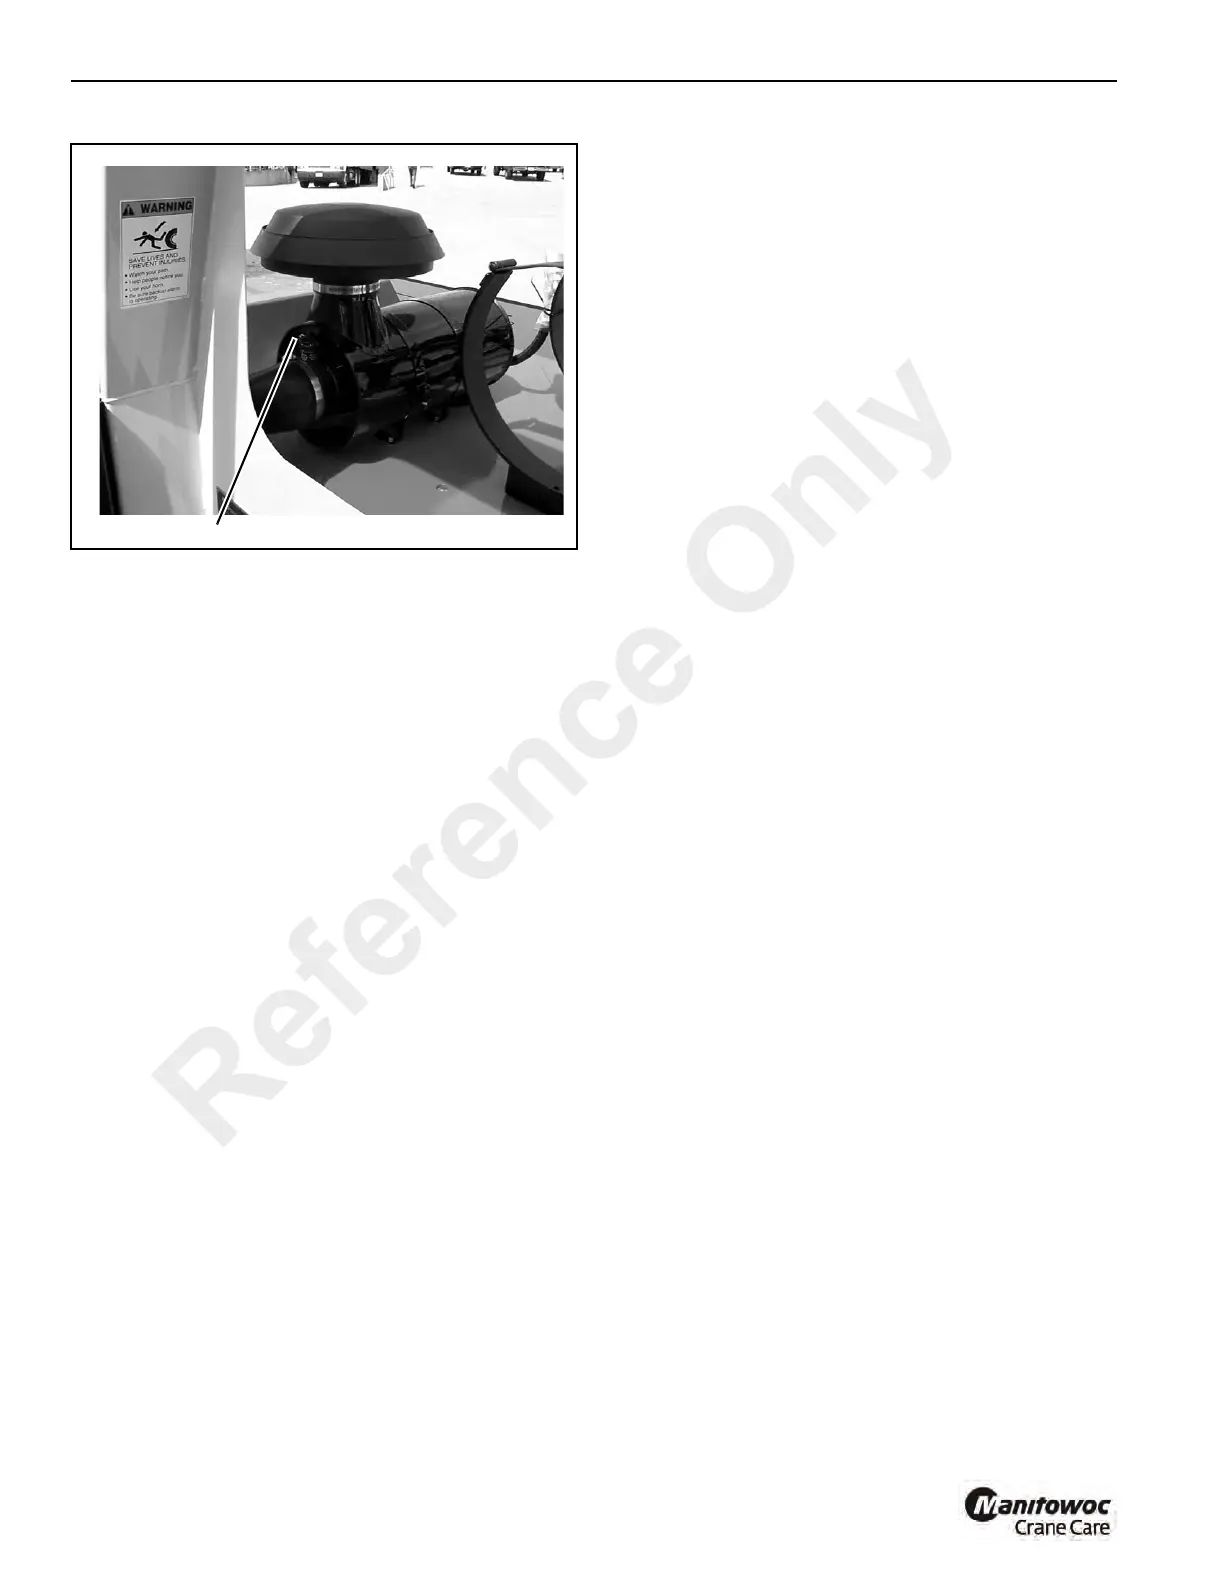
5. Reset the air cleaner restriction indicator by pushing in
the reset button (Figure 5-33).
6. If a cleaned air cleaner element was installed, start the
engine and run at high idle. If the air cleaner restriction
indicator’s colored piston pops out and is visible again,
shut down the engine and replace the air cleaner
element with a new element.
Check Tire Pressure
Check the air pressure in the crane’s four tires. Correct
pressure is 120 psi (828 kPa).
Also, check for broken studs, rim damage, loose nuts, cracks
and other tire damage.
p0409
Air Cleaner Restriction Indicator
FIGURE 5-21
Reference Only
 Loading...


