24
Your McIntosh MHT200 has been factory configured for
default operating settings that will allow immediate enjoy-
ment of superb video and high fidelity audio without the
need for further adjustments.
If you wish to make changes to the factory default set-
tings (refer to the adjacent page), a System Setup Feature is
provided to customize the operating settings using On
Screen Menus.
Notes:
1. To use the On-Screen Setup Menu feature, the MHT200
MON ZONE A Video Outputs (S-Video or Composite)
must be connected to the video input of a Monitor/TV.
2. There is no On-Screen Information present at the
MHT200 Component Video Output.
3. Any adjustments made to the SPEAKER settings must be
performed in the correct sequence, since they are
interactive.
4. Follow the sequence listed in the MAIN SYSTEM
SETUP MENU for these adjustments.
1. Press the POWER switch to ON, the Red LED above
the STANDBY/ON Push-button lights to indicate the
MHT200 is in Standby mode. To Turn On the MHT200
press the STANDBY/ON Push-button. The title
MHT200 will appear on the Front Panel Alphanumeric
Display for approximately two seconds after Turn-On,
with the Loudspeakers muted. Refer to figures 7, 8 &
9.
Note: For normal operation, turn the MHT200 On and Off
with the Standby/On Push-button. You may also
Switch On the MHT200 by simply pressing the Power
Push-button on the Remote Control. If the A/V System
Controller is not going to be used for an extended
period of time, turn Off all AC Power with the Power
Switch.
2. Press and hold the MHT200 Front Panel SETUP Push-
button for approximately
three seconds to enter
the Setup Mode. The
word SETUP will ap-
pear on the Front Panel
Alphanumeric Display
and the MAIN SYSTEM
SETUP Menu will ap-
pear on the Monitor/TV
Screen. Refer to figures
10, 11 & 12.
3. Access the desired
Setup Menu by pressing
the Up or Down
directional push-buttons
followed by the SE-
LECT Push-button on
the supplied Remote
Control. The desired
Setup Menu will then
appear on the Monitor/
TV Screen. Use the
Up or Down direc-
tional push-buttons to
select the menu item and
press the Left or
Right directional
push-buttons to change
the current setting. Refer
to figure 9.
Note: The LEVEL Up
and Down Push-
buttons are used for
Speaker Level
Adjustments.
4. After all adjust-
ments are complete,
select EXIT by
pressing the Up
or Down direc-
tional push-buttons
on the remote con-
trol. Return to the
MAIN SYSTEM SETUP Menu by pressing the SE-
LECT Push-button.
How to Operate the Setup Mode
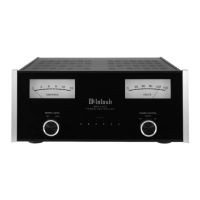
Figure 7
Figure 8
Figure 10
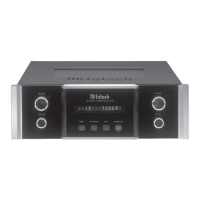
Figure 11
Figure 9
www.eskonline.nl
 Loading...