30
Figure 20
settings on the SPEAKER LEVEL MENU are com-
plete, select EXIT on the menu. The SPEAKER
SETUP Menu will reappear on the Monitor/TV screen.
10. Continue next to the SPEAKER TIME DELAY SET-
TINGS. If you do not wish to perform SPEAKER
TIME DELAY SETTINGS adjustments at this time,
proceed to the next step.
11. Select EXIT from the SPEAKER SETUP Menu. The
MAIN SETUP Menu will reappear on the Monitor/TV
screen and select EXIT from the Menu. If you are sat-
isfied with the changes that you may have made, select
YES to save those changes or NO not to save them.
The MHT200 will then return to normal operation. Re-
fer to figure 13 on page 25.
Automatic Speaker Level
1. Remove the McIntosh Calibration Microphone, battery,
hook-up cable and microphone stand adapter from the
shipping carton.
2. Install the supplied AA 1.5V battery into the micro-
phone. This can be accomplished by rotating the large
cylindrical microphone body below the Power On/Off
counterclockwise. Make sure the battery is installed
into the microphone, with the battery polarity matching
the diagram located inside the battery compartment.
Note: If the microphone is not going to be used for a long
period of time, remove the battery.
3. Attach the hookup cable with connectors to the micro-
phone, making sure the cable end with the locking col-
lar attaches to the microphone. Place the microphone
into the stand adapter, with the stand adapter attached
to a suitable microphone stand.
4. Switch the Power On to the Microphone by moving the
slide switch towards the color dot.
5. Press and hold the Front Panel SETUP Push-button for
approximately three seconds. The word SETUP will
appear on the Front Panel Display and the MAIN SYS-
TEM SETUP Menu will appear on the Monitor/TV
screen. Refer to figure 12 on page 25.
5. Using the Up or Down directional push-buttons
select Speaker Setup on the On-Screen Menu, followed
by the SELECT Push-button on the Remote Control.
Refer to figure 16 on page 28.
Note: It is extremely important to have the room as quiet
as possible where the testing is occurring
(temporally switch off TVs, heating/cooling
equipment and radios, etc.) as this will yield the
most accurate results.
6. Using the Up or Down directional push-buttons
select AUTOCALIBRATE LEVELS on the On-Screen
Menu, followed by the SELECT Push-button on the
Remote Control. Refer to figure 20.
The Automatic Calibration Mode of the MHT200 will go
through many tests for each of the active Loudspeaker
Channels. The On-Screen Display will provide a status up-
date of the testing as it progresses. The On-Screen Display
will indicate when testing is complete.
7. Continue next to the SPEAKER TIME DELAY. If you
do not wish to perform TIME DELAY adjustments at
this time, proceed to the next step.
8. Select EXIT from the SPEAKER SETUP Menu. The
MAIN SETUP Menu will reappear on the Monitor/TV
screen and select EXIT from the Menu. If you are sat-
isfied with the changes that you may have made, select
YES to save those changes or NO not to save them.
The MHT200 will then return to normal operation. Re-
fer to figure 13 on page 25.
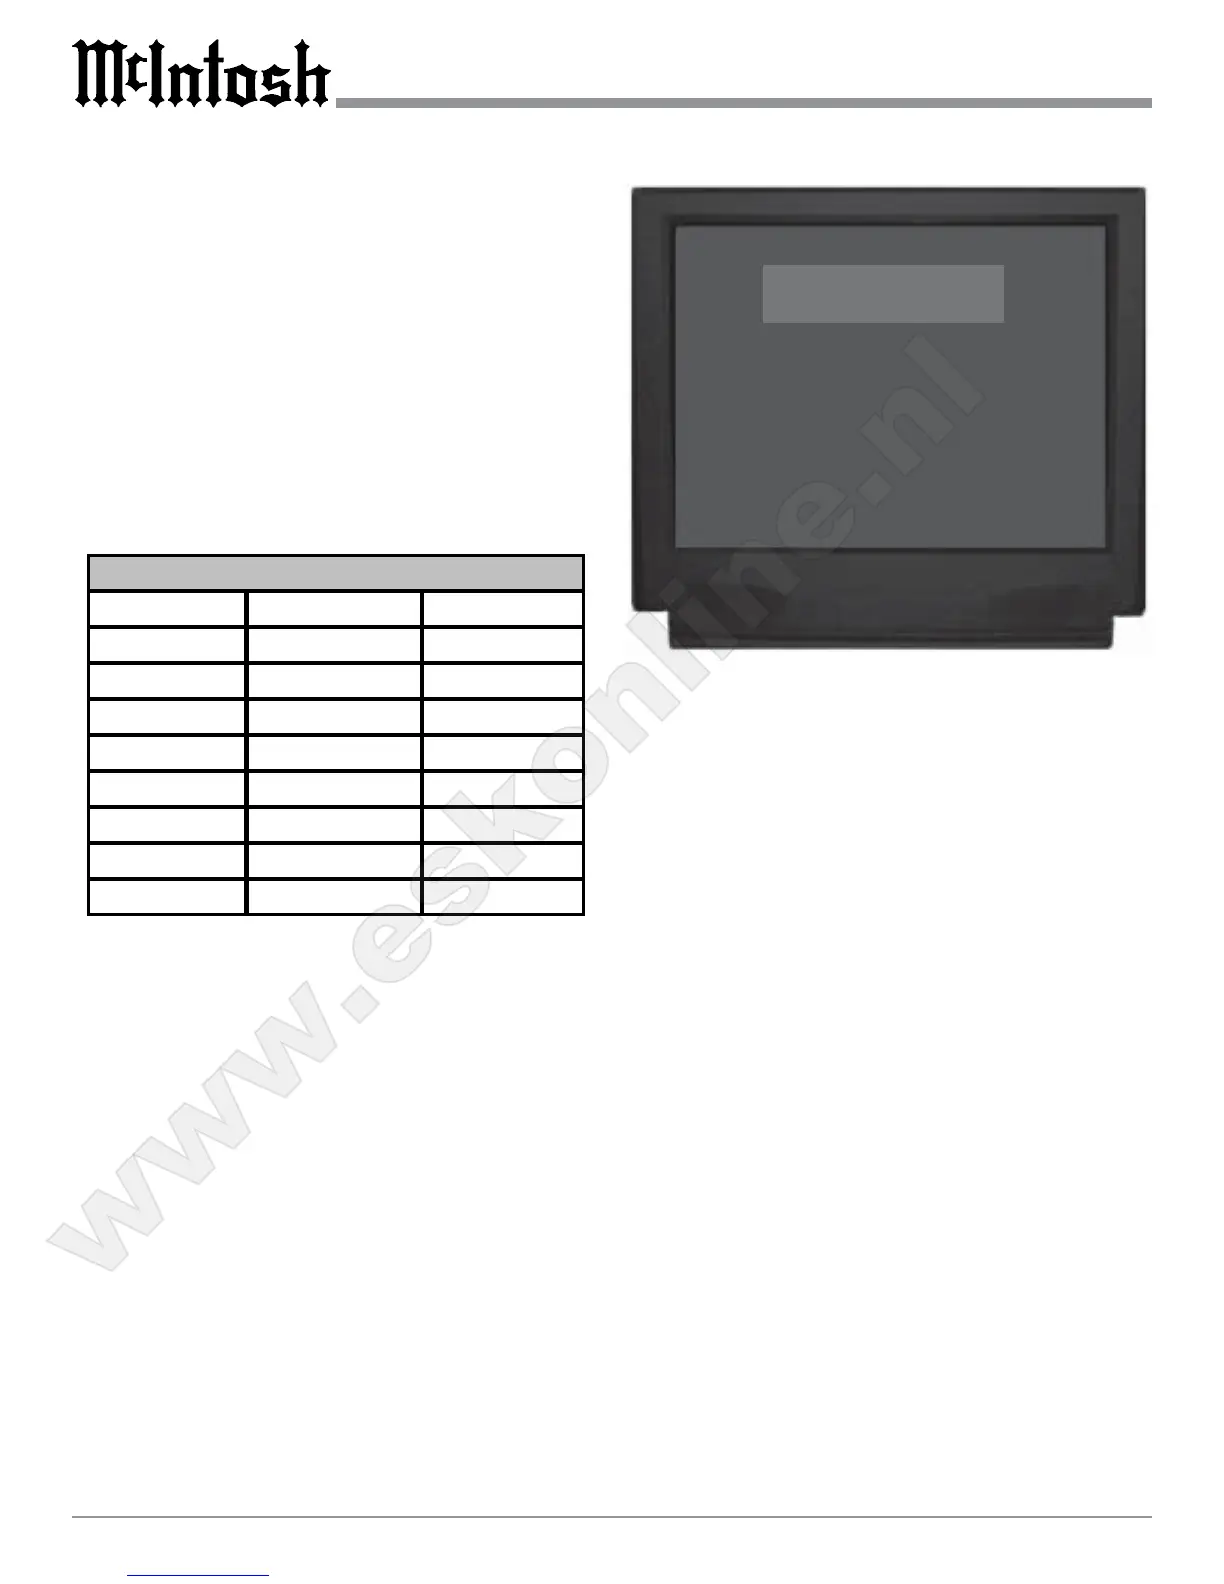
Autocalibrating
Please wait
Speaker Level.
Ref. Level : Left
Noise Level : -8.5dBr
Level setting : -1.0dB
Press MENU to
abort autocalibration
Location Default Setting New Setting
Left Front 0.0dB
Center 0.0dB
Right Front 0.0dB
Right Surround 0.0dB
Right Back 0.0dB
Left Back 0.0dB
Left Surround 0.0dB
Subwoofer 0.0dB
Loudspeaker Levels
www.eskonline.nl
 Loading...