Page 30 IM-738
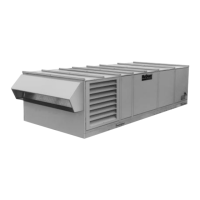
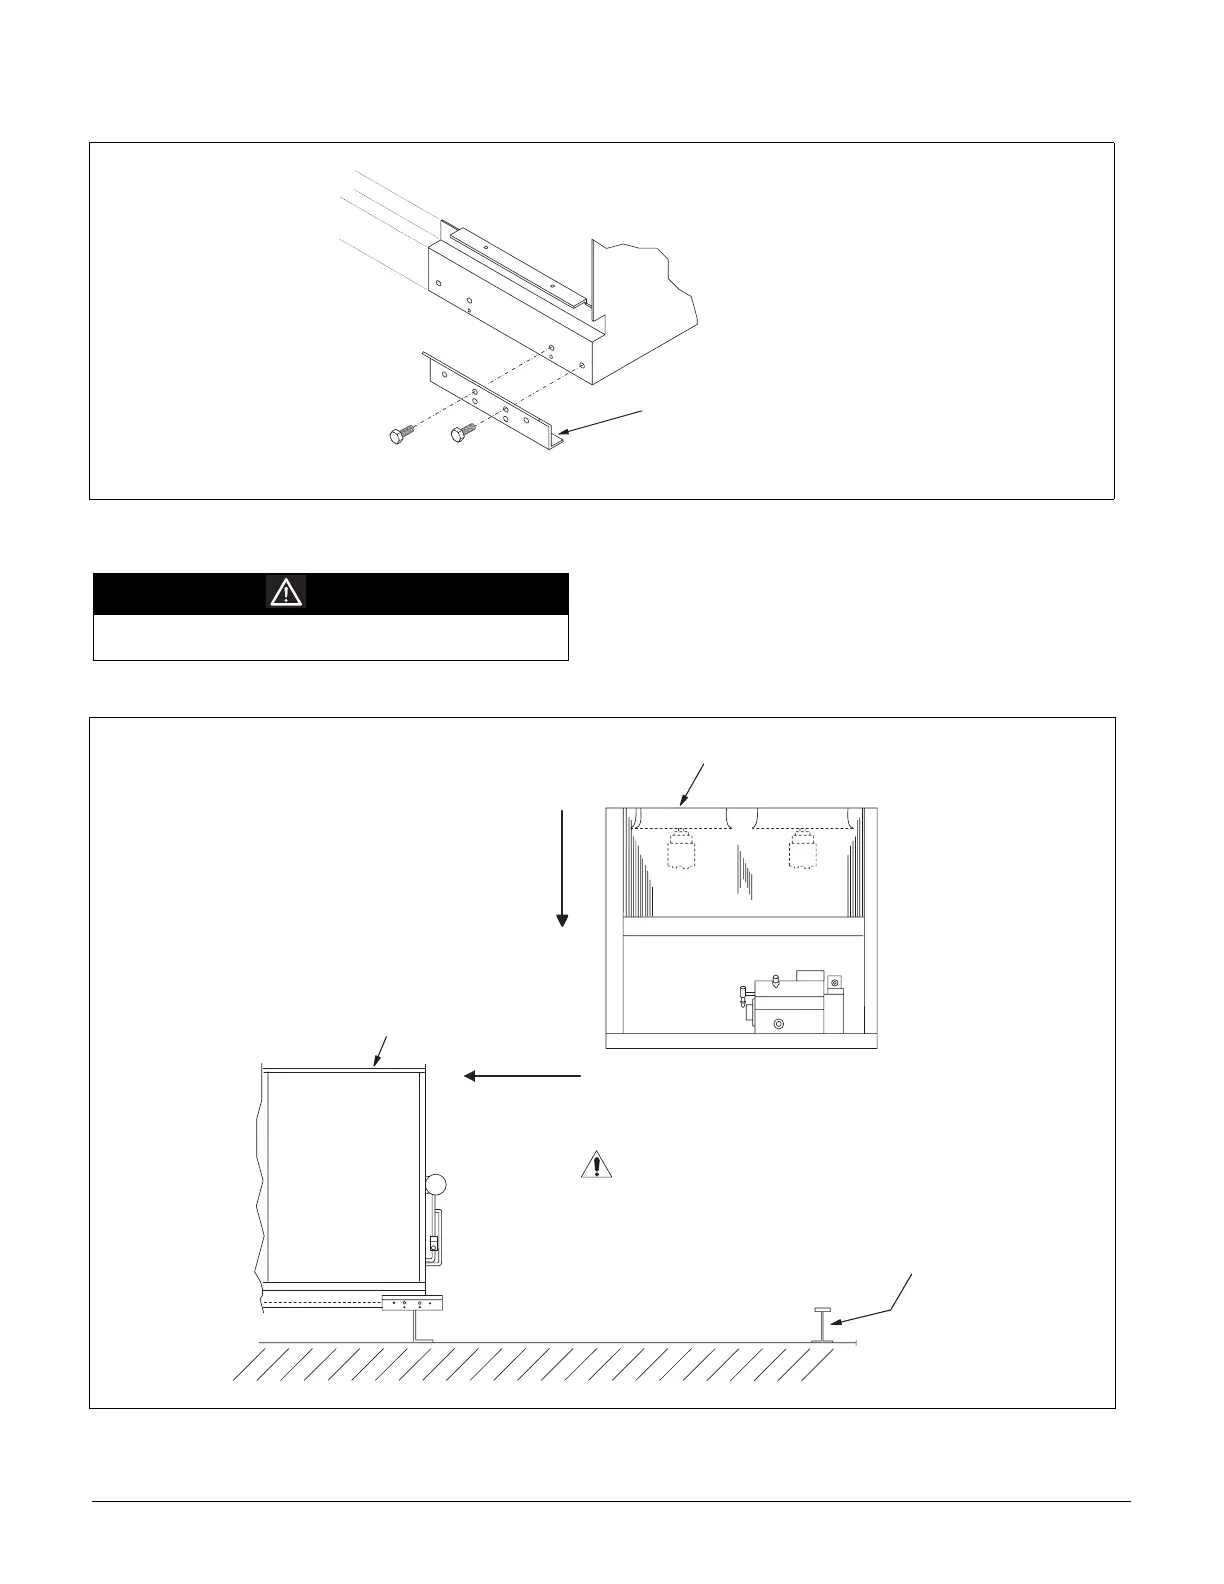
Step 2. Install condenser supports as shown in Figure 33.
Figure 33. RPS/RDT Split at Condenser Reassembly - Step 2
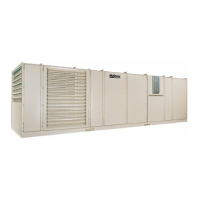
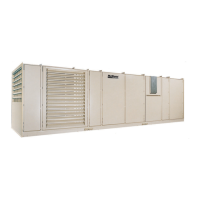
Step 3. Set the condensing unit in place as shown in Figure 34.
Figure 34. RPS Split at Condenser Reassembly - Step 3
I n s t a l l c o n d e n s e r s u p p o r t
o n m a i n u n i t a s s h o w n w i t h
b o l t s s a v e d f r o m s t e p 1 ( t y p .
b o t h s i d e s o f u n i t ) ; f i l l u n u s e d
h o l e s i n u n i t b a s e w i t h b o l t s
s a v e d f r o m S t e p 1 .
CAUTION
Do not damage piping components while setting
condensing unit in place.
F I R S T
l o w e r c o n d e n s i n g
u n i t u n t i l n e a r l y
l e v e l w i t h m a i n u n i t .
R C S U n i t
R F S U n i t
C o n d e n s e r
S u p p o r t R a i l
S E C O N D
c a r e f u l l y s h i f t c o n d e n s i n g
u n i t u n t i l i t i s r e s t i n g
a g a i n s t m a i n u n i t .
C A U T I O N :
c o n d e n s i n g u n i t
m u s t b e s u p p o r t e d b y c r a n e
d u r i n g t h i s s t e p b e c a u s e
c o n d e n s e r s u p p o r t r a i l i s
n o t d e s i g n e d t o w i t h s t a n d
t h e h e a v y l a t e r a l f o r c e s o f
a u n i t b e i n g s l i d o v e r i t .