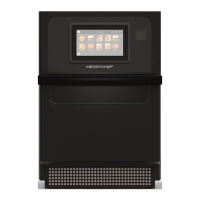
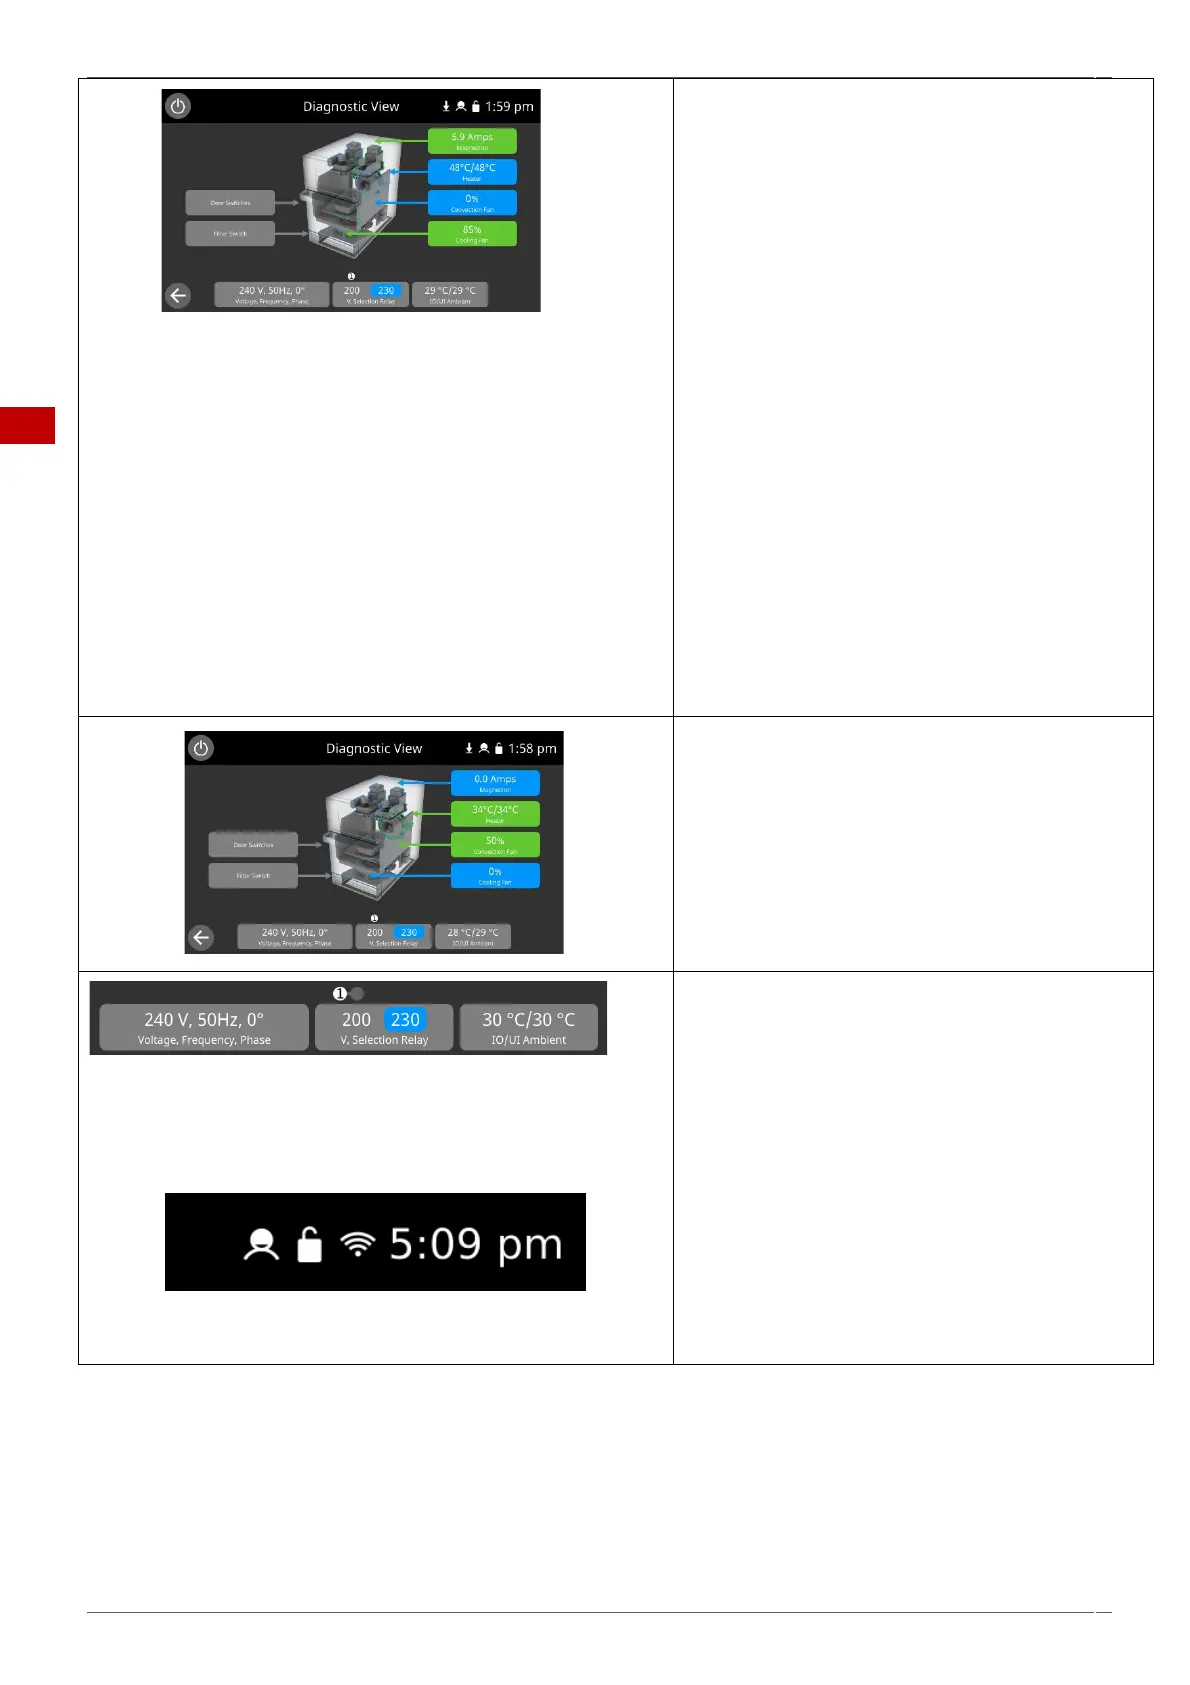
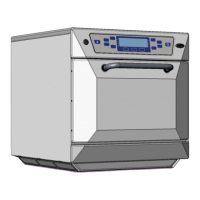
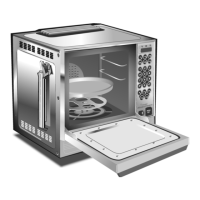
7. Place a microwave safe container of water into the
cavity and close the oven door.
Select a magnetron to test operation and display the
current draw at maximum output. This will time-out
after 30 seconds (the cooling fan will automatically run
during the test).
Individual magnetron test:
If during the magnetron test the displayed current is 0
A and the E101 error occurs, then the failure can be
found in the 230V circuit. Refer to the schematics to
find the fault for repair (IO Board, connections, HV
primary winding).
If during the magnetron test a low current draw is
seen (around 3A) and the E101 error occurs, then the
failure can be found in the high voltage circuit. Isolate
the power supply and test the high voltage
components (HV transformer, diode, capacitor,
magnetron and connections) to find the fault for
repair. Never measure the high voltage circuit live. See
"Replacing components" within section 6 of this
manual.
Note: The operating magnetron will be displayed
green.
8. Select the heater. The heating element runs for 5
minutes. Selecting the heater again will turn it off. The
convection fan automatically runs at 50% by default
(the fan speed can be manually altered up to 100%).
Check the cavity temperatures are correct. Both
displayed temperatures (thermocouple reading &
calculated cavity temperature) should be similar.
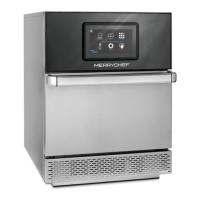
9. Further diagnostic information can be found below
the oven picture:
▪ Mains supply Voltage & Frequency.
▪ The IO voltage selection for the HV
transformer. The selection is highlighted in
blue.
▪ The ambient air temperature around the IO
& UI boards.
Information at the top of the screen indicates:
▪ Demo mode (if selected)
▪ Mode of operation
▪ Cooking programs (changes) locked or
unlocked.
▪ Wi-Fi connectivity (displayed red when
unable to connect)
▪ Current time