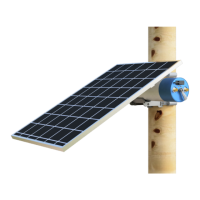
i. Install the second solar panel in your desired location with a
second mount. Refer to section 8 - Installing the Solar Panel .
It should be on the same pole as the node and the same
orientation as the other panel, ensuring the panels’ shadows
do not cover each other at any point throughout the day.
ii. If both SAE connectors are to be used together, solar panels
of the exact same attributes must be used on both ports,
because the ports are regulated together.
iii. Connect the SAE cable into the second port available on
either end of the node. These are electrically connected in
parallel, meaning that both will work simultaneously.
c. Power over Ethernet (PoE)
Depending on the configuration you purchased, your node
could be powered via PoE Power Sourcing Equipment (PSE), or
could deliver power to a capable PoE Powered Device (PD) via
active or passive PoE internally through an injector. In all cases,
the device to either source or accept PoE is connected through
the USB Hub just as any other ethernet device would be.
i. PoE PD power module: If you purchased a node with a PoE
PD power module, your node can accept 802.3af/at power
over ethernet at up to 13W. This mode can be used to keep
battery level stable but will take up to a week to fully charge.
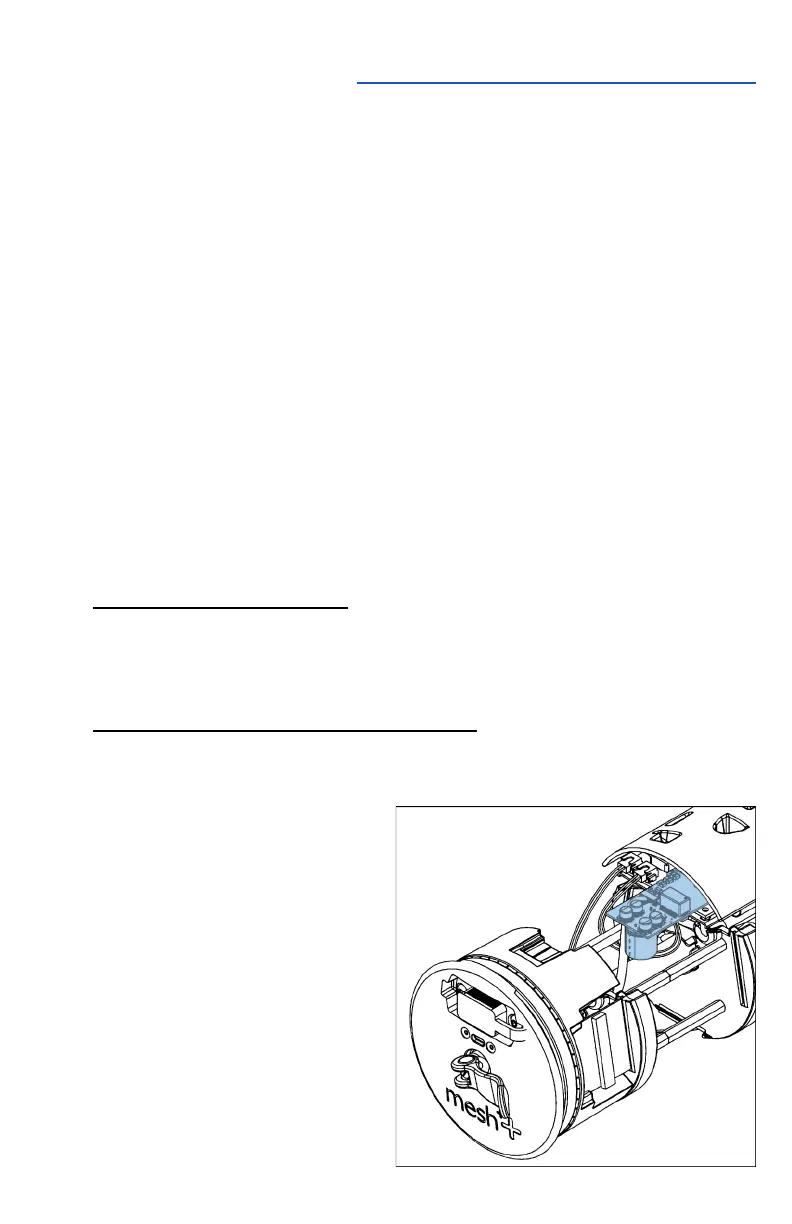
ii. Active PoE injector (802.3af/at PSE)
If you purchased a node with an active PoE injector, your
node has the capability to power external accessories via
802.3- af/at up to a peak
of 30W. Note that an
average power draw
greater than 5W without
supplemental solar
panels or batteries will
increase the potential for
downtime, since the
batteries will be depleted
more quickly. Active PoE
modules need to be
activated in the cloud