Cutting out Data with Register Marks
4-21
4
Extended Functions – Cutting –
Adjust the Sensitivity (Light Intensity) of the Mark Sensor LED (Automatically)
If an error occurs frequently in register mark detection, a possible cause is an improper sensitivity of the mark
sensor LED. In this case, adjust the sensitivity (light intensity) of the mark sensor LED.
1
Make sure that the machine is in cutting mode.
• If the machine is in printer mode, press the key to
switch the mode to cutting mode.
2
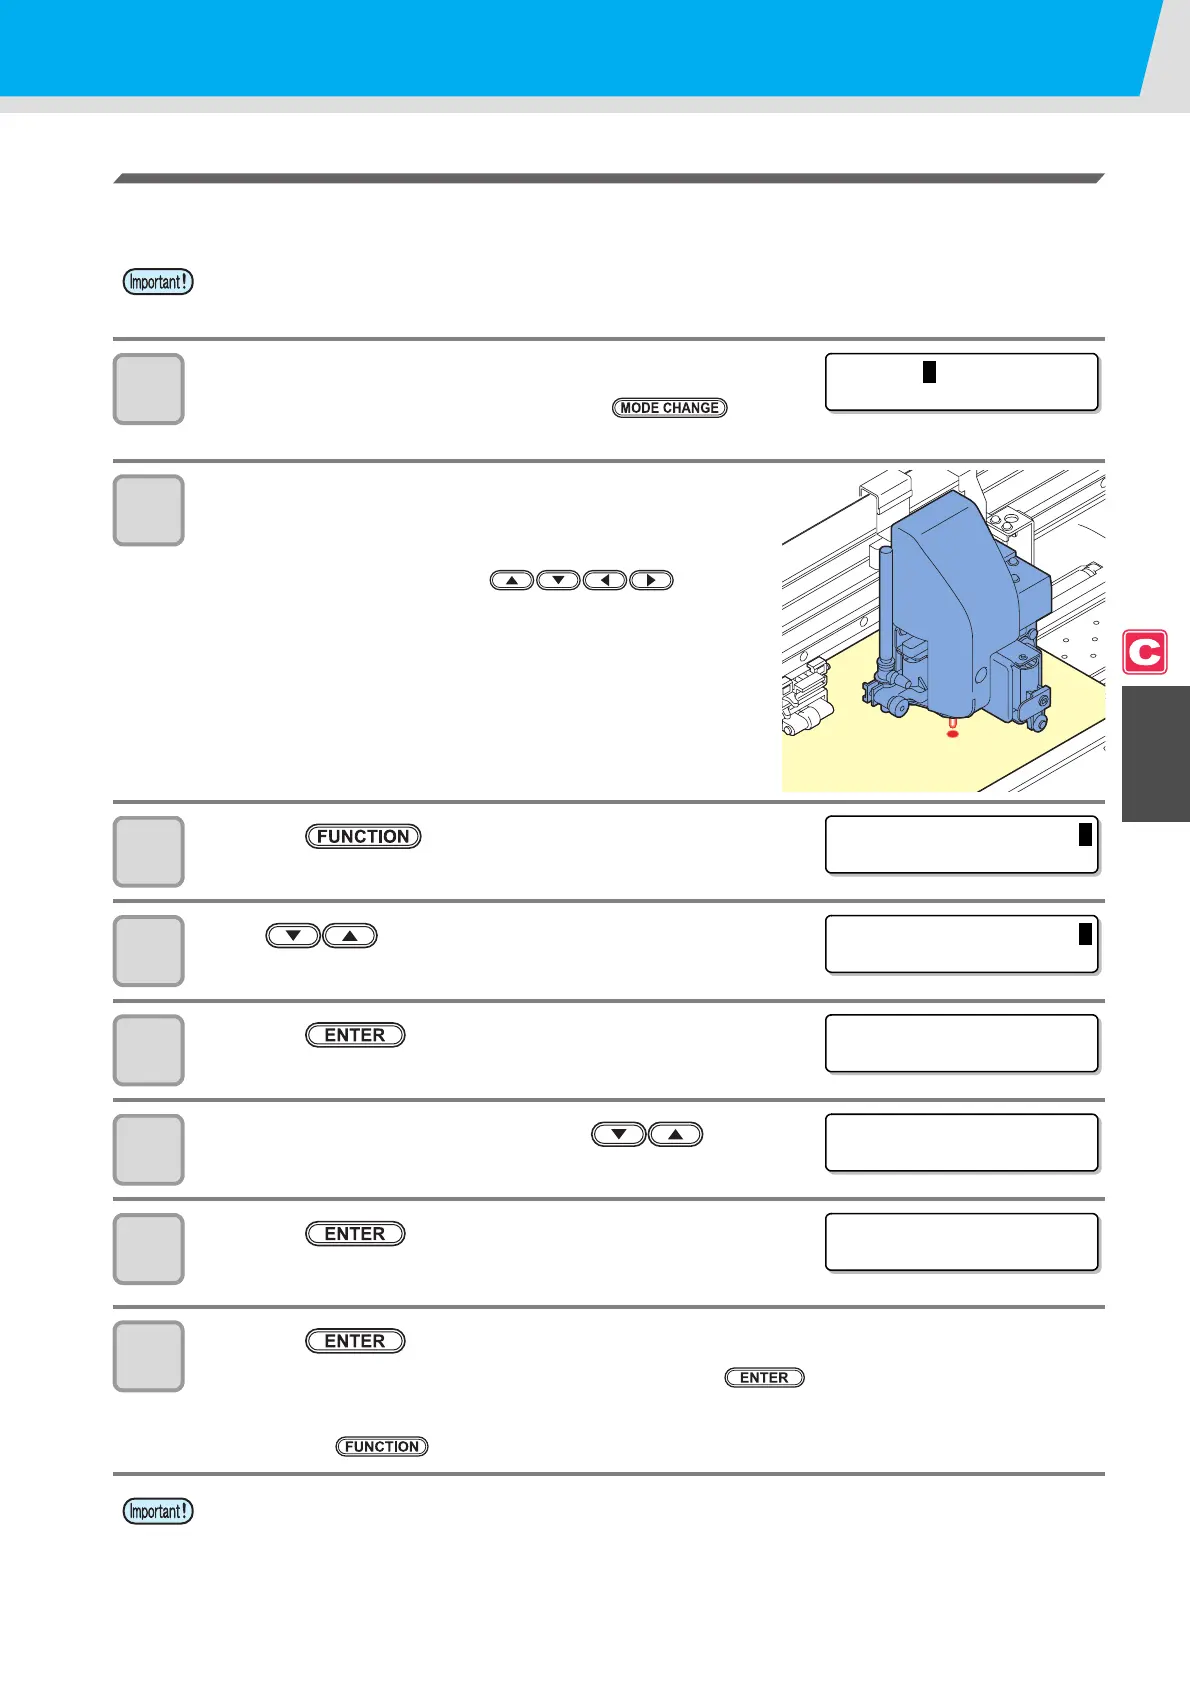
Confirm that the mark sensor is located just above a
plain area (non-printed area) of the medium.
• If the mark sensor is not located just above a plain area,
correct the location by pressing .
3
Press the key.
4
Press to select [MAINTENANCE].
5
Press the key twice.
6
Select [LEVEL ADJUST] by pressing .
7
Press the key.
8
Press the key after the number displayed on the screen is stabilized.
• If all digits of the number cannot be stabilized, press the key when the leftmost digit of the
number is fixed.
• The adjusted value is registered and the machine returns to LOCAL.
• Pressing the key enables you to move the cutter unit manually.
• Make sure that the medium is clean and white, and locate the medium directly under the sensor.
• The value registered in [LEVEL ADJUST] will not be initialized even if the procedure described in P. 4-
37 "Initializing the Settings" is performed.
<LOCAL .
C
> [ #01 ]
CUT 1 ( 3 0 / 6 0 / 0 . 3 0 )
FUNCT I ON
C
SETUP <ENT>
FUNCT I ON
C
MA I N T ENANCE < EN T >
MARK S ENSOR
SENSOR CHECK <e n t >
MARK S ENSOR
LEVEL ADJUST <en t >
LEVEL ADJUST
OUT: **** IN: ****

 Loading...


