4-33
Cutting out Data without Register Marks
4
Extended Functions – Cutting –
4
Press the key.
5
Press to select one from the tool conditions (CUT1 to CUT3, PEN, and
HALF) and press the key.
6
Press to select [P/C ADJUST] .
7
Press the key twice.
8
Press to select 540dpi or 720dpi,
and press the key.
• Select one depending on the resolution you want to print with after adjustment.
• Press to change the print start position (print origin).
• Press to go to Step 10.
9
Press the key to print & cut the adjustment
pattern.
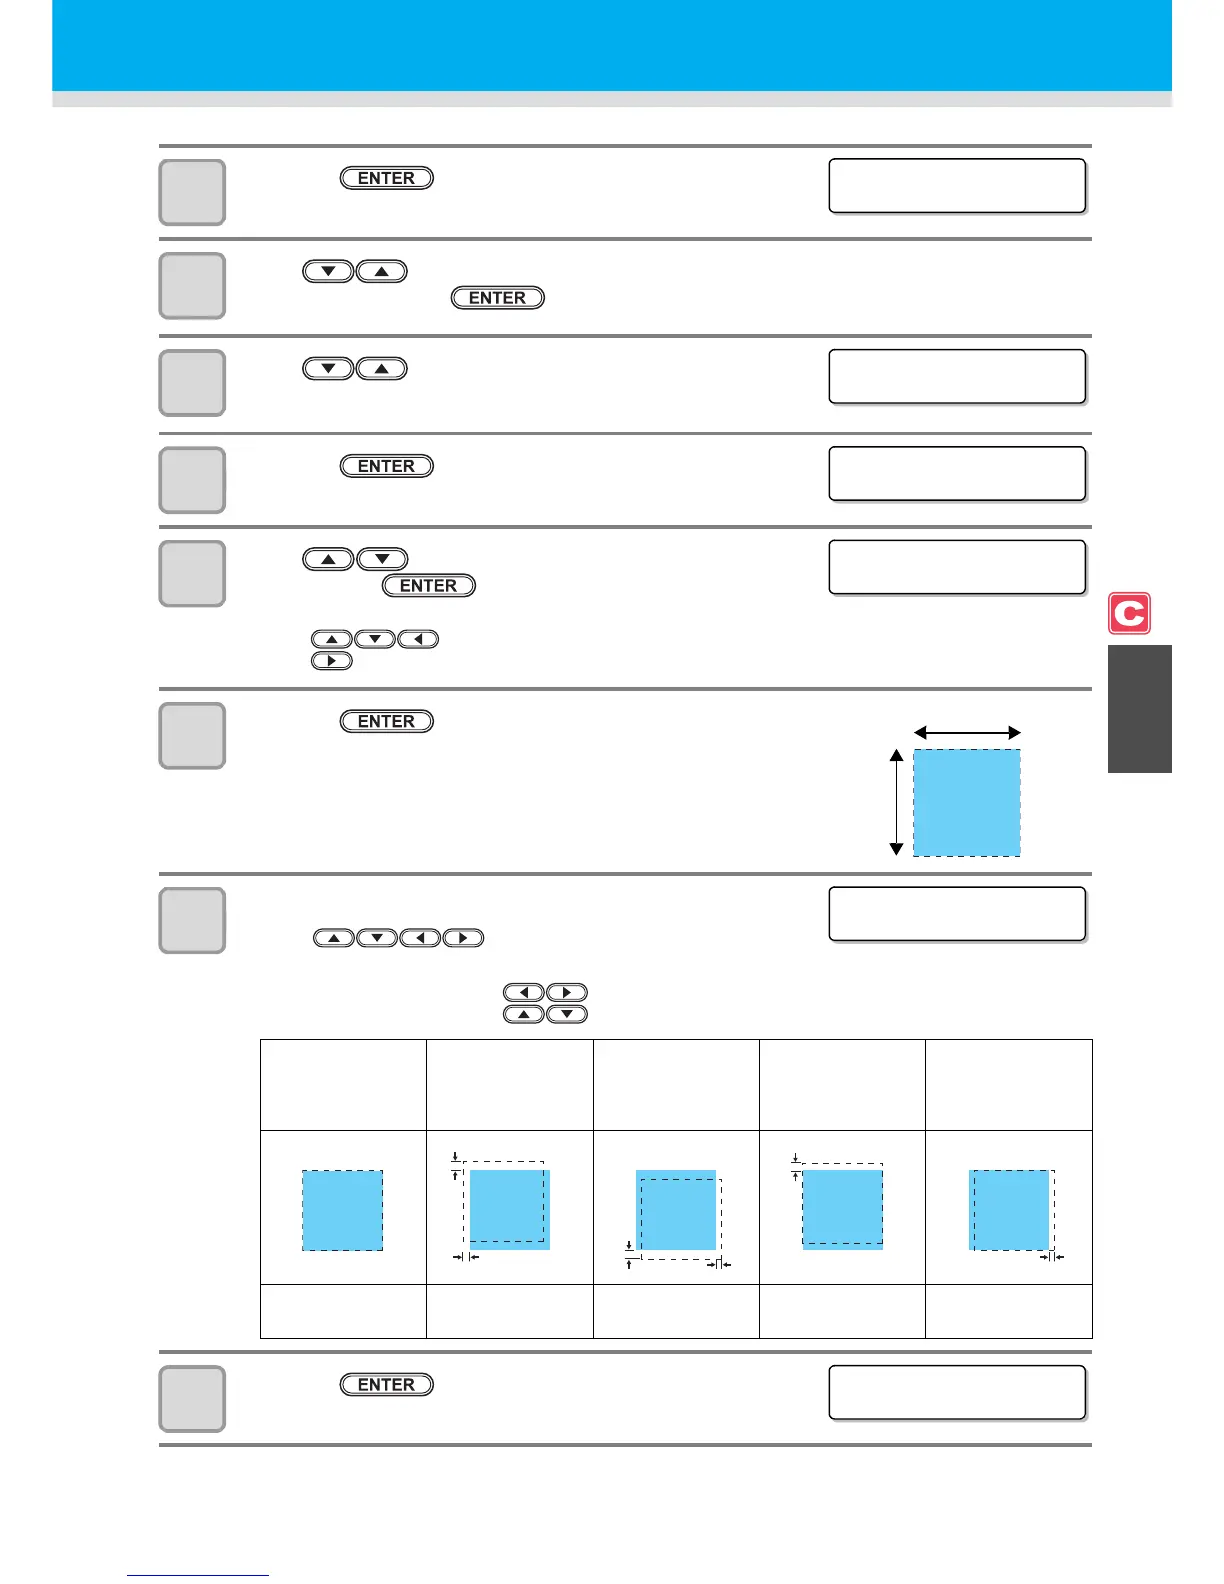
• The adjustment pattern shown on the right is printed & cut.
• A blue part shows the pattern, and a dotted line part shows the
cutting line.
10
Remove the cut pattern, and adjust the misalignment.
• Press to enter an offset value of the cutting
line. (approximately 0.05mm per 1 step)
Select X/Y direction : Press .
Enter an offset value : Press .
11
Press the key.
• Perform the steps from Step 9 again, and repeat until they align.
The cutting line fits
the pattern.
The cutting line is
misaligned 0.5mm
leftward, and
0.6mm upward.
The cutting line is
misaligned 0.4mm
rightward, and
0.7mm downward.
The cutting line is
misaligned 0.3mm
upward.
The cutting line is
misaligned 0.2mm
rightward.
Y=0, X=0
Y=-10 (0.05x10)
X=-12 (0.05x12)
Y=+ 8 (0.05x8)
X=+14 (0.05x14)
Y= 0 (0.05x0)
X=-6 (0.05x6)
Y=+4 (0.05x4)
X= 0 (0.05x0)

 Loading...


