System Diagnosis and Support 11-13
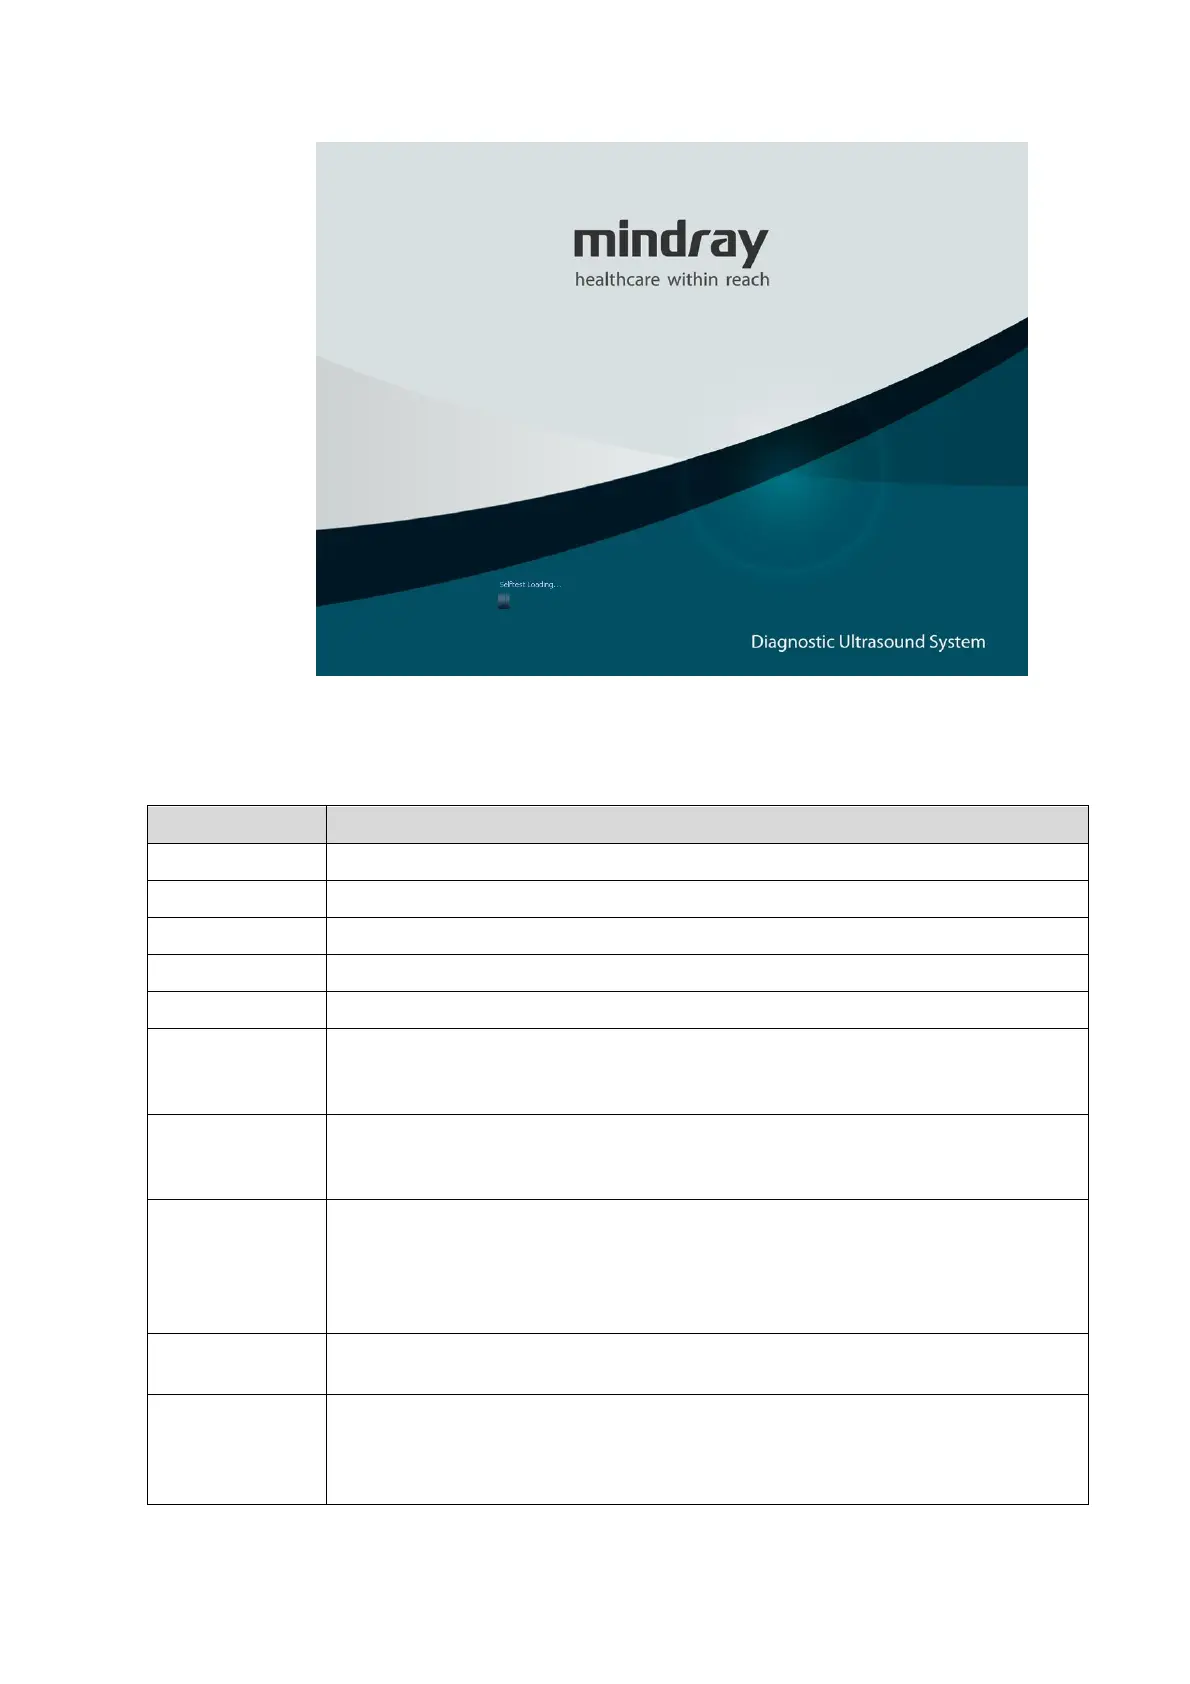
Fig 11-1 Booting screen of the self-diagnosis system
4. On the Main interface of maintenance self-diagnosis system, you can preset the corresponding
test items, then click [Start] to enter into the maintenance self-test status.
Click [Open ALL] to unfold all test items
Click [Close ALL] to fold all test items
Click [Default] to automatically select all the items to be tested by default
Click [Select ALL] to select all test items
Click [Select None] to cancel all test items
There are two options, “Continue” and “Stop”. If you select “Continue”, the test
will continue even though a test item fails during testing; however if you select
“Stop”, the test will stop once a test item fails during testing.
Click [Start] to perform tests for checked items one by one, while the button
turns to “Stop”. During the testing, if you click “Stop”, the test will stop. After the
test is completed, the “Stop” button turns to “Start”, waiting for the next test.
After the test is completed, if you click [Next Fail], the procedure will look for the
next failed test item from the Messages list, of which test information will display
in the first low of the list. If test information display from the first low to the last
low of the list, the procedure will automatically start to query from the first test
information
Click [Clear History] to clear test terms and the results in messages list, and
recover the system chart to the initial status.
Perform loop test, if it is checked and the loop test number is input at the right
side, the test will be performed as many as the number you set. If the loop test
number is less than 0, the loop test will not perform until the user stops testing or
the test will stop once a test item fails during testing.

 Loading...


