1-12 Overview
a) Adding/ Removing the image with:
Adding the selected graphic.
Adding all optional graphics to the selected items.
Removing the selected single graphic.
Removing all added graphics.
b) Adjusting the graphic’s sequence.
Select a graphic from the selected items. Click [Move Left] or [Move Right] to adjust the
graphic sequence in the list.
The sequence of the graphic in the bottom column is that of the graphics in the report.
3. Click [Save] to confirm the setting.
You may edit the select anatomic graphic on the touch screen by drawing.
Save/Load/Export Report
Save/Load report
After the report template is edited, the history report archived in the system will change at the
same time. The user may print or export the current report to make a copy in advance.
NOTE:This function is not available for anonymous patient.
Click [Save Report], and the report is saved in PDF file.
Click [Load Report], you can preview the saved report, export or print the report.
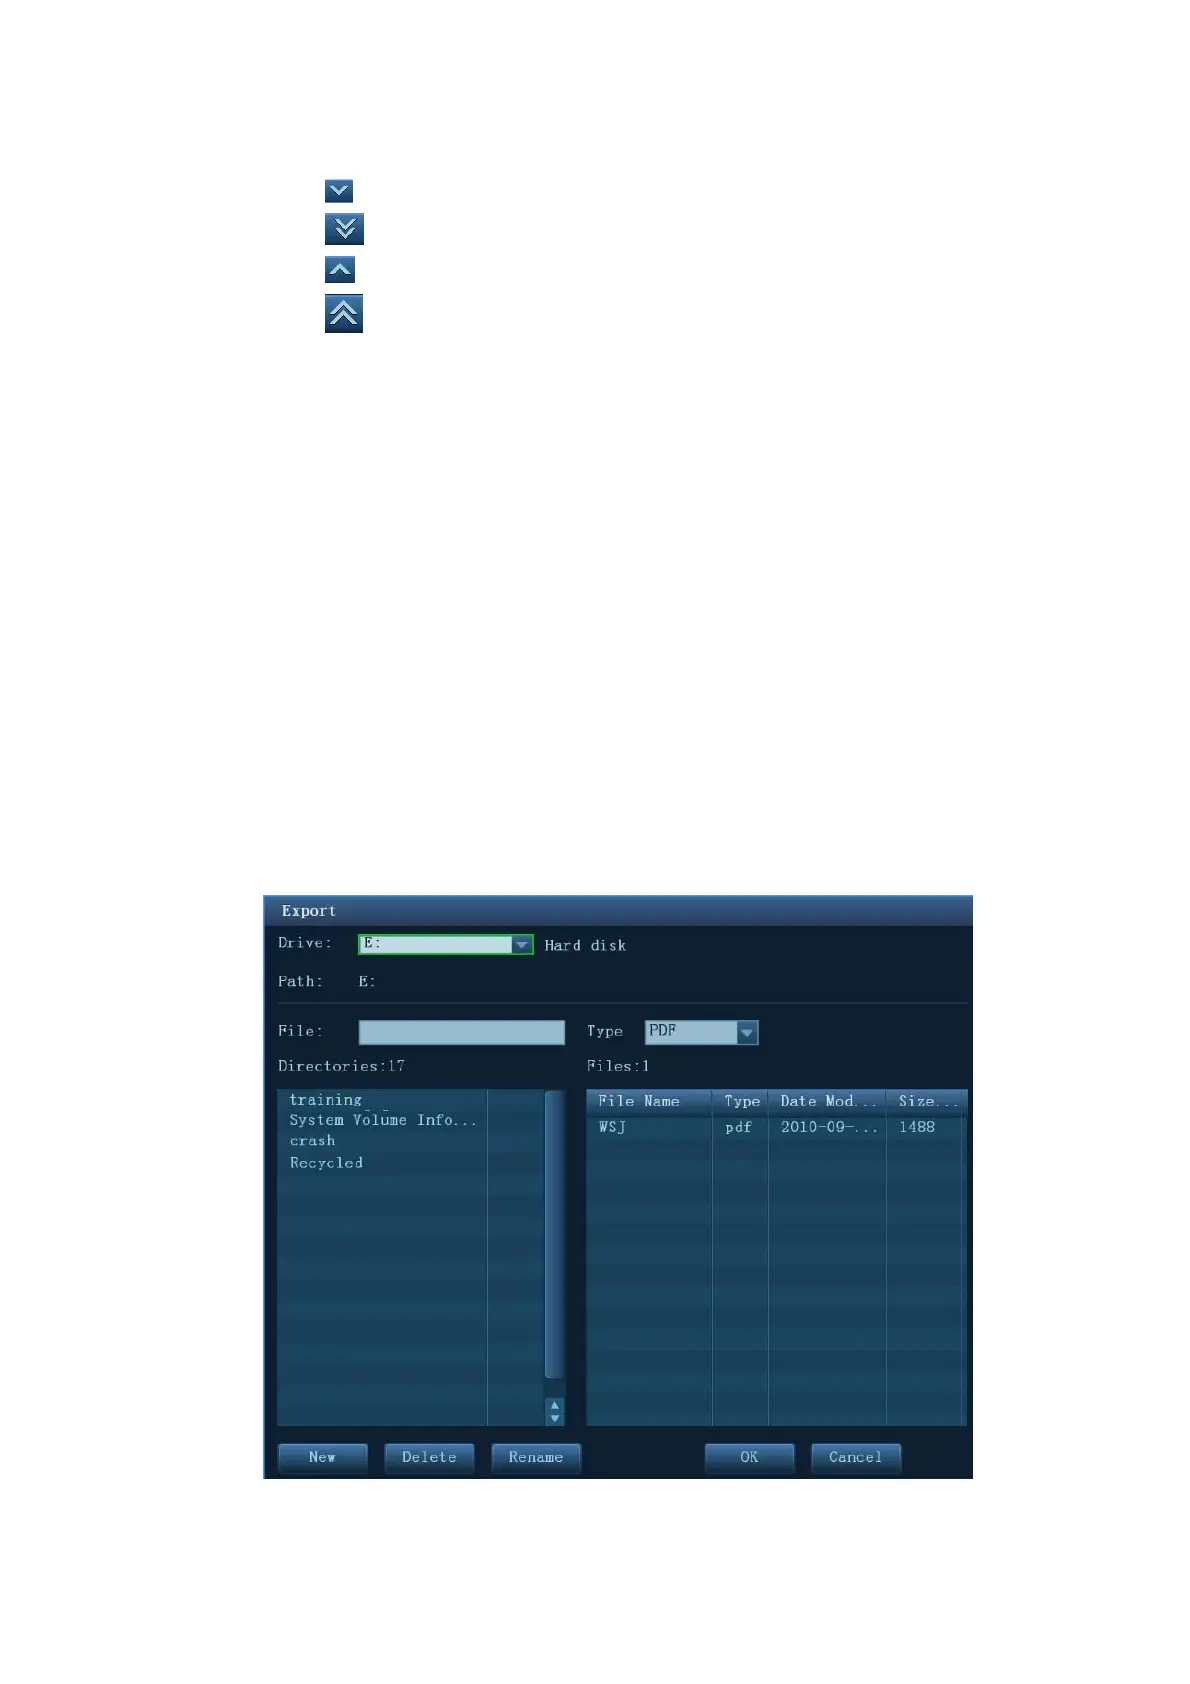
Export report
The reports can be exported in RTF or PDF documents, which can be viewed and edited on a PC.
1. In the report dialog box, select [Export] to pop up the following dialog box.
2. Select a drive in the drive list.