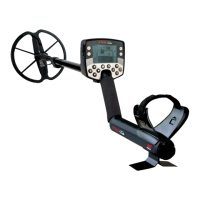
THE MINELAB EXPLORER
15
ASSEMBLY
2
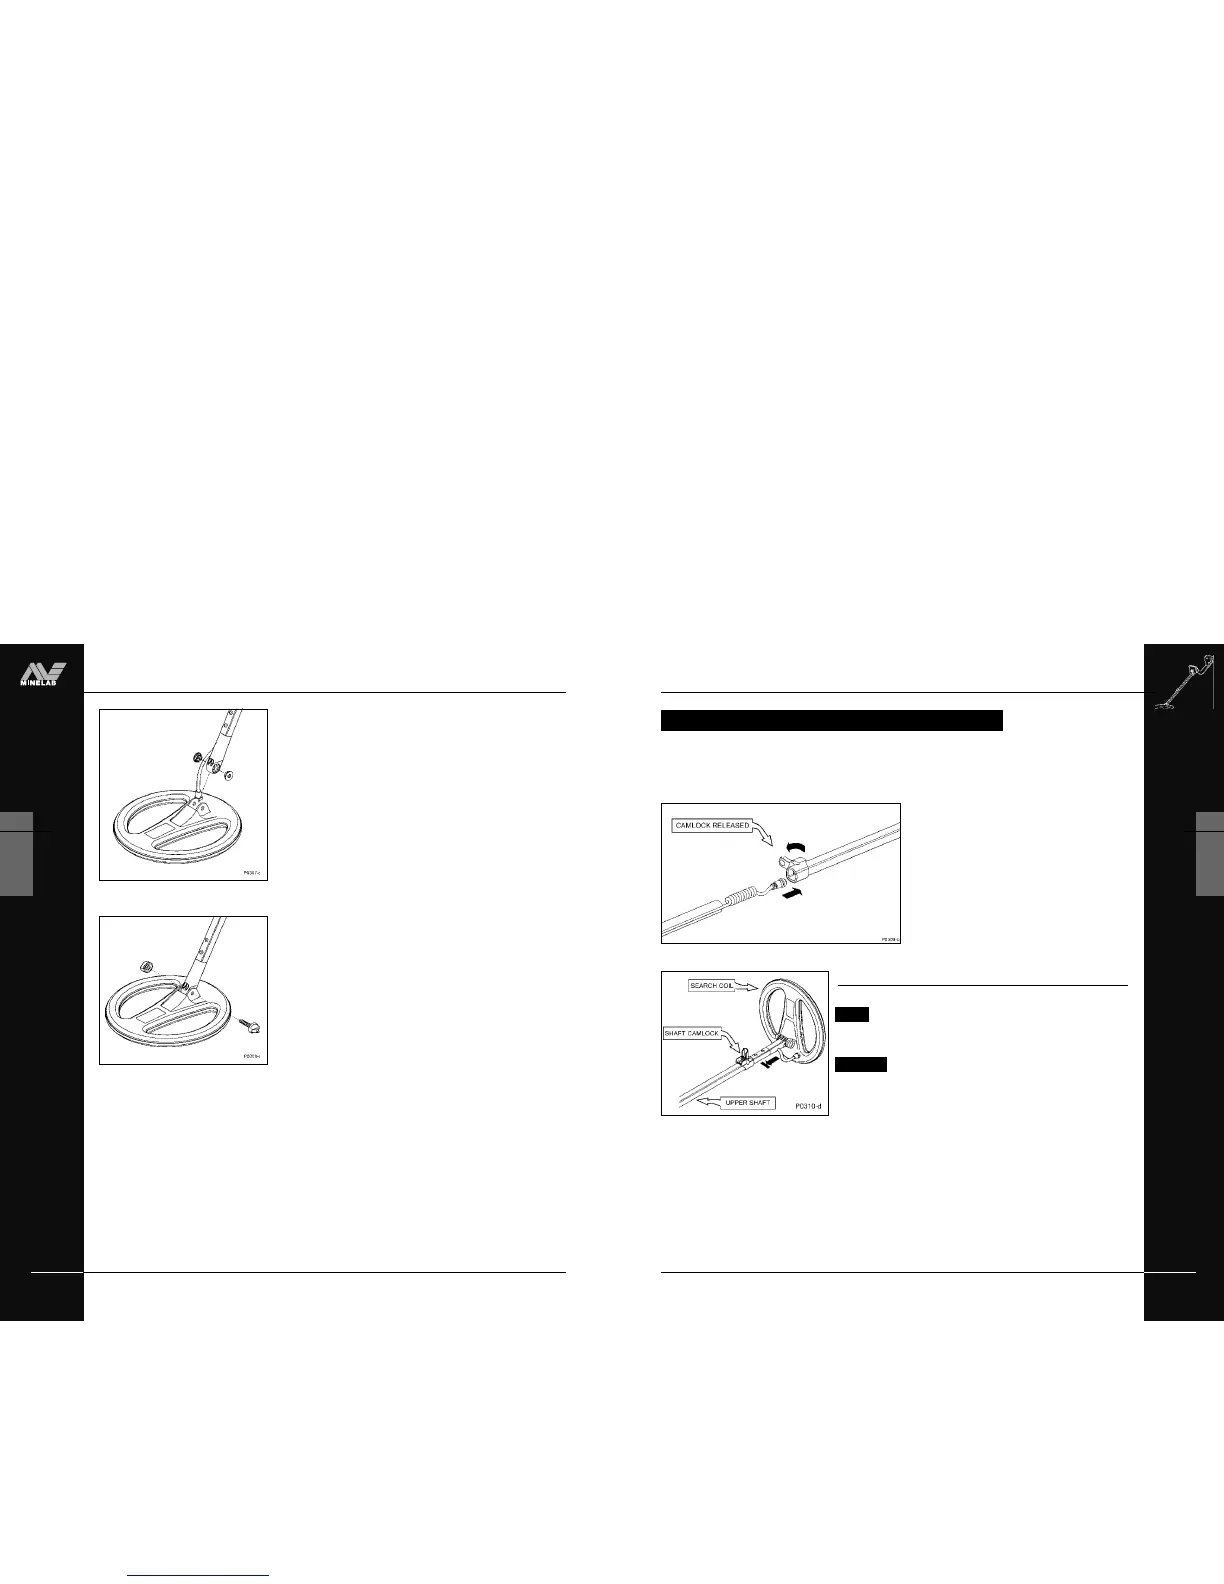
THE SHAFT ASSEMBLY
The shaft assembly is made up of the upper and lower shafts connected by the shaft
camlock. The assembly houses the coil cable and connects the search coil to the handle
assembly. These instructions assume that the search coil is connected to the lower shaft.
Shaft assembly
Figure 2.4, 2.5
NOTE Orientation: coil cable is on bottom of lower shaft.
To assemble the lower and upper shaft:
CAUTION Release the shaft camlock lever before inserting
the lower shaft.
STEP 1 (Figure 2.4) Feed the coil cable which is attached to the
lower shaft through the inside of the upper shaft.
STEP 2 (Figure 2.5) Slide the lower shaft entirely into the upper
shaft until the camlock rests against the uppermost shaft
rivet.
STEP 3 Pull the coil cable’s metal connector through the open end
of the upper shaft until it ‘dangles’ from the opening.
You are now ready to connect the shaft assembly to the
handle assembly.
THE SHAFT ASSEMBLY
Figure 2.4 Feeding coil cable into upper shaft
Figure 2.5 Sliding lower shaft into upper shaft
THE MINELAB EXPLORER
14
ASSEMBLY
2
www.minelab.com
STEP 3 Check the orientation of the search coil and shaft ensuring
that the rivets are visible on the top of the shaft.
STEP 4 (Figure 2.2). To join the shaft to the search coil, slide the
yoke into the yoke bracket on top of the coil.
STEP 5 (Figure 2.3) Insert yoke bolt through the search coil’s yoke
bracket and the coil yoke. Fasten with the yoke nut
provided, being careful not to damage the thread of the nut
by over-tightening. This may need to be loosened to adjust
the coil to a comfortable detecting angle.
You are now ready to proceed to the shaft assembly.
CONNECTING THE SEARCH COIL
Figure 2.3 Securing yoke to search coil
Figure 2.2 Inserting coil yoke into bracket