RECOVERING THE OBJECT
For this procedure you’ll need: a knife or trowel, a small
spade and a sheet of plastic.
STEP 1 Once the object has been pinpointed, clear the surface of
loose material and check again for the signal. If there is no
signal then the object is amongst the surface material. In this
case, search the surface material until the object is located.
STEP 2 If the object is still in the ground, check again using Pinpoint.
If you are about to dig in a grassy area, first remove a plug of
grass using a sharp knife or trowel.
STEP 3 Dig carefully to avoid defacing or devaluing the object. The
use of probes can often aid in locating the exact position of
the object prior to digging.
STEP 4 Place the grass plug and all soil you dig onto a plastic sheet
beside the hole. This sheet (which can be folded small
enough to fit into your pocket) enables you to keep all soil
for refilling the hole and prevents material being scattered
about the area.
STEP 5 Check the hole for the object. If it is not in the hole, place
the detector on the ground and with the coil flat, pick up dirt
by the handful and pass over the coil. Be sure you are not
wearing any metal objects like rings, bracelets or a watch
which may interfere with the signal. If you receive no
response, return the dirt to the hole. Repeat this procedure
until the object is located.
STEP 6 Check the hole again with the detector. Ensure that no other
objects remain, then refill the hole. All soil on the plastic
sheet should be returned to the hole followed by the plug of
grass. This should leave the area as you found it.
Fill your holes!
For the safety of others and in the
interests of respecting the
environment, ensure you leave an
area of ground as you found it.
Leaving holes, or an area ‘scarred’
may result in action being taken to
prevent the use of metal detectors
(which spoils the hobby for others
as well as yourself!)
(
RECOVERING THE OBJECT
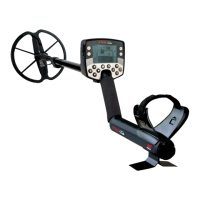
THE MINELAB EXPLORER
60
QUICKSTART
5
www.minelab.com
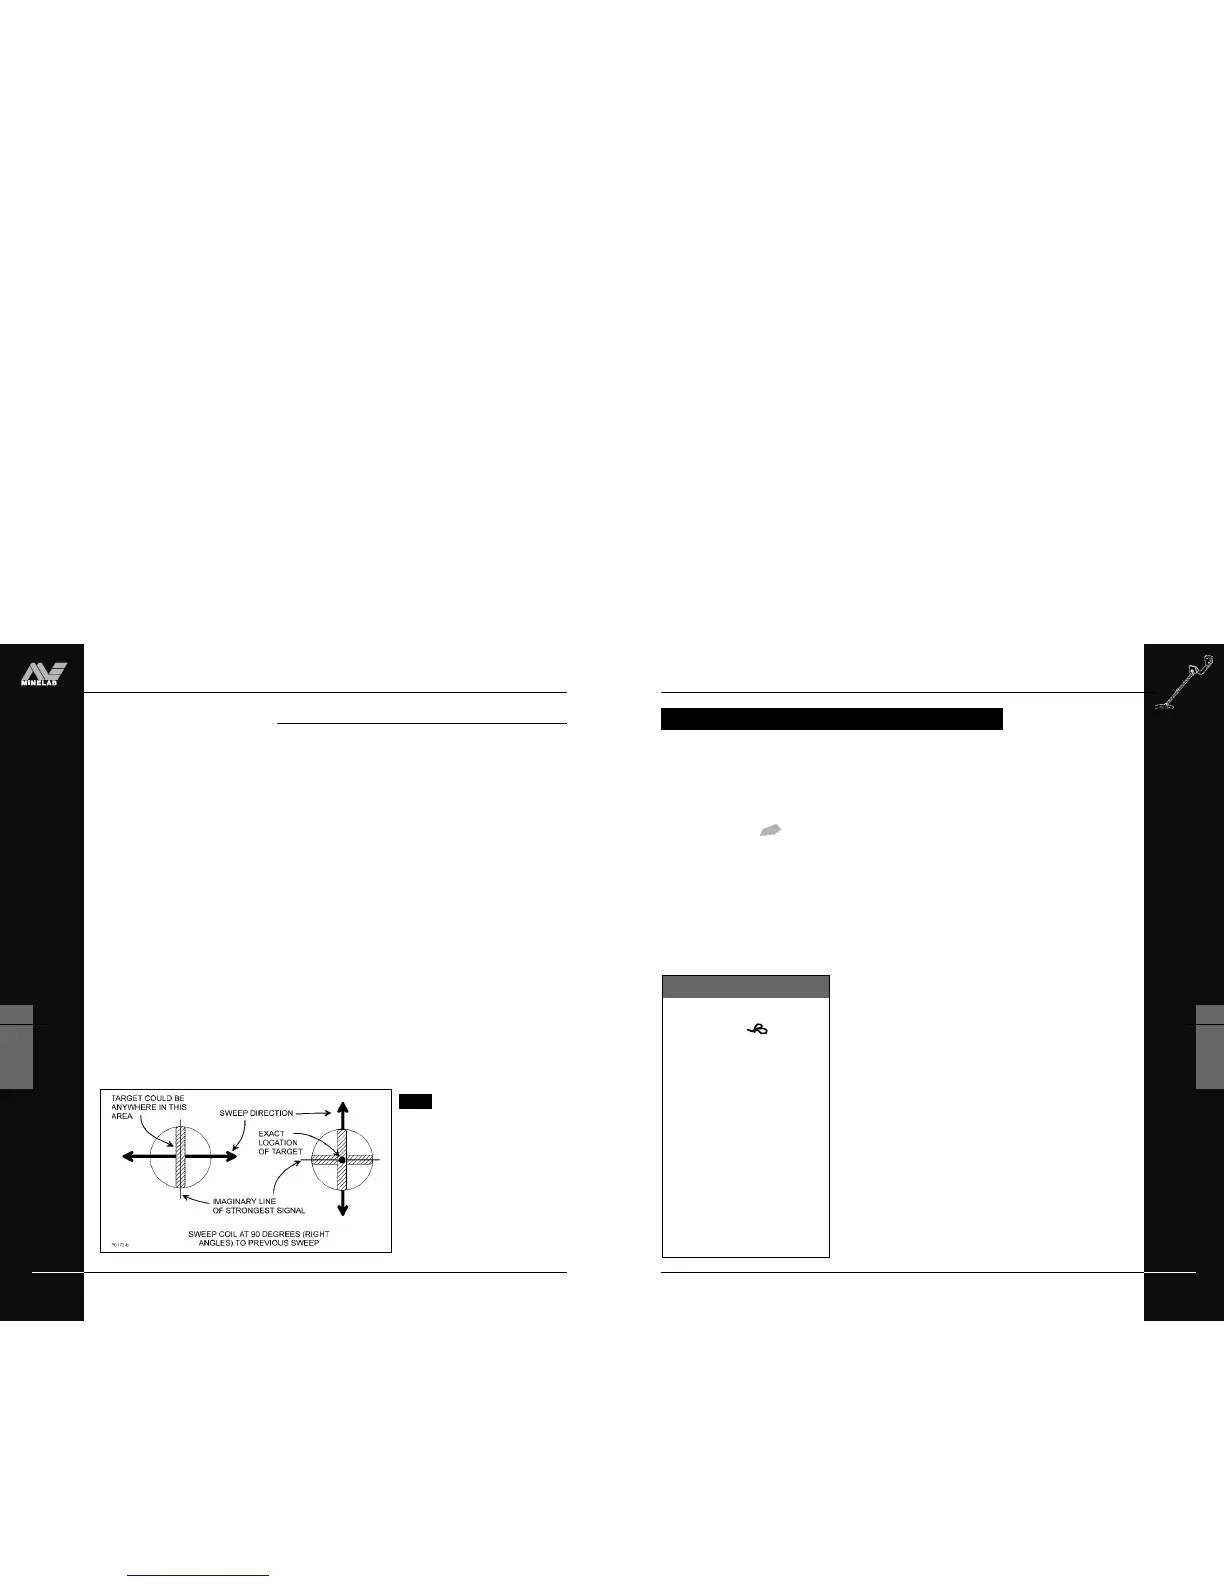
Figure 5.21 Pinpointing the object
Using Pinpoint
Figure 5.21
Once the Explorer has found the approximate position of a target it is
necessary to locate its exact position using Pinpoint.
STEP 1 Move the search coil to one side of the approximate target
location and press the PINPOINT shortcut button. If this
step is not taken the Explorer will sound when moved away
from the object.
STEP 2 Slowly sweep the search coil over the target a couple of
times. You will only hear a sound when the center-bar of the
coil is directly in line with the target.
STEP 3 Taking note of the detector response, reduce the span of
each successive pass of the coil until you are confident of
the target’s location. Make a mental note of the position.
STEP 4 Move to one side so that you can pass the coil over the
target at a right angle to your initial direction.
STEP 5 When the detector sounds you should know exactly where
to dig.
STEP 6 If you have difficulty pinpointing the target, press the
Pinpoint shortcut button again to take the detector out of
Pinpoint and sweep the coil over the area again before
returning to STEP 1.
NOTE The Pinpoint indicator will
flash to remind you to turn
Pinpoint off to resume normal
detecting.
Pinpointing works best when the
search coil is swept slowly.
PINPOINTING THE OBJECT