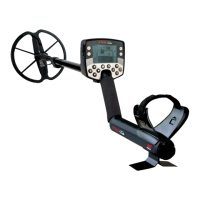
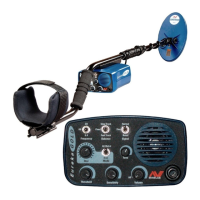
THE MINELAB EXPLORER
31
4
CONTROL PANEL
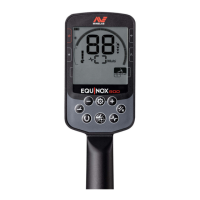
Power
Figure 4.1
The POWER button turns the Explorer on and off and also allows
you to specify operation in the detector’s last manual setting.
NOTE The first time you turn on the detector it will start
up with factory presets as the most recent manual setting.
To start the detector in factory preset mode:
• Press and hold the POWER button until a six-note musical tune
is sounded. The Minelab logo and the words ‘FACTORY
PRESETS’ will be briefly displayed on the screen.
To start the detector with its previous manual setting:
• Press and release the POWER button. This will start the
detector with the previous settings from when the detector
was last used (e.g. target specifications, sensitivity levels,
etc) and you may proceed with detecting or modifying
detector settings.
Backlight (only available on Explorer XS)
Figure 4.2
Pressing the BACKLIGHT button turns the light behind the
Explorer display screen on or off. Contrast can be adjusted to suit
via the Main Menu (detailed in Chapter 5: Quickstart). Turning this
light off will extend battery life. Whenever the detector is switched
on, the backlight illuminates for the first 5 seconds.
POWER AND BACKLIGHT BUTTONS
Figure 4.1 Power button
The Power button offers you the option of operating the Explorer with its factory
settings or in the most recent manual setting. The backlight provides greater screen
clarity in dim conditions.
POWER AND BACKLIGHT BUTTONS
Figure 4.2 Backlight button
THE MINELAB EXPLORER
30
CONTROL PANEL
4
www.minelab.com
easy reference
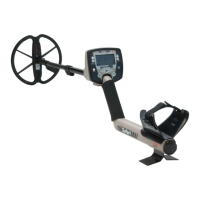
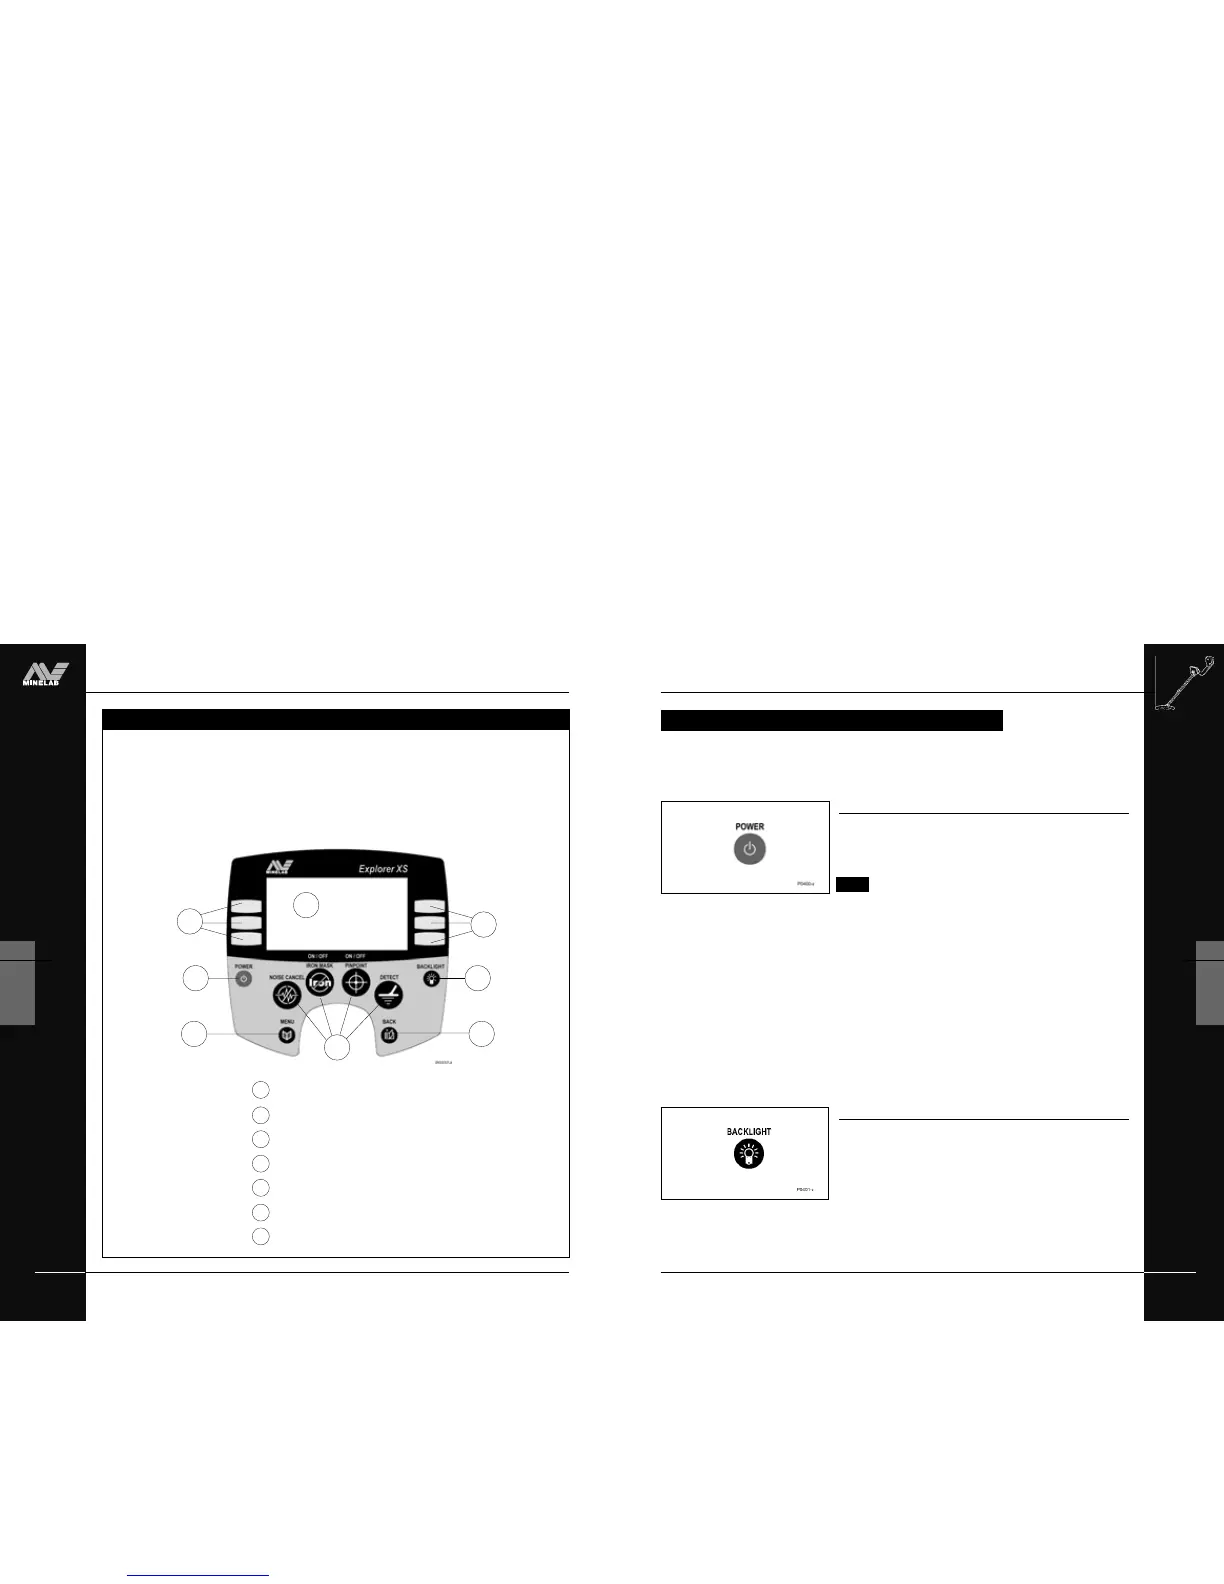
THE CONTROL PANEL
As the control panel provides user access to all Explorer functions, the
various buttons will be referred to throughout this User’s Manual. The
terminology will remain consistent with the elements labelled below and
will be a useful reference as you begin detecting.
1
Power button (see page 31)
Display screen (for details see page 40)
Main Menu button (see page 32)
Shortcut buttons (see pages 33-34)
Back button (see page 32)
Shift buttons (see page 35)
Backlight button (see page 31)
2
3
4
5
6
THE CONTROL PANEL
2
4
7
7
53
1
6
6