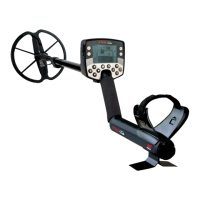
THE MINELAB EXPLORER
39
QUICKSTART
5
BEGINNER USE
Trying out the detector
Figure 5.2
Don’t try this at home!
If you attempt to begin detecting while you are inside your home,
you will quickly find that there are many metallic objects (such as
nails or reinforcing in the floor) which will result in almost
continuous detection. There will also be interference from TV sets
and other household appliances. Placing the sensitive detector coil
near large metallic objects can result in temporary saturation of the
sensor, meaning that it then cannot detect small objects. Therefore
it is best to turn your detector off and head outside, as far away as
you can from sources of electromagnetic disturbance.
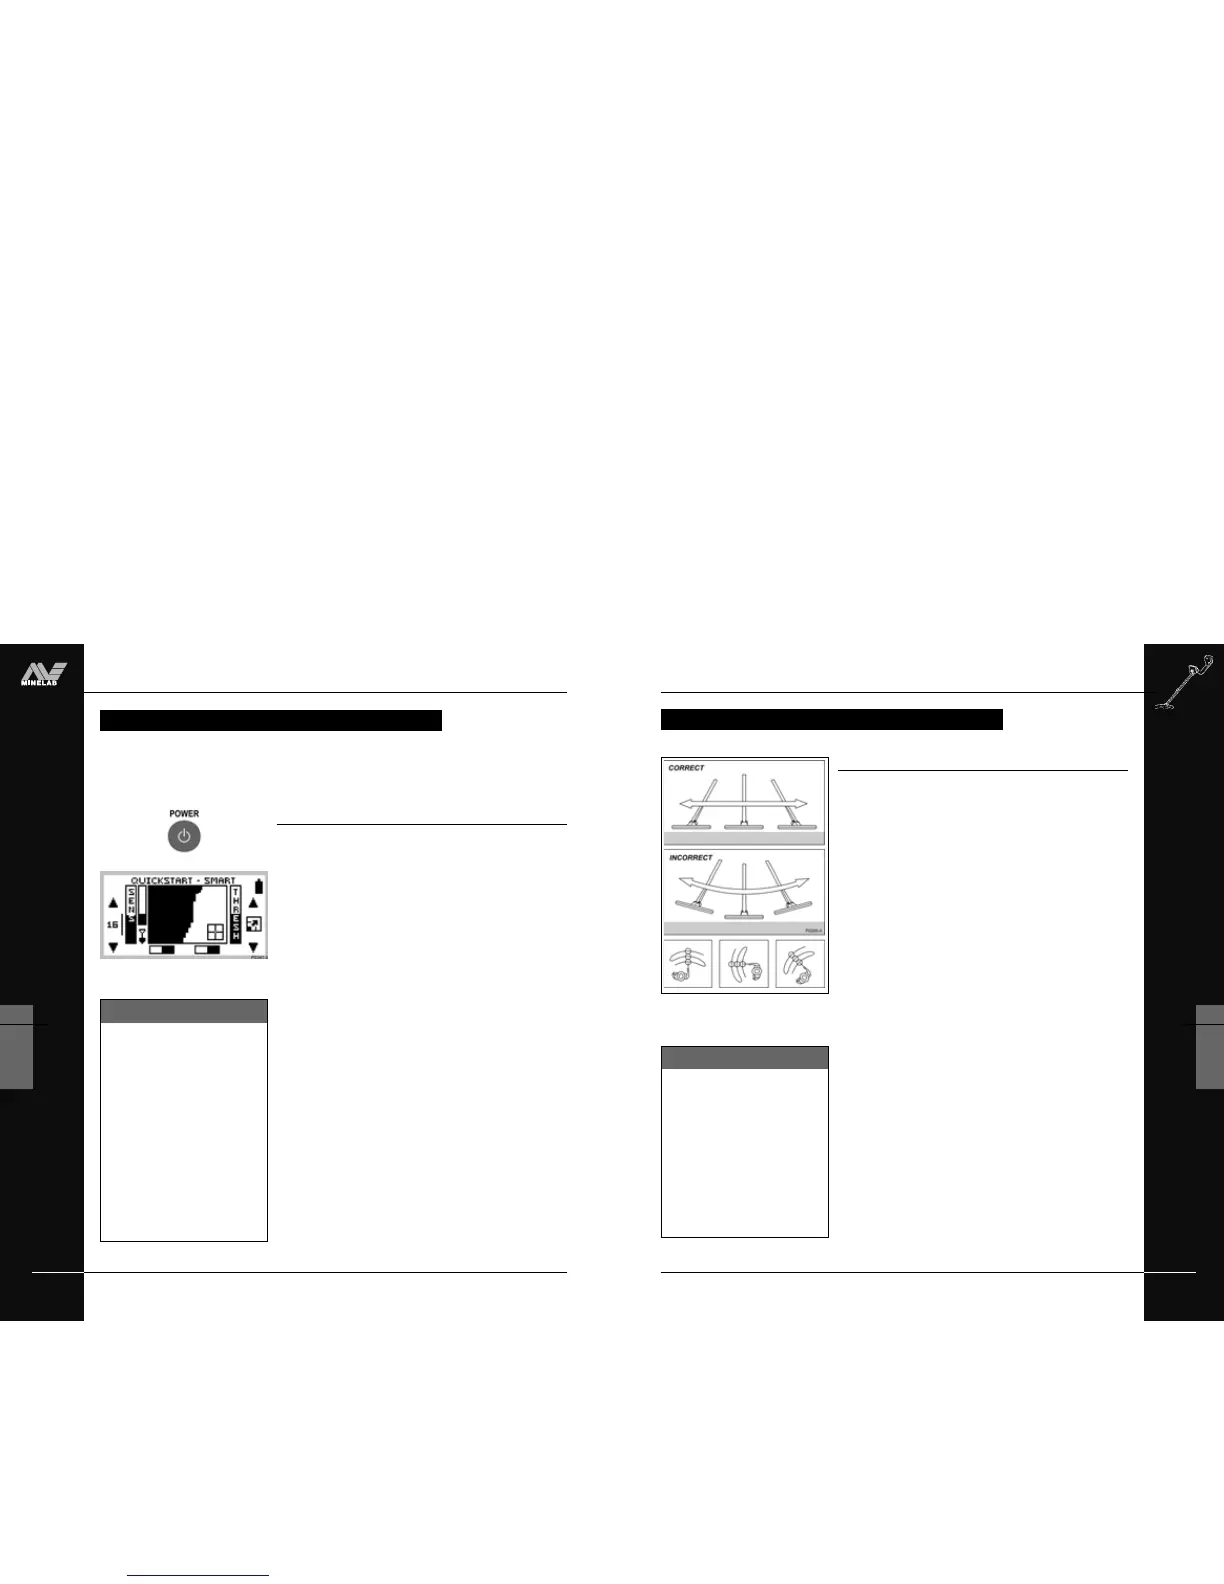
Sweeping the coil
The Explorer will perform at its best when the coil is kept in close
proximity to the ground. This will increase detection depth and
response to small objects. Becoming practised at sweeping the
coil is very important, as variation in coil height at the end of each
swing can cause confusing sounds and reduce detection depth.
Each sweep of the coil should overlap the last one (Figure 5.2).
This will ensure good ground coverage.
You think you’ve found something?
When an object is detected, the Explorer emits an audio response
and visually displays a target classification on the control panel’s
screen.
Before you attempt to pinpoint or recover the object –
which is explained later in this chapter – it is vital you
understand how to interpret these audio and visual
responses.
This is explained over the next few pages.
Figure 5.2 Sweeping the coil
BEGINNER USE
Audio Overload
Sometimes it is possible that a
large object close to the search
coil will overload the detector’s
electronics. When this happens,
the Explorer emits a low ‘warble’
which will repeat until the coil is
moved away from the source of
the overload.
THE MINELAB EXPLORER
38
QUICKSTART
5
www.minelab.com
GETTING STARTED
Introducing Quickstart
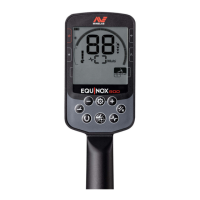
Figure 5.1
When you first turn on the Explorer, the Quickstart Smartfind
display will appear and you are able to begin detecting. The
detector is prepared to respond to non-ferrous targets while
filtering out ground signals.
The following pages in this chapter outline the basics of metal
detecting and use of the Explorer. You will learn how to interpret
its responses to targets and make your own adjustments to the
settings.
Regardless of your level of experience with metal detecting,
Minelab recommends you begin in Quickstart mode to familiarize
yourself with basic features and operation before experimenting
with the detector’s advanced features (detailed in Chapter 6:
Advanced Use).
A number of additional functions and features that are likely to be
accessed frequently while detecting are also explained.
These include:
• Target SENSITIVITY and THRESHOLD levels, adjusted with
shift buttons
• IRON MASK and PINPOINT, activated by shortcut buttons.
• MENU functions, accessed from the control panel shift
buttons. These enable you to adjust the display and audio,
define targets and move into Advanced mode.
Figure 5.1 Quickstart’s opening screen
Now that your detector is assembled, batteries inserted and you are familiar with the control
panel, you should be ready to start detecting. This chapter on Quickstart is designed to be
the starting point for all users of the Explorer.
GETTING STARTED
Display memory
The Explorer’s factory setting is
to start in Smartfind for your first
detecting session.
If the alternative Digital display is
the last used, the Explorer opens
with this screen next time you
turn on the detector. It also
retains all adjustments to
settings made in the previous
session (including those
made in Smartfind).