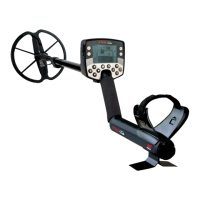
THE MINELAB EXPLORER
21
ASSEMBLY
2
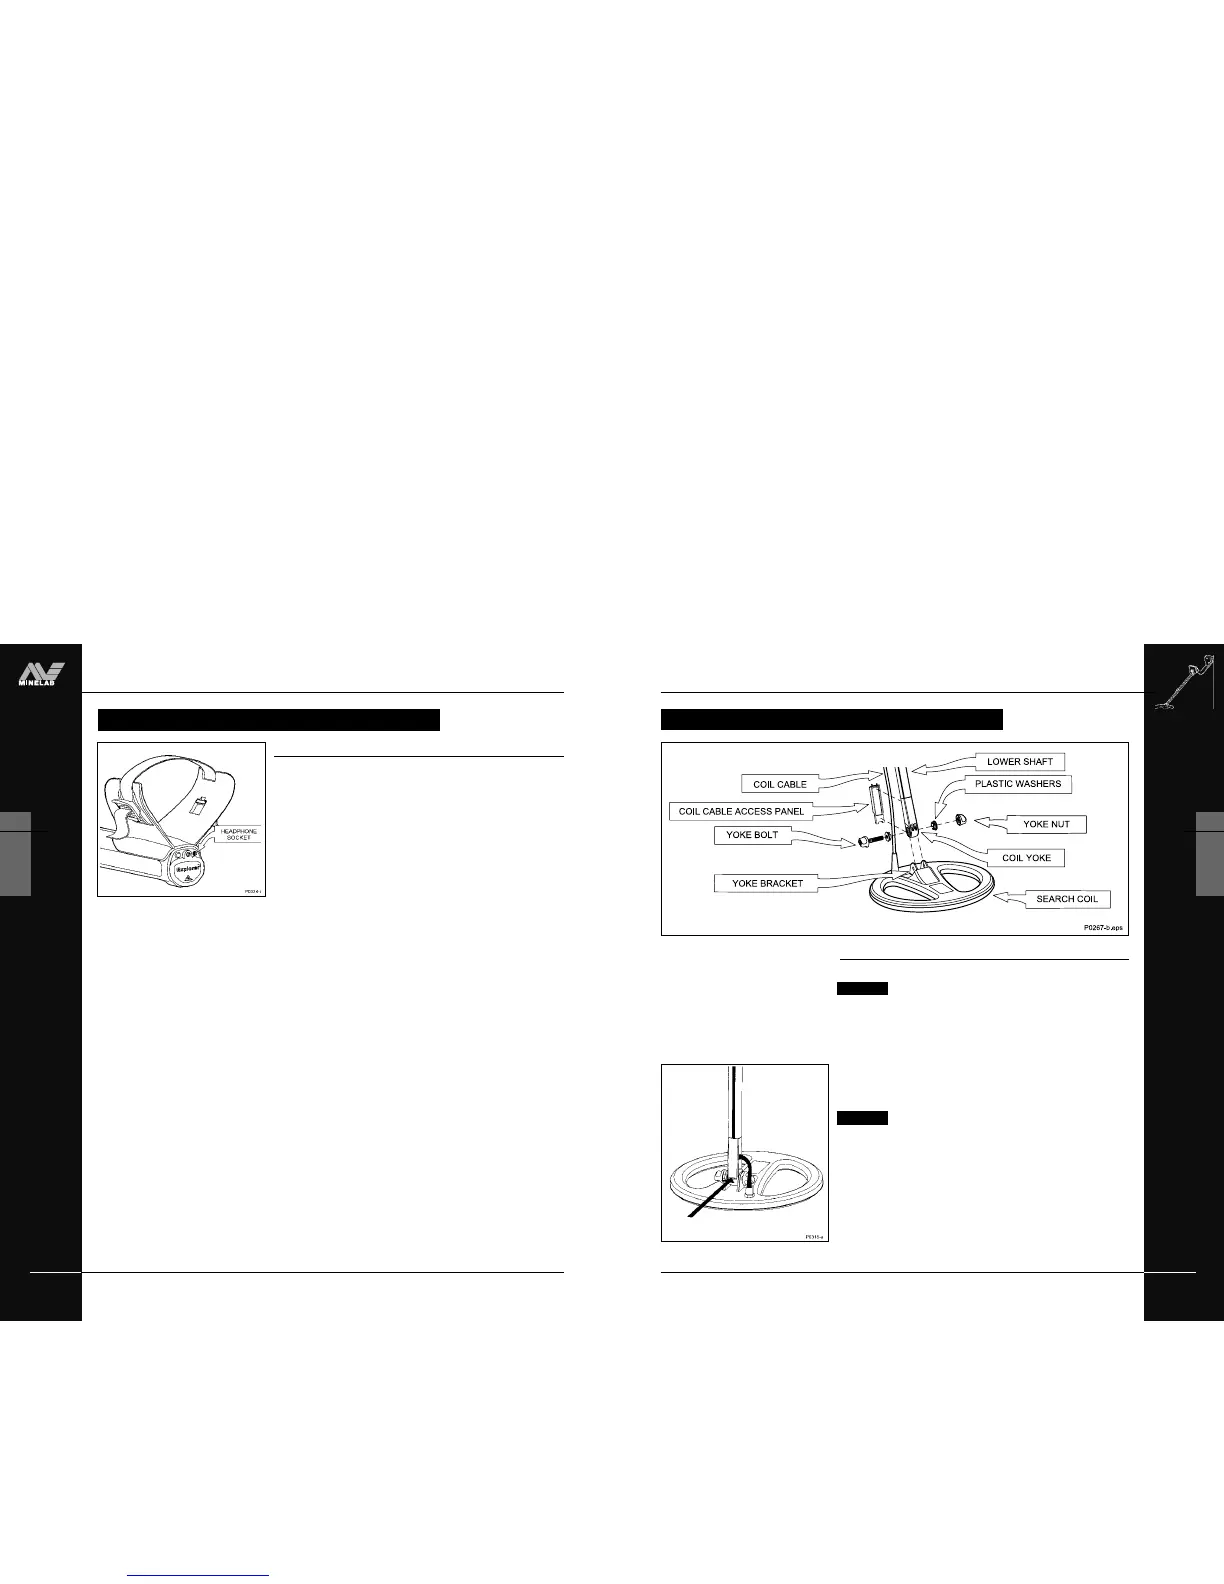
REPLACING AND FITTING THE SEARCH COIL
Replacing the search coil
Figure 2.14–2.17
CAUTION DO NOT attempt to remove the coil cable from
the search coil. Any attempt to disconnect will void your
detector warranty.
To replace the search coil:
STEP 1 Disconnect the shaft assembly from handle assembly by
reversing the procedure outlined in Connecting the shaft
assembly on page 16.
CAUTION DO NOT attempt to remove the shaft assembly
without disconnecting the coil cable from the control box.
STEP 2 Separate the two shaft assemblies by releasing the shaft
camlock and sliding the lower shaft out.
STEP 3 (Figure 2.15) Locate the screwdriver slot at the rear of the
coil yoke and prize off the coil cable access panel. You may
need to tilt the coil up to gain access to the slot.
Figure 2.15 Prizing off coil yoke cover
Figure 2.14 Replacing the search coil
REPLACING AND FITTING THE SEARCH COIL
YOKE NUT (8)
(Continued next page)
THE MINELAB EXPLORER
20
ASSEMBLY
2
www.minelab.com
HEADPHONES
Figure 2.14 Inserting headphone jack
Attaching headphones
Figure 2.14
The use of headphones when treasure hunting with the Explorer will
avoid disturbing others in the area. The reduced power demands of
the headphones will extend the detector’s battery life.
The socket for the headphone plug is located above the rubber
seal at the top of the handle assembly. The headphones may be
plugged into this socket or unplugged at any stage of operation.
Congratulations! Your Explorer is now assembled. You are
now ready to proceed to Chapter 3: Batteries.
Should you wish to remove the search coil, instructions
follow on the next two pages.
)
HEADPHONES