F940GOT Handy Series Maintenance and Diagnostics 5
5-2
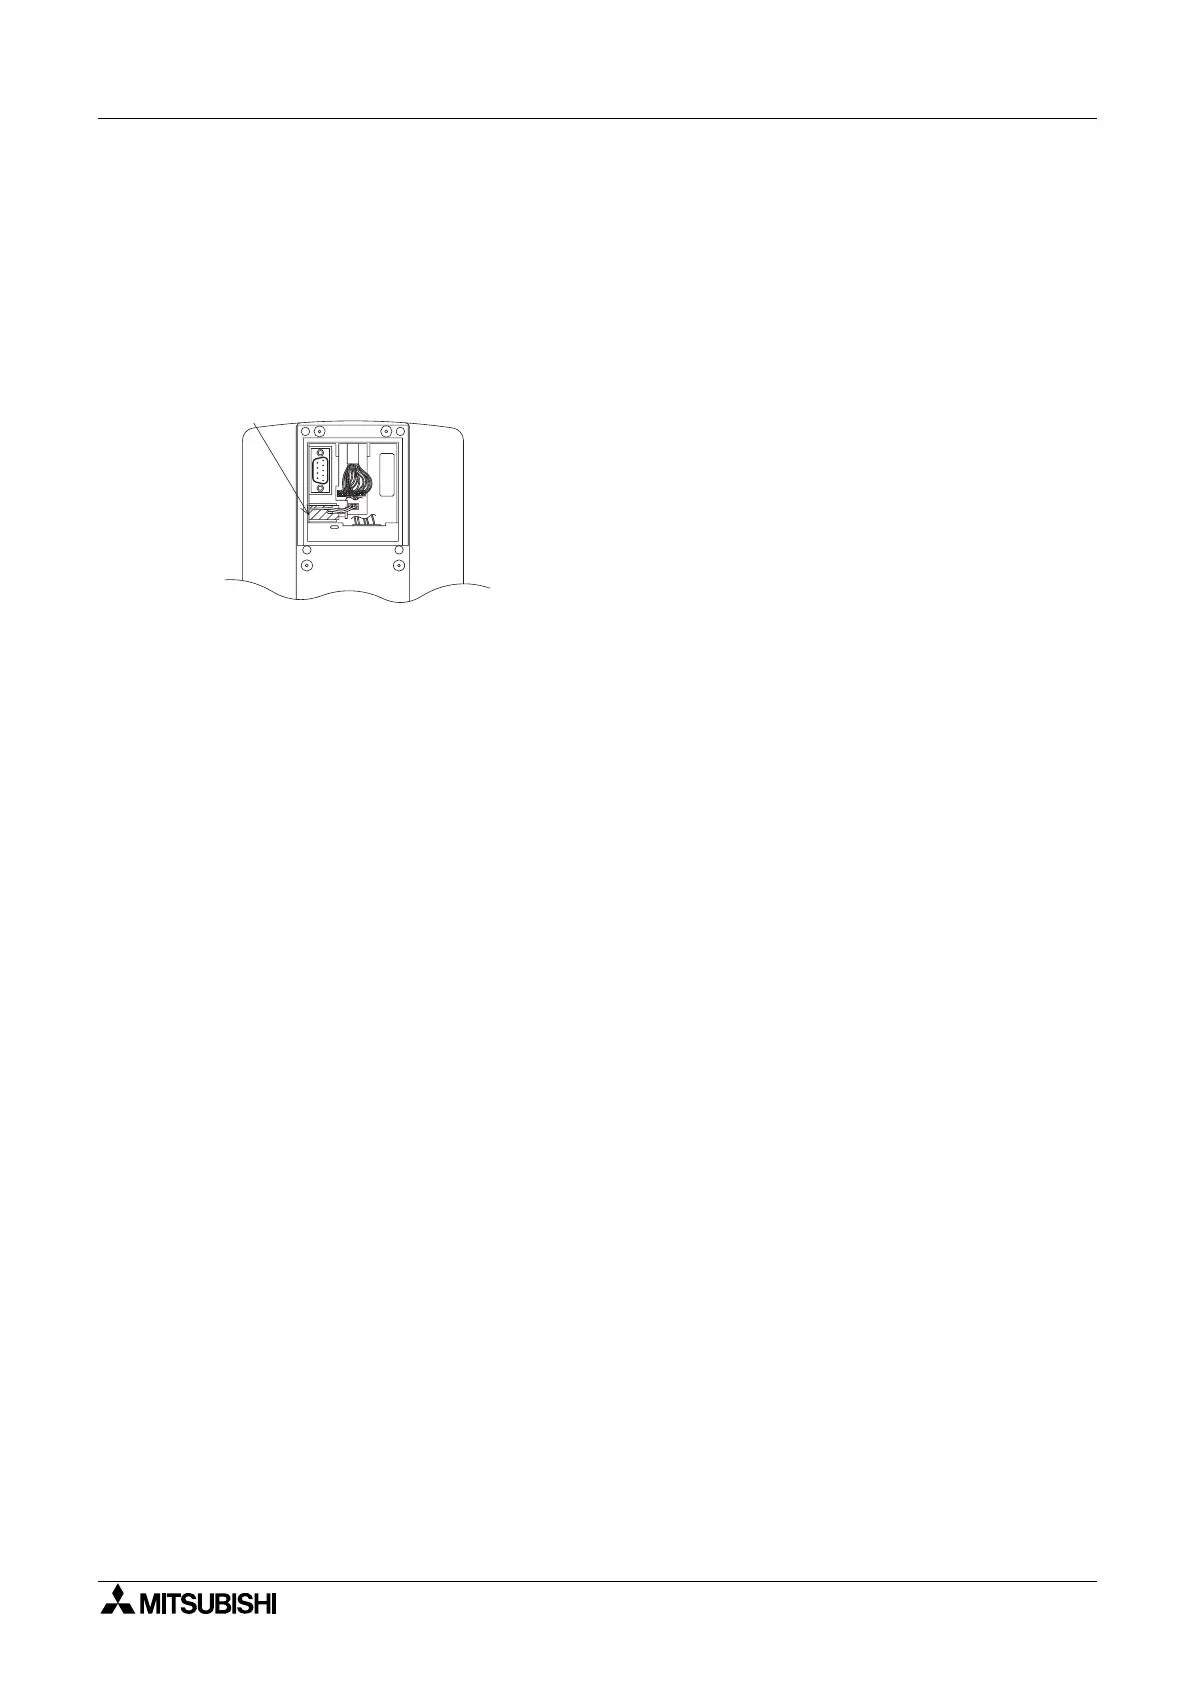
2) Procedure for Replacing the Battery
For approximately one month after the control device for the battery voltage drop turns ON,
the battery can back up the alarm history, sampling and the current time. When the control
device (system information) turns ON, replace the battery (FX
2NC
-32BL) as soon as
possible.
The screen data is stored in the flash memory. Even if the battery power is completely
depleted, the screen data remains in the flash memory.
a) Turn off the power of the Handy GOT.
b) Open the small window of the rear panel.
c) Remove the existing battery from the holder, and dis-
connect it.
d) Within 30 seconds, connect a new battery.
e) Insert the new battery into the holder, and close the
small window.
5.2 Diagnostics
5.2.1 Preliminary Check
1) Check “POWER LED”
If the POWER LED is OFF, check cable(s), and check if the 24V DC power source capacity
is sufficient. (Refer to chapter 2.2)
2) Check display
If the display screen is dark, adjust “LCD CONTRAST” in “SET-UP MODE”.
If the display screen remains dark even after adjustment, it is recommended to replace the
backlight. Please contact a service representative for move information. (Refer to chapter
2.2)
3) Check setting “PLC TYPE” in “SET-UP MODE”
If this setting is incorrect, Handy GOT cannot communicate with the PLC correctly. (Refer to
chapter 3)
FX
2N C
-32B L
 Loading...