8 - 37
8. DEBUGGING FUNCTION
The following shows procedures for status latch.
All operations are performed on the "Status Latch" screen of the trace menu in the online
mode.
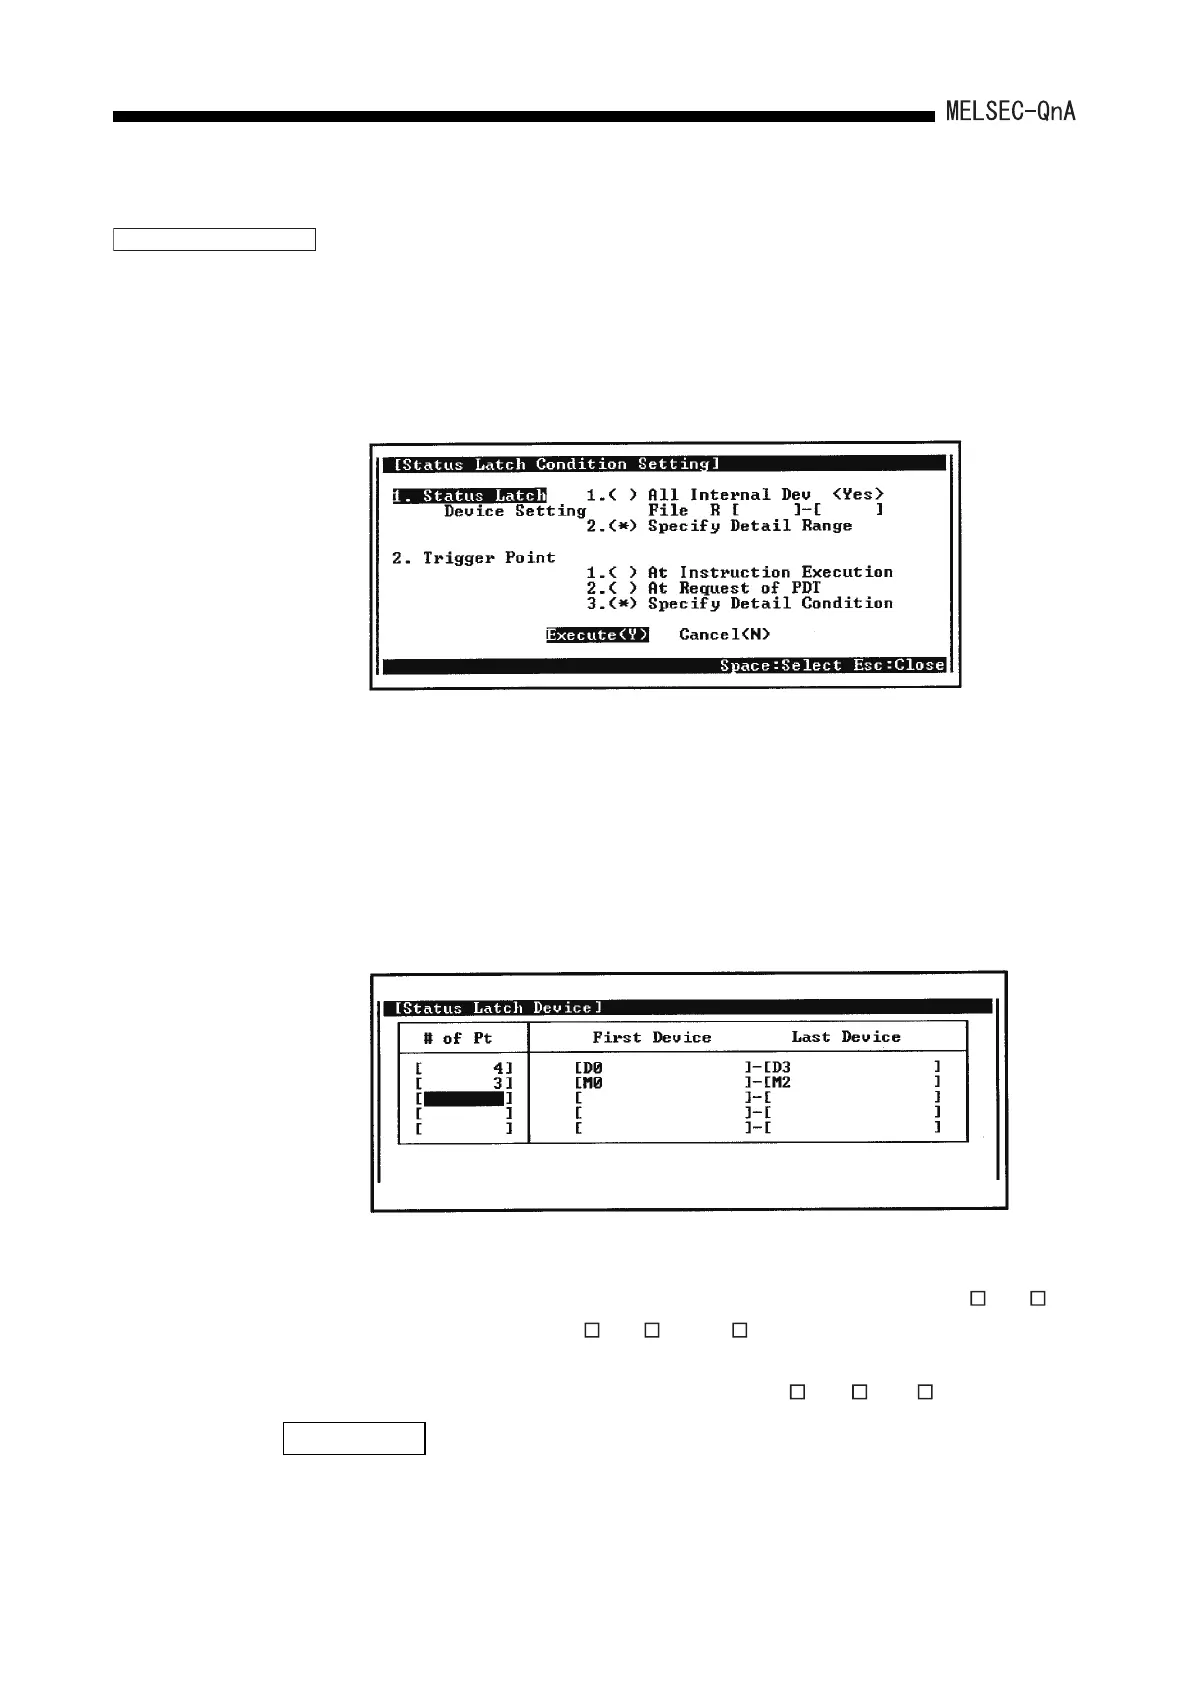
(1) Setting the status latch condition
Set the status latch condition at "2. ( ) Status Latch Condition Setting" on the "Status
Latch" screen.
The following shows an explanation of the screen above:
Either "1. Status Latch Device Setting" or "2. Trigger Point" can be set for the status
latch condition setting.
(a) "Status Latch Device Setting"
Set the devices to execute the status latch. Select one of the following:
(Applicable devices)
REMARK
Up to 1000 device ranges can be set including both bit devices and word devices.
The devices listed above cannot be qualified.
1) All Internal Dev : Whether or not QnACPU latches all built-in devices
is set.
2) Specify Detail Range : The device types and numbers of points are set.
The following shows setting examples:
1) Bit device : X, Y, M, L, F, SM, V, B, SB, T (Contact), T (Coil), C
(Contact), C (Coil), ST (Contact), ST (Coil), J \X, J \Y,
J \B, J \SB, BL \S
2) Word device : T (Current value), ST (Current value), C (Current value),
D, SD, W, SW, R, ZR, U \G, J \W, J \SW
Operation Procedures
 Loading...