−33−
11
Acknowledge screen for the completion of setting is displayed.
To change other flap motion ranges, tap the Yes button. (☞3 )
To terminate the setting, tap the No button. The display returns to the TOP screen.
10
Acknowledge screen for the flap
motion range is displayed.
Flap❷ setting is completed
No
Tap [No] to return to top screen.
Yes
Setting the range of flap❷
motion is complete.
Do you want to set other flaps?
Flap❷ Swing range
Back
Tap [Back] for resetting.
Yes
Do you want to set the
range of flap motion?
If yes, tap [Yes].
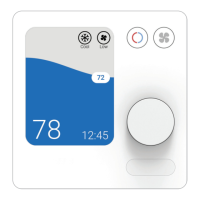
Advice
When the unit is installed within 50 cm from a wall, it is recommended that you change the range
of the left/right flap motion as follows:
・ When installed at the right end of the wall
Left/right flap motion range
1
to
4
・ When installed at the left end of the wall
Left/right flap motion range
2
to
5
Installed at
the left end
Installed at
the right end
Anti draft setting (for using panel with anti draft)
1
Tap the
Menu
button on the TOP screen and select
Useful functions
⇒
Anti draft setting
.
When one IU is connected to the R/C:
☞
3
When two or more IUs are connected to the R/C:
☞
2
■ Depending on how the Permission/Prohibition setting is set, the administrator password input screen may be displayed.
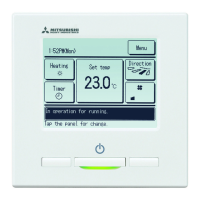
2
When two or more IUs are
connected to the R/C, a list of IUs is
displayed. Tap the IU to be set.
You can enable/disable the motion of panel with anti draft for each blow outlet for each operation mode.
■When the R/C is set as the sub R/C, the anti draft setting cannot be set.
IU select
Next Back
Select an IU address.
・Anti draft setting should be set while the unit is stopped.
・ When you perform Anti draft setting while the unit is in
operation, the acknowledge screen for unit stop is
displayed.
Advice
3
Select the blow outlet number to set anti draft.
■ The flap at blow outlet No. ① will keep moving while the blow outlet selection screen is
displayed. Select the flap based on this figure. When you have selected the blow outlet,
the flap with the number you selected will move. The figure displayed on the screen shows
the installed unit viewed from the floor side.
■You can set all blow outlets at once by tapping the
Bat.set.
button.
An icon that indicates the operation mode is shown on each blow outlet button.
When the anti draft setting is enabled, the icon color will be reversed (for example,
in the left gure, blow outlets which have the anti draft setting enabled during
cooling are numbers
①
,
③
, and
④
).
Flap selection for anti draft setting
Bat.set. Back
Flap ❶ Is in operation
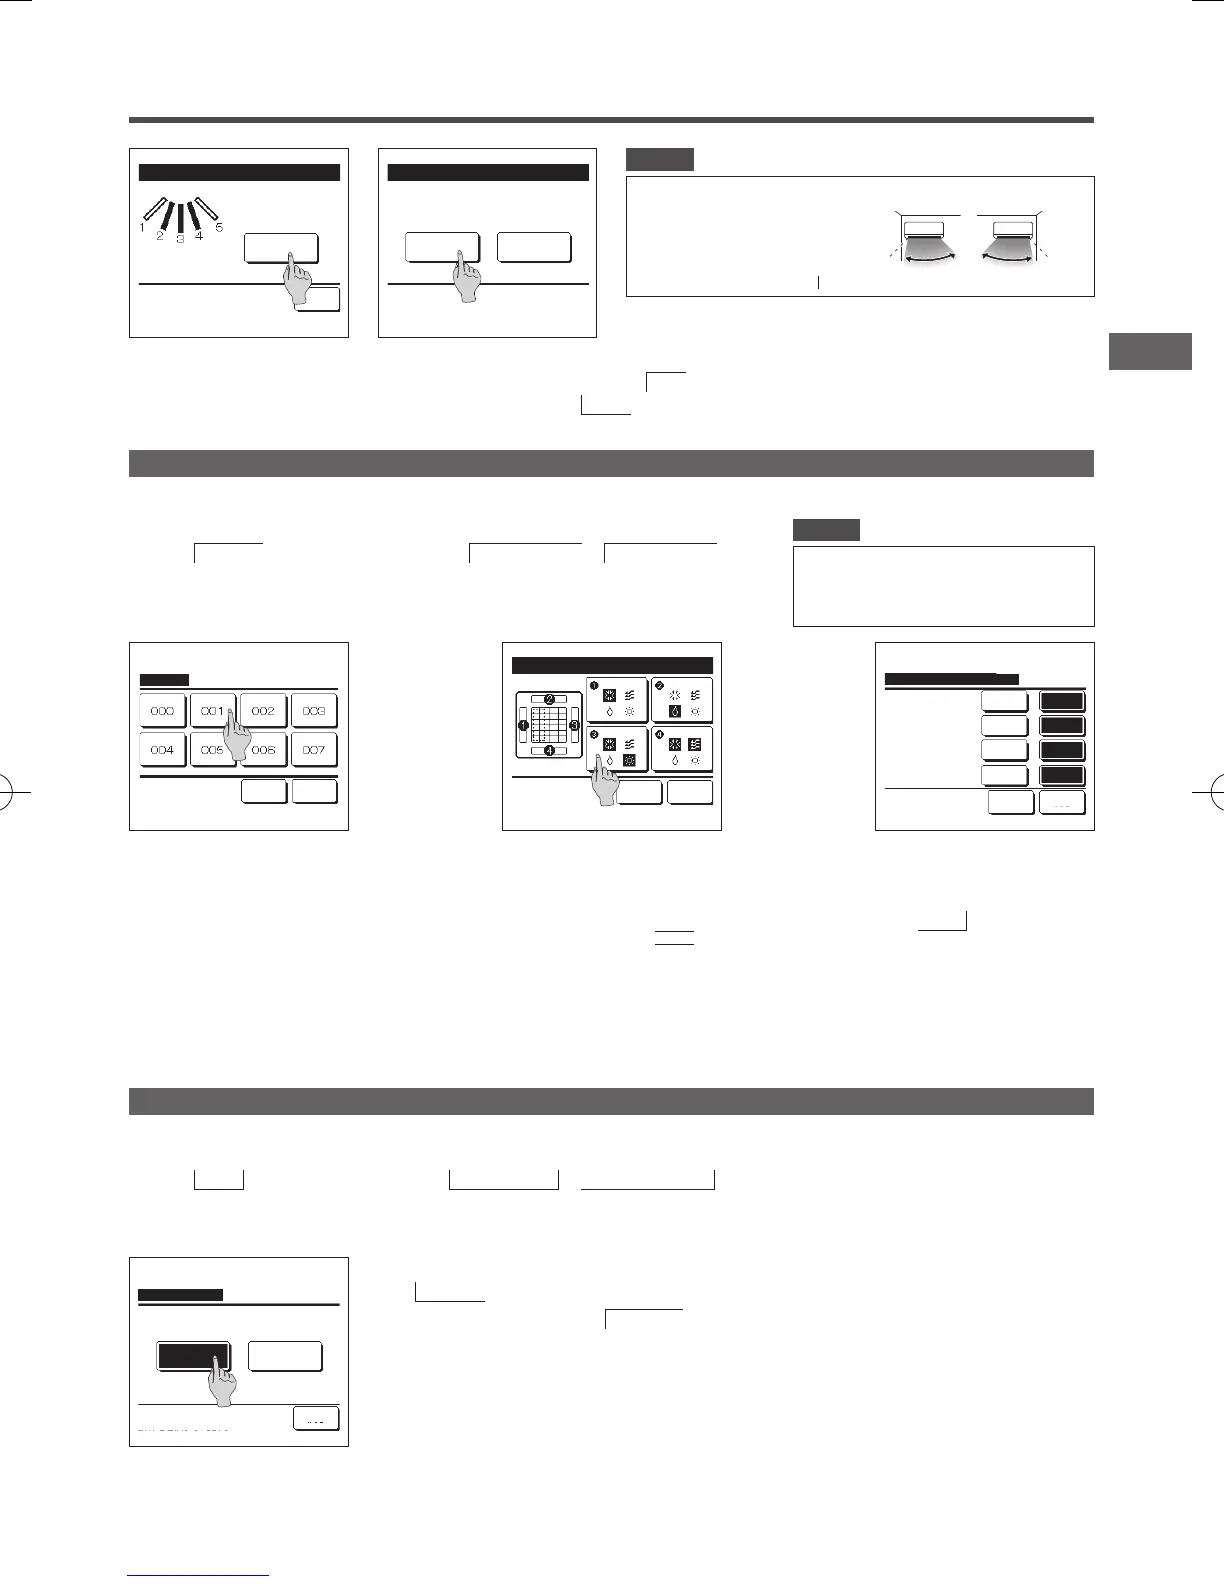
4
Select enable/disable for each
operation mode.
After you make the selection, tap
the
Set
button.
The display returns to the blow
outlet selection screen.
Anti draft setting mode setting
Set Back
Select the item.
DisableDry
DisableFan
DisableHeating
DisableCooling
Enable
Enable
Enable
Enable
2
The External ventilation screen is displayed.
If the
Venti. ON
button is tapped, the ventilation operation starts.
To stop the ventilation operation, tap the
Venti. OFF
button.
■In case that the Ventilation is set “Interlocking”, the ventilation operates interlocked with Run/Stop operation of air conditioner (refer to
Installation Manual).
1
Tap the
Menu
button on the TOP screen and select
Useful functions
⇒
External ventilation
.
■The ventilation operation is enabled in case that the External ventilation is set
“
Independent
”
(refer to the installation manual for details).
■In case that the External ventilation is set
“
Disable
”
or
“
Interlocking
”
the ventilation operation is disable.
Ventilation operation (when ventilation device is installed)
The ventilation is turned on or off if the ventilation device is installed.
External ventilation
Venti. OFF
Back
Select Venti. ON/OFF.
Venti. ON
 Loading...