Attaching the Release
Remove the screw (M2.6) in the release attaching hole with a #0 Phillips screwdriver,
and then screw in the release (No.540774/option) by hand.
• Do not pull or hit the release strongly. Some screw thread at its end may break.
• Inserting any other than the release or applying excessive force to the release mount
could result in failure.
• The amount of lifting the spindle when using the release is approximately 30mm from
the bottom dead center.
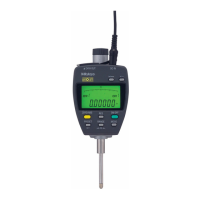
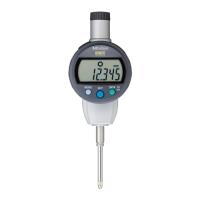
2.5 Mounting the Lug or Special Back
This Digimatic indicator can be equipped with the back with lug (No.101040: JIS, ISO type
or No.101306: AGD type, both options) for Mitutoyo standard dial indicators or either of
various special backs.
Remove the four screws on the rear and mount the back
with lug with these screws.
• For information about the assortment of accessories such as special backs, special
contact points, and extension rods, refer to the Mitutoyo general catalog, measuring
tool general catalog, or dial indicator catalogs.
2.6 Replacing the Contact Point
Various special contact points and extension rods of Mitutoyo dial indicator options are
available.
Hold the spindle with pliers while placing a waste cloth between them so that the
spindle will not rotate, and then detach/attach the contact point by pinching and
rotating it with other pliers.
• Unless the spindle is held unturned in the above procedure, a failure could be caused
in the Digimatic indicator. Causing damage to the spindle could result in a malfunction.
• Upon replacement of the contact point the external dimensions, measuring force,
measuring orientation restriction, etc., of the indicator may be changed.
• When the contact point other than the standard contact point is used, the error may be
added due to the shape of the contact point. (e.g. Perpendicularity of the contact point
and parallelism with the reference surface for the flat contact point, runout of the roller
contact point, etc.)
Back with lug
Screw
䟺 4pieces 䟻
 Loading...