STAR™ 3000 / eNode3000 User Manual
www.mojix.com
(877) 886-6549
4 STAR Power Supply Installation
Recommended installation of the power supply is a wall mounted configuration within 20 feet
from the STAR Receiver.
4.1 Wall Mount Power Supply
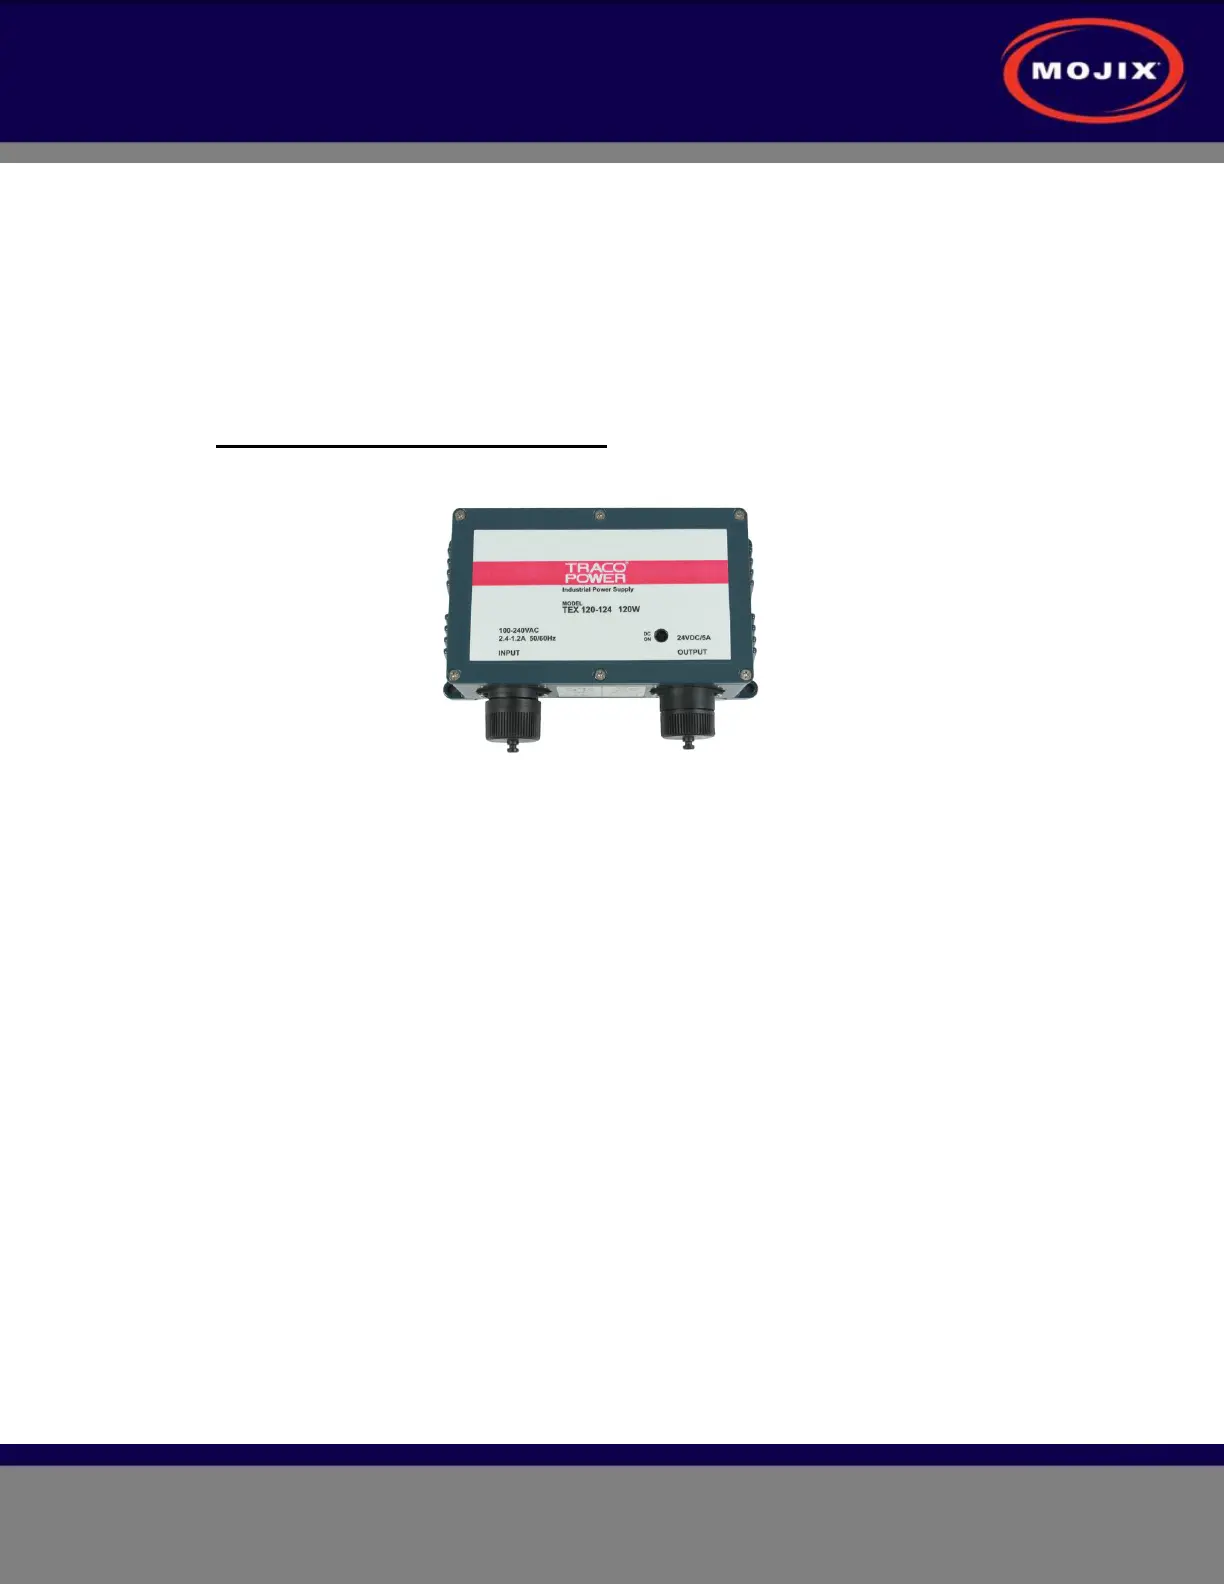
The following illustration shows the power supply with integrated mounting brackets.
Figure 8: STAR Power Supply
The wall mounted power supply requires the following hardware (not included with shipment):
• #6 Drywall (bugle head) or #6 wood screws if the unit is being fastened to a wooden
surface.
• For a solid wood mount, box nails are a suitable option provided that the head diameter
is more than .28” and less than .30” in diameter and the shank of the nail is at least 2”
long.
• For a metal surface mount that is at least .1875” thick, #6-32 pan head machine screws
may be used.
• For drywall/plaster fastening, 1/8 Molly or Toggle bolts must be used.
The recommended mounting procedure is:
1. For drywall mounts, "Molly Bolts" are preferred. Alternatively, toggle bolts are a suitable option
because they offer a pull-down force more than 4X the industry standard and are highly
recommended in areas prone to seismic activity.
2. Alternatively for drywall mounts, Bugle-head #6 Drywall screws (coarse thread) are also acceptable, if
all 4 tie-down points are used, offering an industry standard with pull-down strength of at least 4X the
weight of the unit.
3. If the wall thickness is at least 1/2" wood (plywood, for example), nails can also be used.
Cables must be properly dressed and supported. Both AC and DC cables should be routed with
a service loop and must be supported at least once within 18” of the power supply unit. Cables


 To Next Page