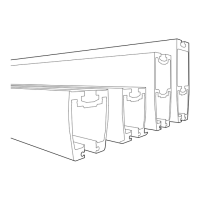
Principle work flow for OH installation
Recommended steps below to be performed by
installer on site:
1. Measurements – verify dimensions in drawings /
results of site survey
a. Report any mistaken dimensions or
failures early in the project
b. Place the profiles on floor according
to layout – do you have to modify
profiles?
What about the planned placement
of the charging stations? Are they
correct?
2. Locate and mark fixing points
a. On the rails use a laser beam to
identify locations of the fixings /
holes
b. Does the planned installation make
any conflicts with other installations
/ suspended ceiling grid (are the grid
already in place?)
3. Drill holes
a. Use correct dimensions on drill bit
according to the manufacturers
specifications. (diameter / depth)
b. Remove dust and remains after
drilling
4. Mount fixings and attachments
a. Fix brackets to ceiling
b. Roughly adjust telescopes and
threaded rods (laser leveller)
5. Elevate rail system
a. Insert all multibolts necessary. Insert
from the profile end.
b. Elevate MRS rails and curves to
brackets
6. Lock profiles to brackets
a. Join rail with joint sets
b. Use correct tightening torques
according to installation instructions.
c. Loctite where necessary according
to installation instructions
7. Mount trolleys and end stops
a. Single / straight systems
b. Traverses
c. Combined systems
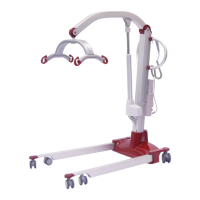
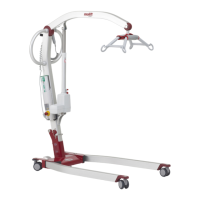
8. Mount lift motor
a. Trolley
b. Charging stations
c. Start up lift motor
9. Check installations acording to Checklist for
installation of Molift Rail System