4
Installation 4-1DXL5000 User and Technical Manual
Installation
4.1 Chapter Overview
This chapter describes how to unpack and install your DXL5000
Digital Microwave System (DXL5000). The topics covered in this
chapter are as follows:
Topic Page
Unpacking 4-1
Initial Inspection 4-1
Damage in Shipment 4-2
Installing the DXL5000 System 4-2
Site Preparation 4-2
Mounting the DXL5000 Transmitter and
Receiver
4-2
Power Connections 4-4
Power Requirements 4-4
Power Supply and Distribution 4-4
Grounding 4-5
Connections 4-5
Transmitter Rear Panel Connectors 4-5
Receiver Rear Panel Connectors 4-5
MGMT Connections 4-10
SUMMARY ALARM Connections 4-10
CHAN1 and CHAN2 T1/E1 Connections 4-10
WAYSIDE DATA Connections 4-11
CHAN1 and CHAN2 DATA Connections 4-11
Initial Power Up/Power Down 4-12
Checks Before Power-Up 4-12
4.2 Unpacking
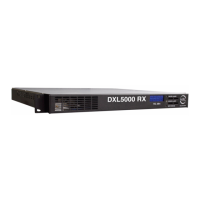
Each DXL5000 System Transmitter and Receiver is shipped
assembled, wired, and factory tested. Each unit is packaged in
appropriate shipping containers.
Here are some tips to help you with unpacking your new
equipment:
• Unpack the equipment carefully to avoid accidental
damage.
• Be sure to locate all parts and accessories.
• Verify that the items shipped agree with those listed on
the packing list.
• DO NOT discard the container(s) or packing material until
you have inspected the equipment and are sure there is
no shipping damage. The container(s) and packing must
be available in the event that a damage claim needs to be
filed with the shipping carrier.
4.3 Initial Inspection
After the equipment is unpacked, we recommend you inspect it
using the following checklist:
• Check for any dents or scratches.
• Check that the equipment is clean and dry.
• Check that no cables or connectors are broken, damaged,
or loose.
Initial Power-Up 4-12
Power Down 4-12
Product Modifications 4-13
 Loading...