23
Installation
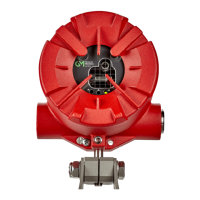
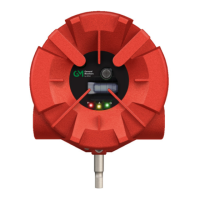
FL500 UV/IR Flame Detector
US
3.5.2 TB2, Alarm Low Relay Connection
The output for the SPDT Alarm Low relay is immediate. Alarm Low output can be normally energized
or normally de-energized, latching or non-latching.
All options can be set through Modbus, HART, or the DIP switch. Refer to Section 4.2 "Changing
Device Settings" for instructions.
3.5.3 TB1, Fault Relay Connection
The standard configuration for the SPDT Fault relay is normally energized and non-latching. This
configuration cannot be changed.
The Fault relay is activated during the time-out function, a low-power or loss-of-power condition, and
a COPM Fault. For the duration of these conditions, the Fault relay de-energizes and the signal for
analog output decreases to 0 mA (2 mA for a COPM Fault).
3.5.4 Alarm Reset Switch
Use the Alarm Reset switch to set latched Alarm High or Alarm Low output that is no longer applicable
back to its initial condition.
Do the following:
(1) Connect one contact of a normally open momentary switch to TB1 Terminal 3.
(2) Connect the other contact to COM (device Common).
(3) Push and release the Alarm Reset switch.
TB2
Position
Alarm Low
Relay
Relay Contact
(De-Energized)
Relay Contact
(Energized)
8 C Common Common
9 1 Normally Closed Normally Open
10 2 Normally Open Normally Closed
TB1
Position
Fault Relay
Relay Contact
(De-Energized)
Relay Contact
(Energized)
9C C C
8 1 Normally Closed Normally Open
10 2 Normally Open Normally Closed
Position Function
TB2 POS 11 RESET
TB2 POS 14 TEST
Multiple devices cannot be put in a daisy-chain configuration to use the Alarm Reset
switch. Each latching Alarm Low and Alarm High output must be reset manually.