8
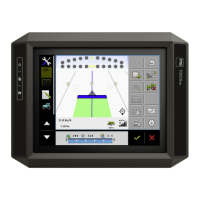
Tractor-ECU application
Parameter
6. - Open the tractor geometry screen.
7.
- Call up the screen for configuring the front connector types.
⇨ The “Front - connector type” screen appears.
8.
- Add a connector.
9. Select the connector type.
10. Enter the distance between the rear axle and the front mounting or attachment point.
11.
- Confirm.
12. Optionally, you can
edit or delete other connector types.
13.
- Repeat this procedure for the rear connector types. Enter the distance between the rear
axle and the rear mounting or attachment point.
14.
- Terminate the entry.
⇨ The tractor geometry can now be viewed and edited. [➙ 58]
Configuring the tractor geometry
You have configured the connector types of the tractor. [➙ 57]
1.
- Open the Tractor ECU application.
2. Tap “Settings”.
⇨ The existing tractor profiles appear.
⇨ If a tractor profile is activated, most of the other function icons are greyed-out.
3.
- To edit a tractor profile or to create a new one, you must deactivate the activated tractor
profile.
4. Tap on the tractor profile to be edited.
5.
- Call up the parameter list.
⇨ The parameters are displayed.
6.
- Open the tractor geometry screen.
7.
/ - Select the currently used connector type. Per default, the connector type is
always set to “Unknown”. Please note that when you select a different connector type or multiple
different connector types, the automatic list of connections no longer works. You then have to list
the connections manually.
8. Adopt the pre-set distances for the connector types or enter new distances as shown in the
figure above.