User Manual
Falling Edge: Display the falling edge of square waveform
Cancel Autoset:Go back to display the upper menu and waveform information
Note: The Autoset function requires that the frequency of signal should be no lower
than 20Hz, and the amplitude should be no less than 5mv. Otherwise, the Autoset
function may be invalid.
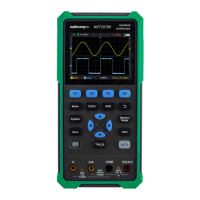
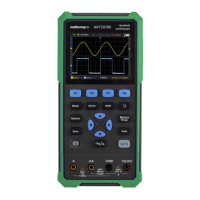
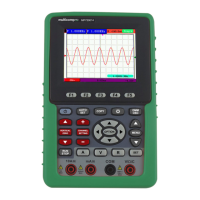
Run/Stop: Enable or disable sampling on input signals.
Notice: When there is no sampling at STOP state, the vertical division and
the horizontal time base of the waveform still can be adjusted within a
certain range, in other words, the signal can be expanded in the horizontal or
vertical direction.
When the horizontal time base is ≤50ms, the horizontal time base can be
expanded for 4 divisions downwards.
Single: Push this button you can set the trigger mode as single directly, so when
trigger occurs, acquire one waveform then stop.
Copy: You can save the waveform by just pushing the Copy panel button in any
user interface. The source wave and the storage location are according to
the settings of the Save function menu when the Type is Wave. For more
details, please see "Save Function Menu" on P65.
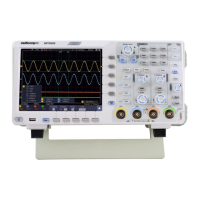
How to Print the Screen Image
To print an image of what appears on the oscilloscope screen, do as the follows:
(1) Connect the printer to the USB Device port on the rear panel of the oscilloscope.
Note: The USB Device port supports PictBridge compatible printers.
(2) Push the Utility button, select Function in the bottom menu, select Output in the
left menu.
(3) In the bottom menu, select Device as PICT. (When PC is selected, you can get
an image by Oscilloscope software.)
(4) In the bottom menu, select Print Setup. In the right menu, set up print parameters.
The On selection of Ink Saver will print out a copy with a white background.
(5) Once you have connected a printer to your oscilloscope and set up print
parameters, you can print current screen images with a single push of the Print
button on the front panel.