User Manual
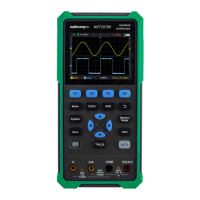
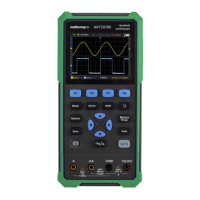
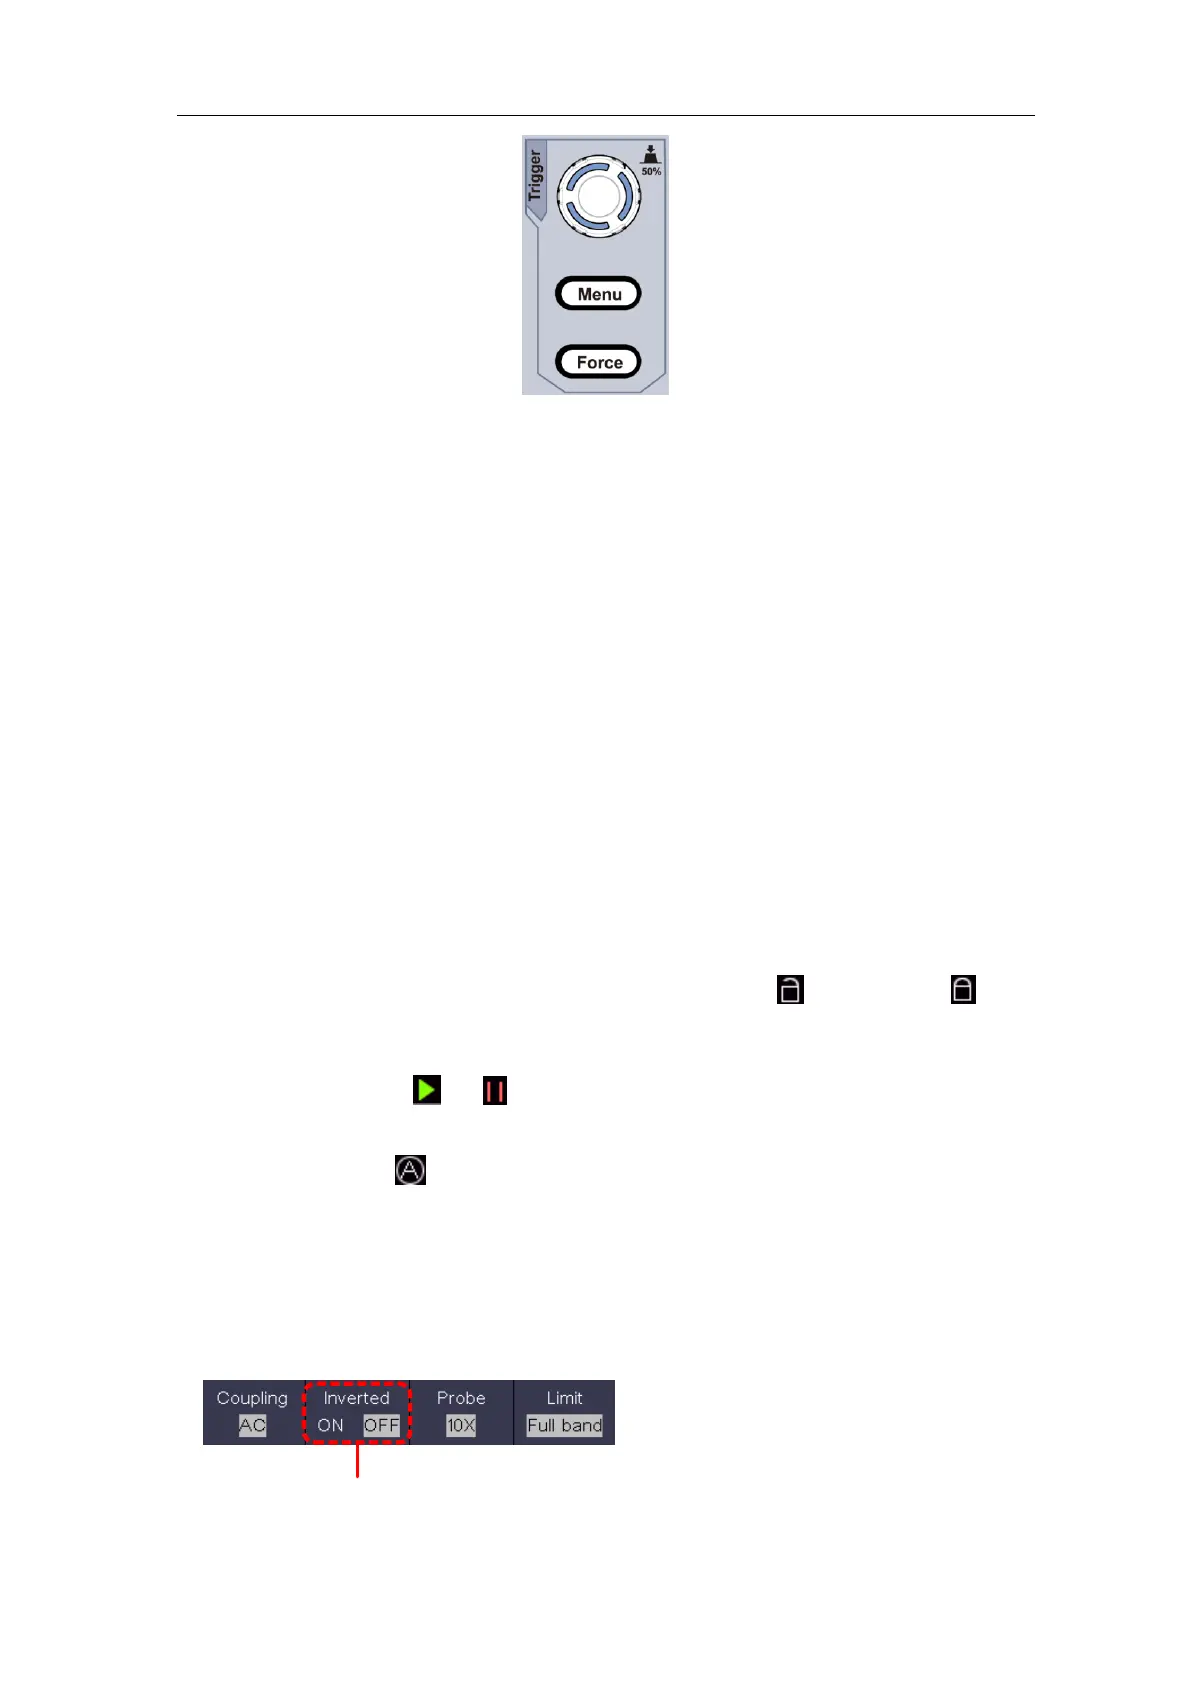
Figure 3-12 Trigger Control Zone
1. Push the Trigger Menu button and call out the trigger menu. With the operations
of the menu selection buttons, the trigger setting can be changed.
2. Use the Trigger Level rotary control to change the trigger level setting.
By turning the Trigger Level rotary control, the trigger indicator in the screen
will move up and down. With the movement of the trigger indicator, it can be
observed that the trigger level value displayed in the screen changes accordingly.
Note: Turning the Trigger Level rotary control can change trigger level value
and it is also the hotkey to set trigger level as the vertical mid point values of the
amplitude of the trigger signal.
3. Push the Force button to force a trigger signal, which is mainly applied to the
"Normal" and "Single" trigger modes.
Touchscreen Controls (Touchscreen is optional)
If the LCD is touchscreen, you can control the oscilloscope by different gestures. The
touchable icon at the top right of the screen is used to enable (
) or disable (
) the
touchscreen controls.
The instruction of touchscreen controls is as below.
Run/Stop: Click the or on the left top of the display area to run or stop the
waveform sampling.
Autoset: Click the on the left top of the display area to auto set.
Select a menu item: Touch the menu items in the bottom menu, or in the right menu,
or in the left menu.
Switch menu items: If there are options that can be switched on the menu, you can
repeatedly touch the area of the menu item to switch, or push the corresponding
button to switch. See figure below:
Press repeatedly to
switch the options