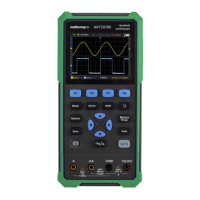
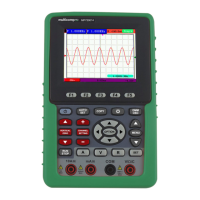
User Manual
Warning:
To avoid electric shock, always keep your finger behind the safety guard
ring of the probe during the operation.
To protect you from suffering from the electric shock, do not touch any
metal part of the probe tip when it is connected to the power supply.
Before making any measurements, always connect the probe to the
instrument and connect the ground terminal to the earth.
How to Implement Self-calibration
The self-calibration application can make the oscilloscope reach the optimum
condition rapidly to obtain the most accurate measurement value. You can carry out
this application program at any time. This program must be executed whenever the
change of ambient temperature is 5℃ or over.
Before performing a self-calibration, disconnect all probes or wires from the input
connector. Push the Utility button, select Function in the bottom menu, select Adjust.
in the left menu, select Self Cal in the bottom menu; run the program after everything
is ready.
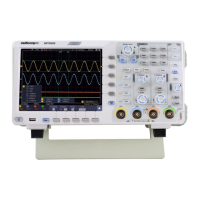
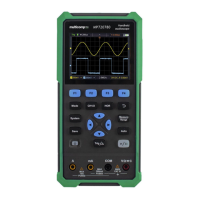
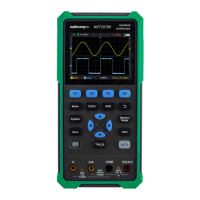
Introduction to the Vertical System
As shown in Figure 3-10, there are a few of buttons and rotary controls in Vertical
Controls.
The 4 channels are marked by different colors which are also used to mark both the
corresponding waveforms on the screen and the channel input connectors. Press one
of the channel buttons to open the corresponding channel menu, and press again to
turn off the channel.
Press the Math button to display the math menu in the bottom. The pink M waveform
appears on the screen. Press again to turn off the math waveform.
The 4 channels use the same Vertical Position and Vertical Scale rotary controls. If
you want to set the vertical scale and vertical position of a channel, please press CH1,
CH2, CH3 or CH4 at first to select the desired channel. Then turn the Vertical
Position and Vertical Scale rotary controls to set the values.