Nasuni Edge Appliance Initial Configuration Guide 8.3 49
Accessing Volumes Mapping a Windows Network Drive to a CIFS Share
Mapping a Windows Network Drive to a CIFS Share
You can map a Windows network drive to a CIFS share on the Nasuni Edge Appliance.
Note: You must have share privileges to access the folder on the Nasuni Edge Appliance and
map a network drive to it. See “Adding a New CIFS Share to a Volume” and “Editing a
CIFS Share” in the Nasuni Edge Appliance Administration Guide for more details.
Tip: If using the Windows “net use” command, ensure that the user name is expressed in the
form
/user:[DomainName\]UserName]
or
/user:[DottedDomainName\]UserName
For example:
net use r: \\1.1.1.1\Volume_HW_filer
/user:mydomain.mycompany.com\user_person password
Tip: Before adding data to a Nasuni Edge Appliance, it is a Best Practice to clean up historical
and orphaned SIDs. This can help prevent later difficulties with permissions. For more
details, see
CIFS Permissions Best Practices.
To map a Windows network drive to a CIFS share:
1. In Windows, right-click My Computer.
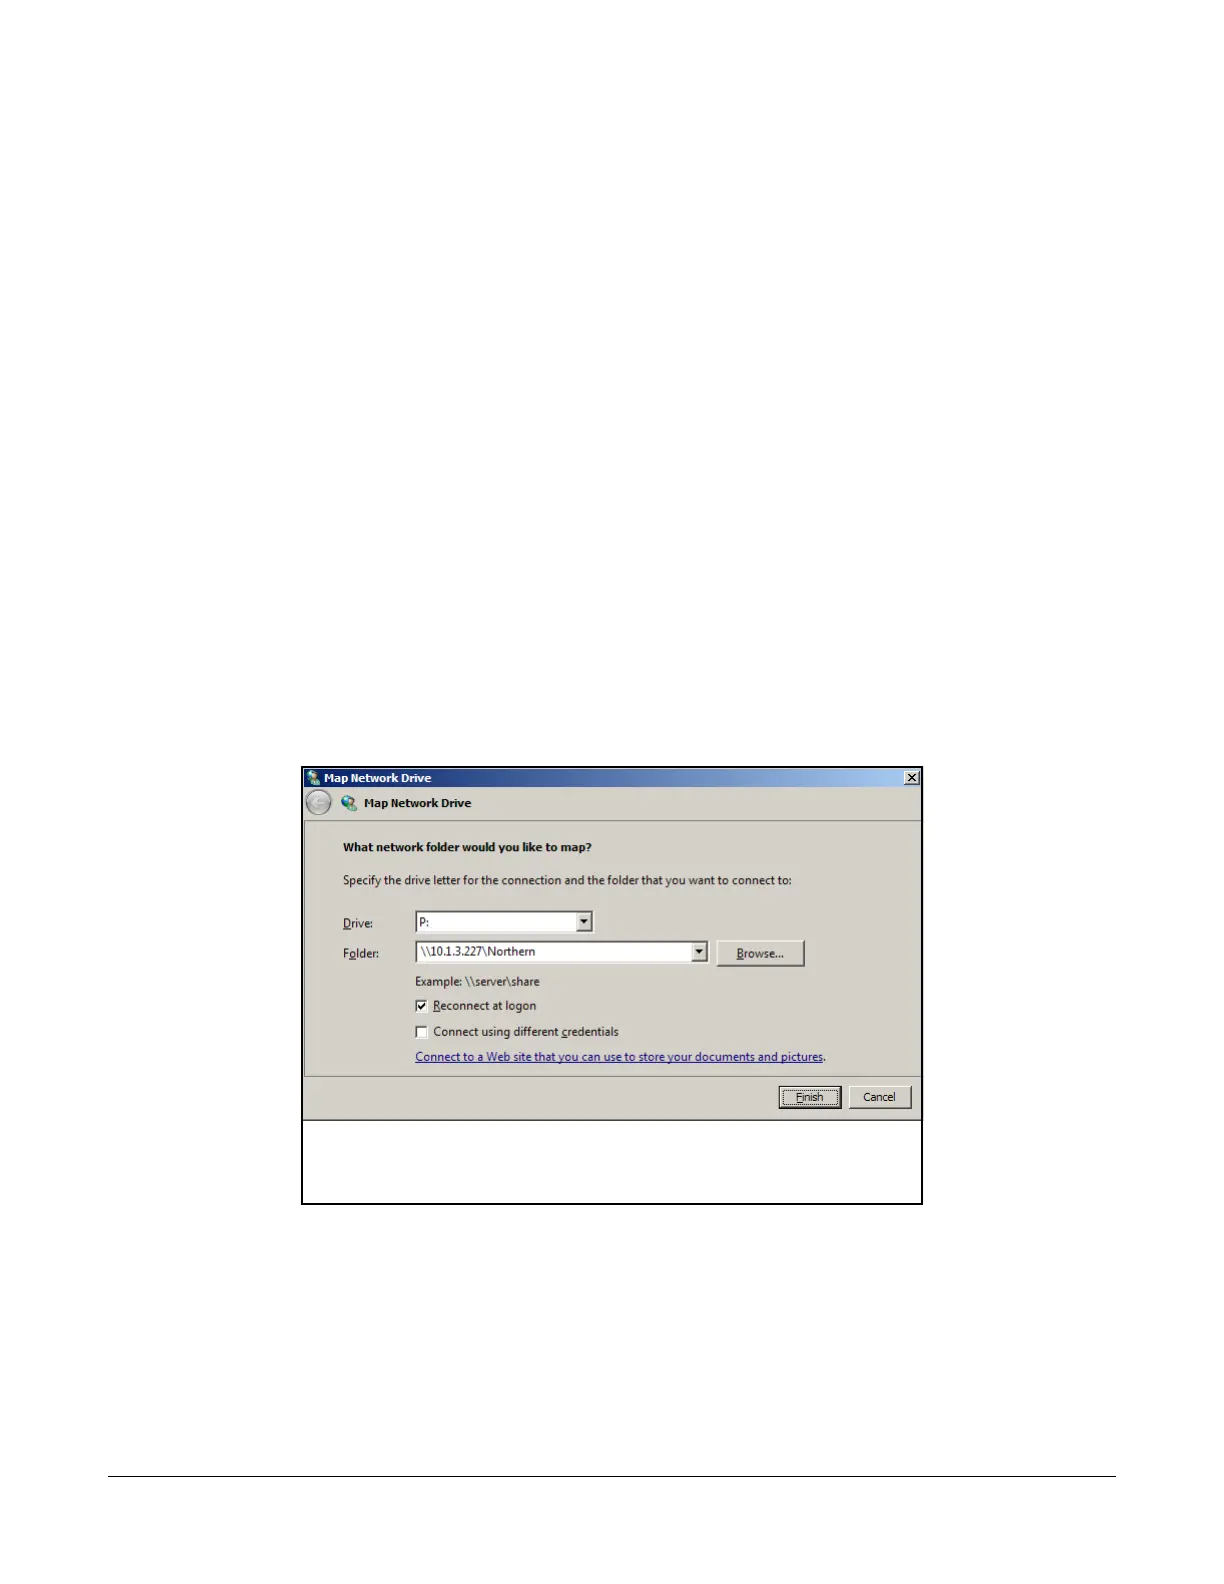
2. Select Map Network Drive. The Map Network Drive dialog box appears.
Figure 2-6: Map Network Drive dialog box.
3. From the Drive drop-down menu, select an available network drive letter to map the share to.
An unused network drive letter is automatically selected.
4. From the Folder drop-down list, select a shared folder on the Nasuni Edge Appliance.
Alternatively, in the Folder text box, enter the IP address or URL of a shared folder on the
Nasuni Edge Appliance. For example, \\10.1.10.97\files.