Nasuni Edge Appliance Initial Configuration Guide 8.3 79
Accessing Volumes Nasuni Mobile Access
To create a new file on the Nasuni Edge Appliance within the app, perform the usual New File
procedure for that app. When done with the file in the app, perform the usual File Save As procedure.
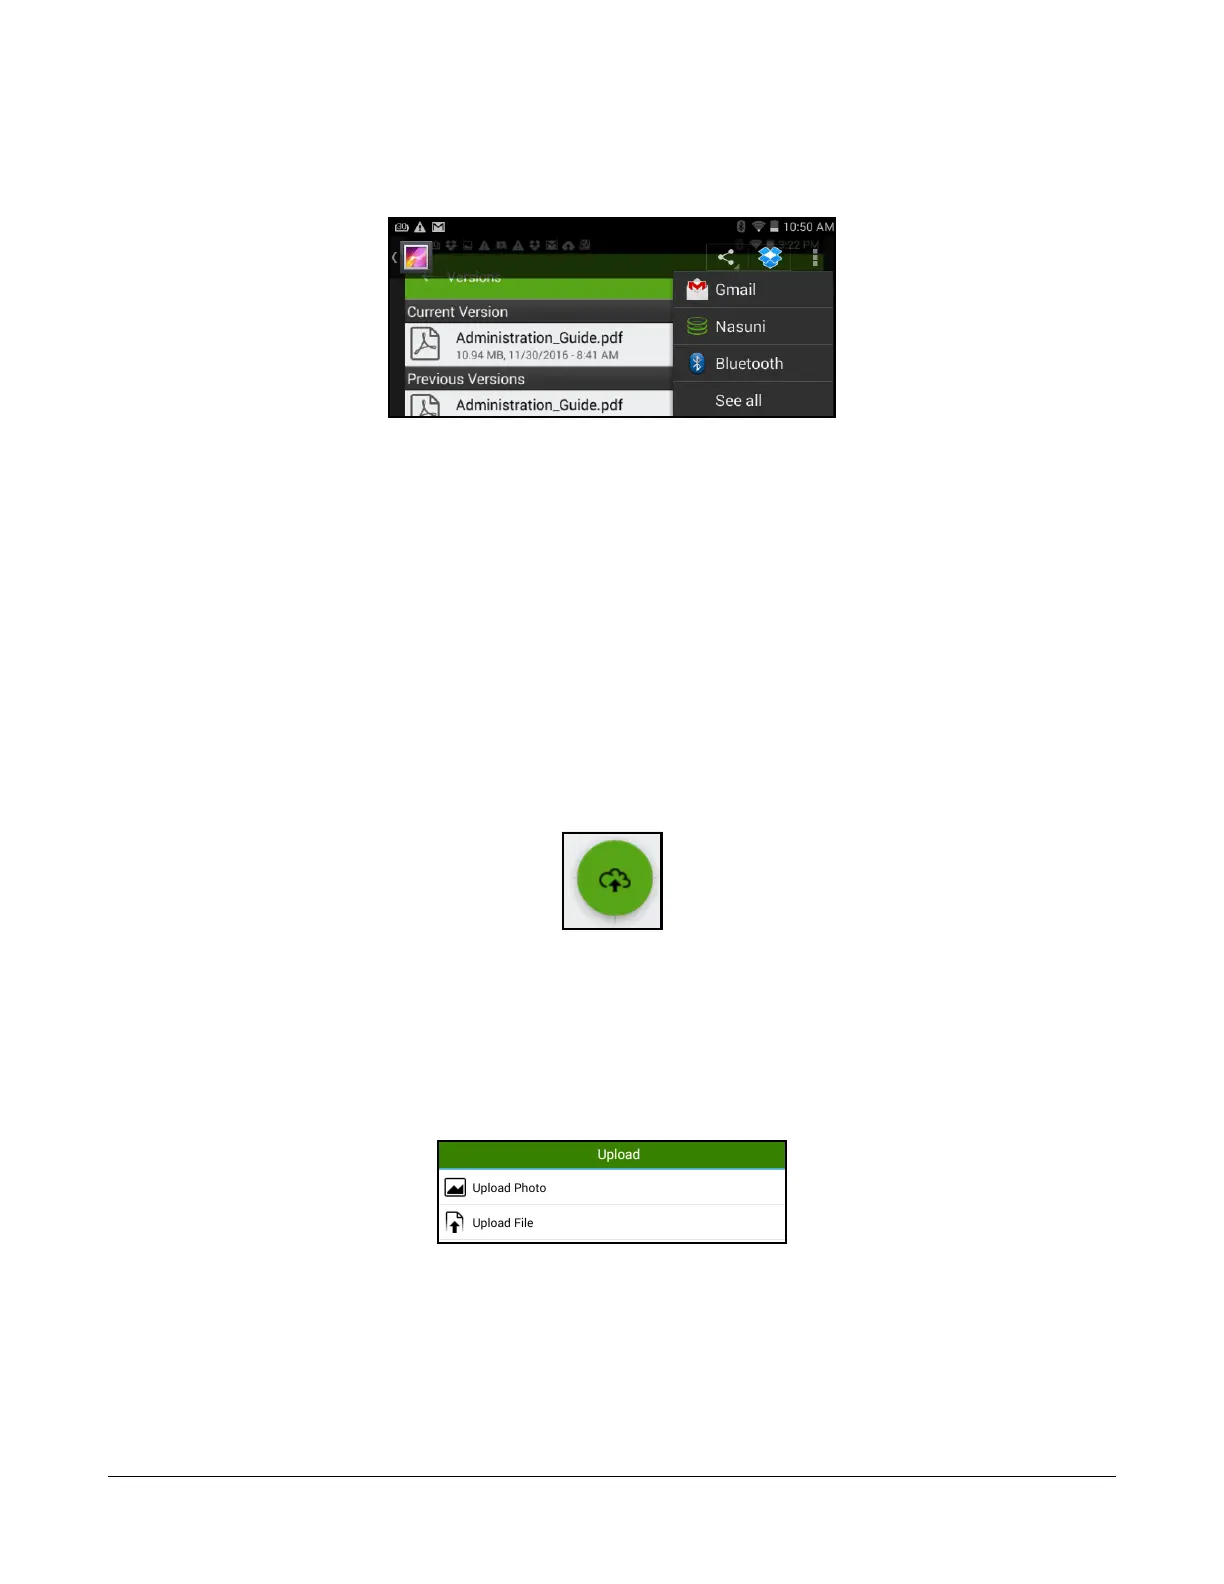
Select Browse or Share. A list of available destinations, including the Nasuni Edge Appliance, appears.
Figure 2-35: Destinations for file on device.
Select Nasuni from the list. The Nasuni app displays the Nasuni Edge Appliance. Navigate to the folder
where you want to save the new file. The file is saved to the Nasuni Edge Appliance.
Caution: The length of a path, including the file name, must be less than 4,000 bytes. Since
the Unicode representation of a character can occupy several bytes, the maximum
number of characters that a file path might contain can vary.
Uploading a file
Tip: Before adding data to a Nasuni Edge Appliance, it is a Best Practice to clean up historical
and orphaned SIDs. This can help prevent later difficulties with permissions. For more
details, see
CIFS Permissions Best Practices.
To upload a file to a folder on the Nasuni Edge Appliance, navigate to the destination folder, then tap
the Upload icon at the bottom of the display.
Figure 2-36: Upload icon.
Tip: For iOS, tap the three-dot icon at the top right, then tap “Upload File”.
Caution: The length of a path, including the file name, must be less than 4,000 bytes. Since the
Unicode representation of a character can occupy several bytes, the maximum
number of characters that a file path might contain can vary.
A menu appears with several choices of the kind of item to upload.
Figure 2-37: Upload list.
Select the type of item from the list. A list appears of folders and available files for that type of item on
the device. Navigate to the file to upload, then select it. Tap OK.
Note: For iOS, when uploading multiple files, the limit is 25.