139
6. Connecting to Other Equipment
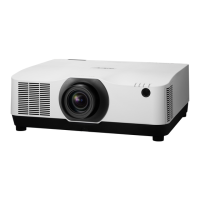
3. Insert the lens onto the projector facing the arrow on the
lens-label upward.
Insert the lens slowly all the way in.
Guiding notch
Protrusion
Arrow
4. Turn the lens clockwise.
Turn until a click is heard.
The lens is now fastened onto the projector.
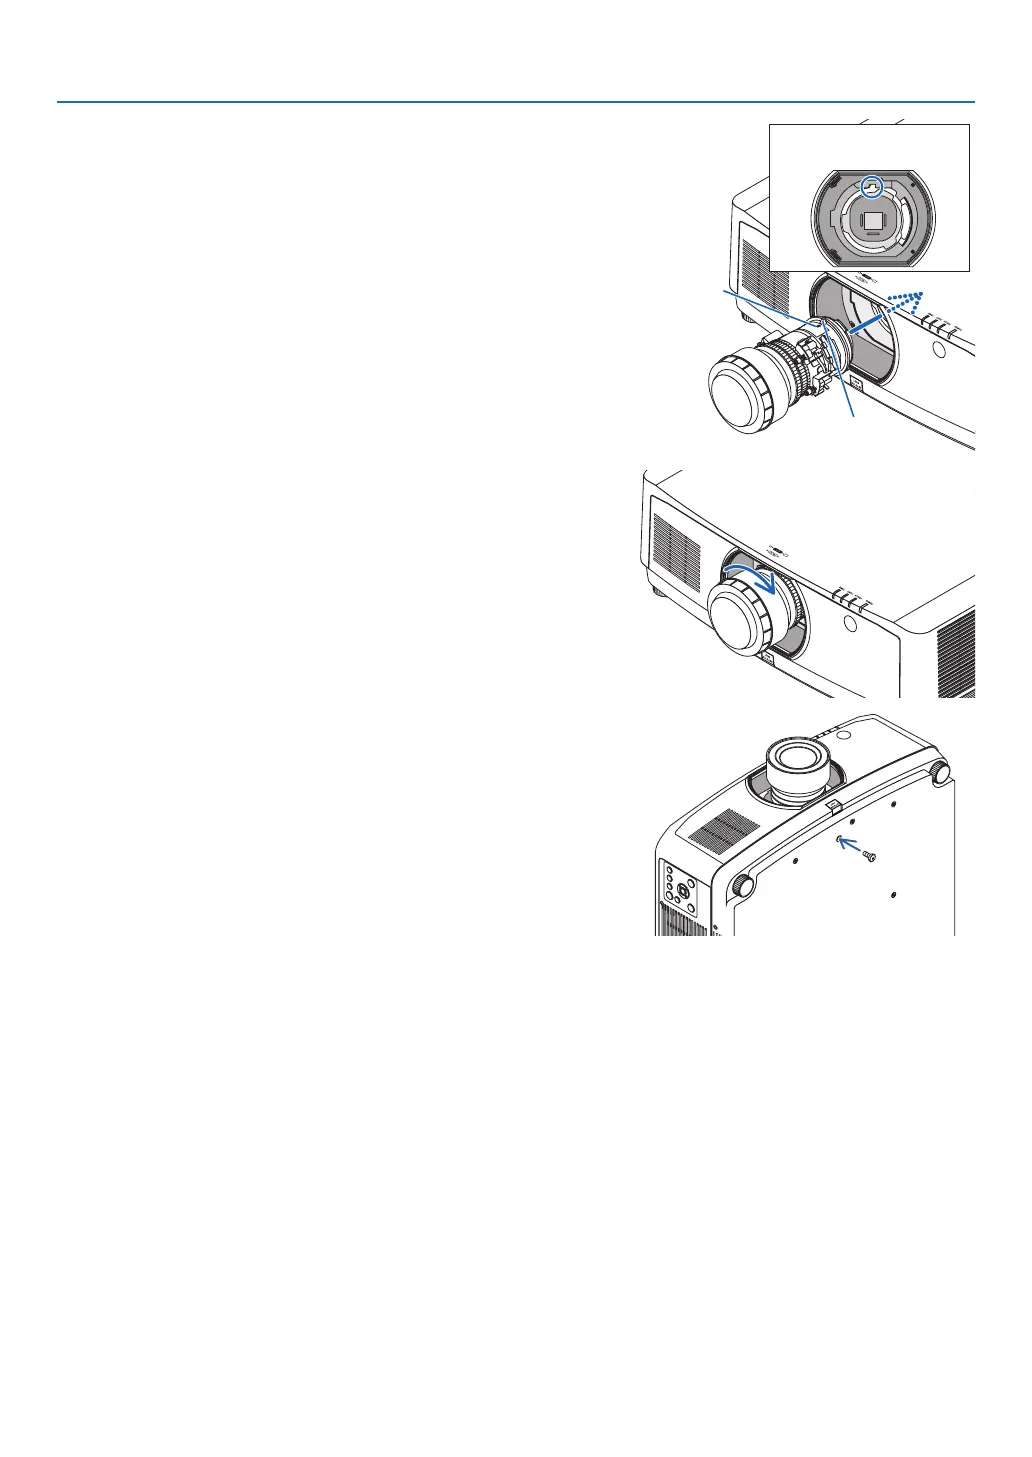
TIP: Mounting the lens theft prevention screw
Fasten the lens theft prevention screw included with the projector to the
bottom of the projector so that the lens cannot be removed easily.
 Loading...