164
6. Installation and Connections
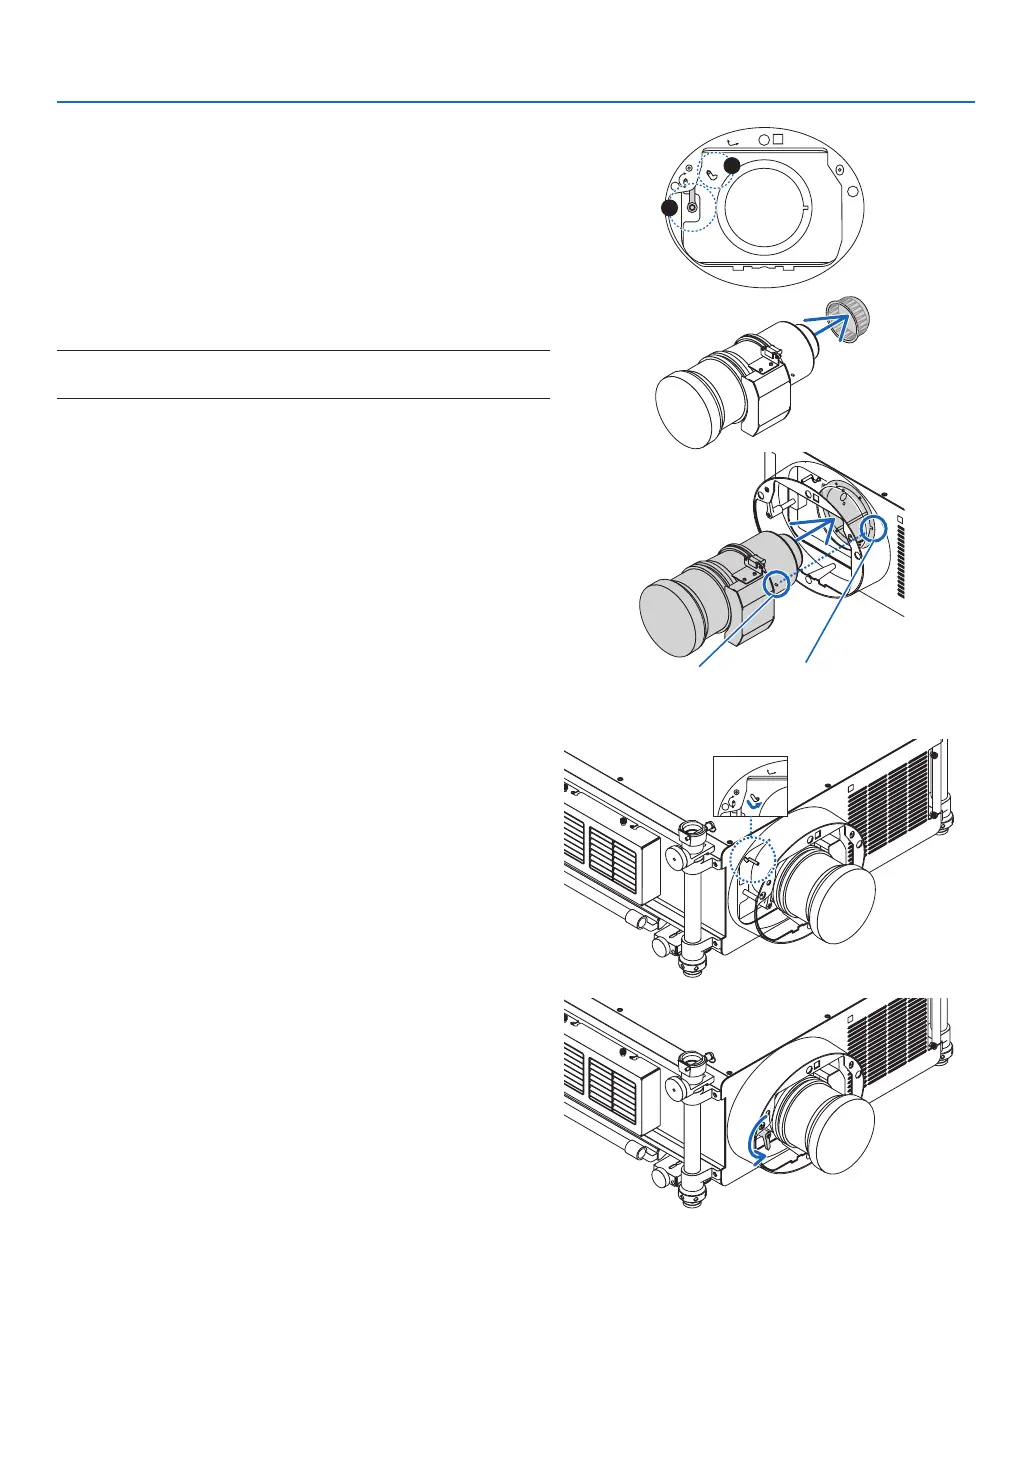
(2)Makesurethatthelensreleaseleverpointsupward(RE-
LEASE).
(3)Makesurethatthesafetyleverissettotheunlockedposi-
tion(UNLOCK)topreventthelensfromfallingout.
UNLOCK
LOCK
RELEASE
LOCK
LENS
2
3
2. Removethelenscaponthebackofthelens.
• TheNP27ZLlensisusedasanexample.
NOTE:Mountingthelenswithlenscaponitsbacktotheprojectorcan
cause malfunction.
3. Placetheguidepininthecorrectorientationbyaligning
itwiththenotchonthelenshood,theninsertthelens
intotheprojector.
Push the lens slowly until it comes to a complete stop.
Guidepin
Notch
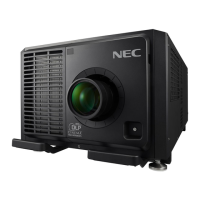
4. Setthesafetylevertotherightposition(LOCK)tolock
thelens.
5. Slowlyturnthelensreleaselevercounterclockwiseuntil
thelensreleaseleverisfacingdownward.
• Ifthelensreleaselevercannotbeturned,itmeansthat
the lens is not fully inserted.
Turnbackthelensreleaselevertotheunlockedposition
and push the lens into the projector until it comes to a
complete stop.