Storage Central Turbo Model SC101T and Storage Central Model SC101 User Manual
2-9
v1.0, December 2006
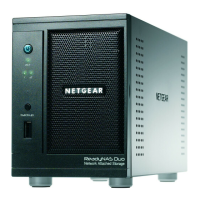
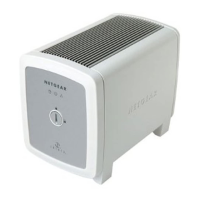
7. Plug in the power adapter to a power source and connect the other end to the Storage Central
SC101. View the front panel to verify that the green power light is on and that the yellow
network light is on.
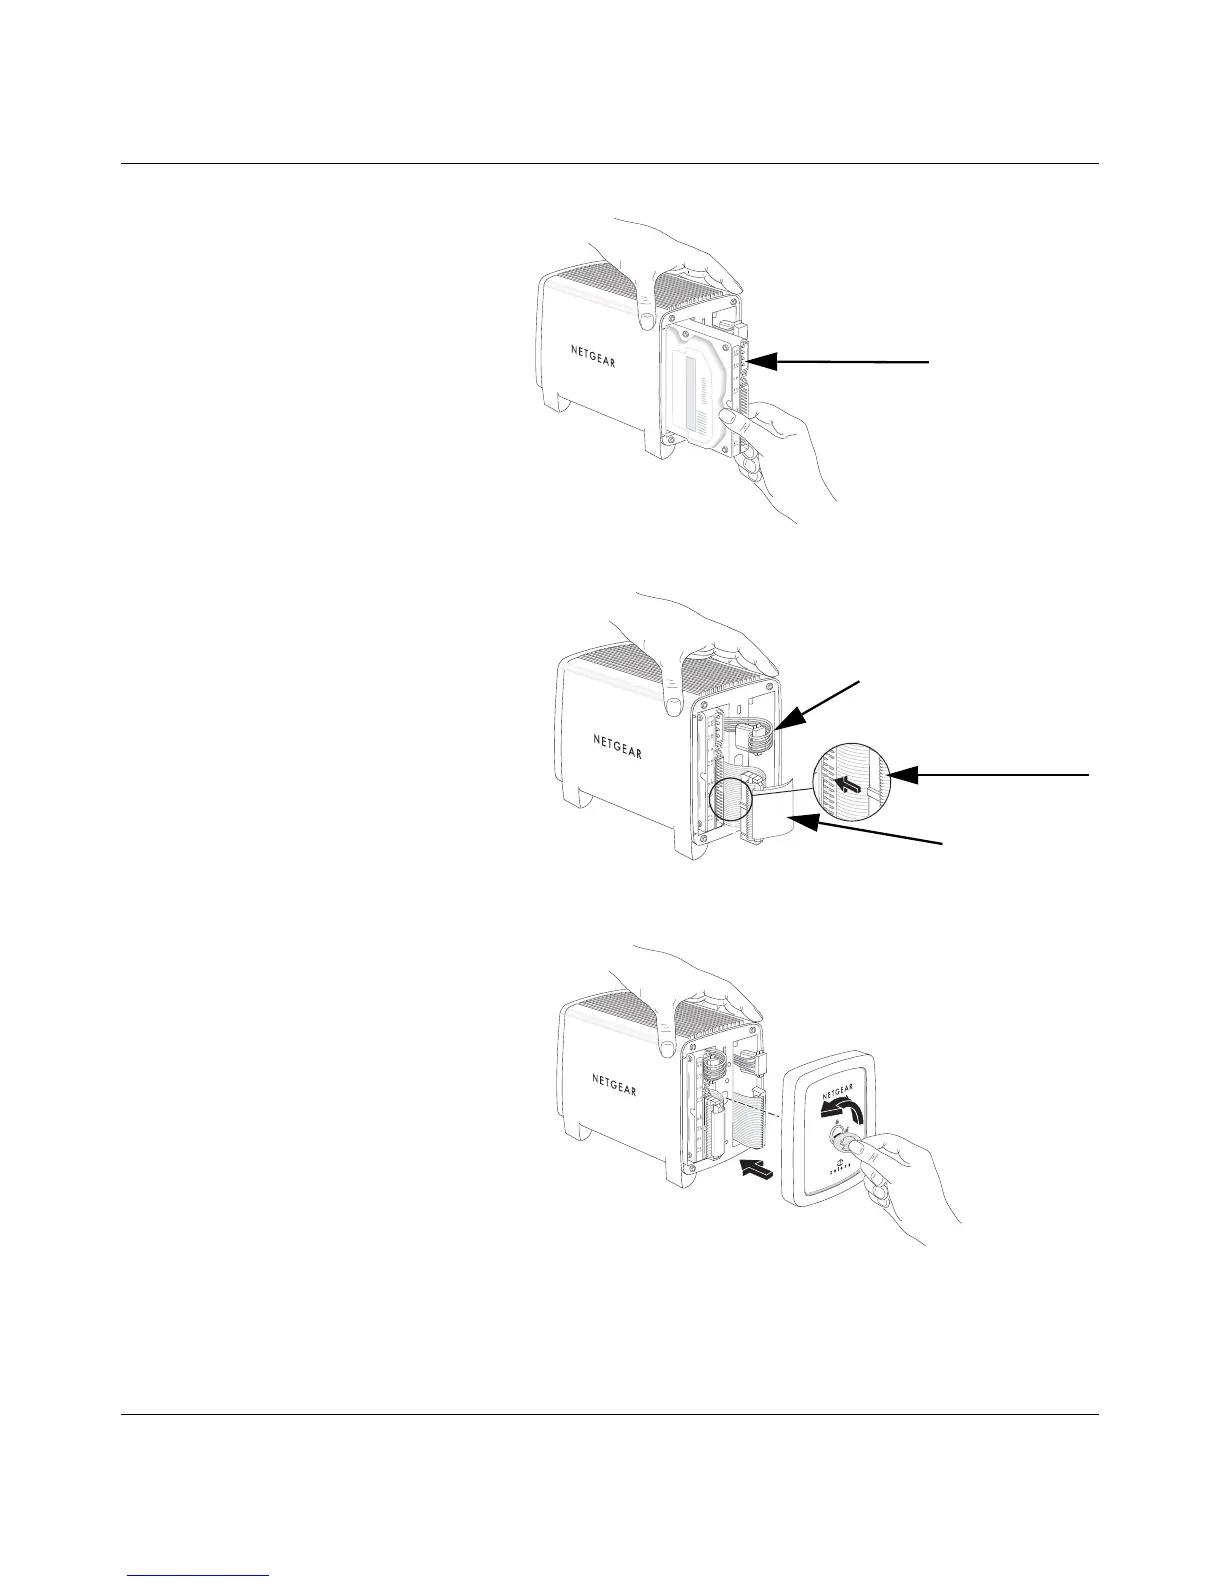
3. Insert the hard disk.
a. Position the hard disk so that
the D-shaped power socket is
on the top.
b. Slide the hard disk into either
slot.
Figure 2-13
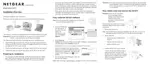
4. Connect the hard disk cables.
a. Align and insert the hard disk
power cable into the D-shaped
power socket.
b. Align the data cable key with the
slot on the data cable socket and
insert the cable. Neatly tuck the
cables in so that you will be able
to attach the cover.
Figure 2-14
5. Attach the front cover.
a. Align the cover with the unit.
b. Using a screwdriver or coin to
hold the cover lock open, attach
the cover, and release the lock.
6. Connect the provided Ethernet cable
to your network and to the back of the
Storage Central SC101. Be sure that
your network is running and uses
DHCP. Most home networks use
DHCP by default.
Figure 2-15
D-shaped
power socket
Hard disk power cable
Data cable
Data cable key