Storage Central Turbo Model SC101T and Storage Central Model SC101 User Manual
2-7
v1.0, December 2006
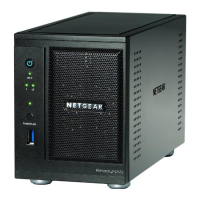
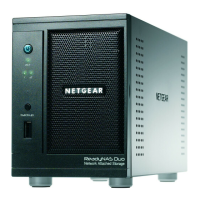
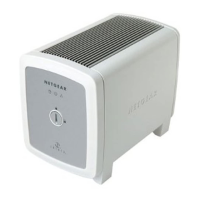
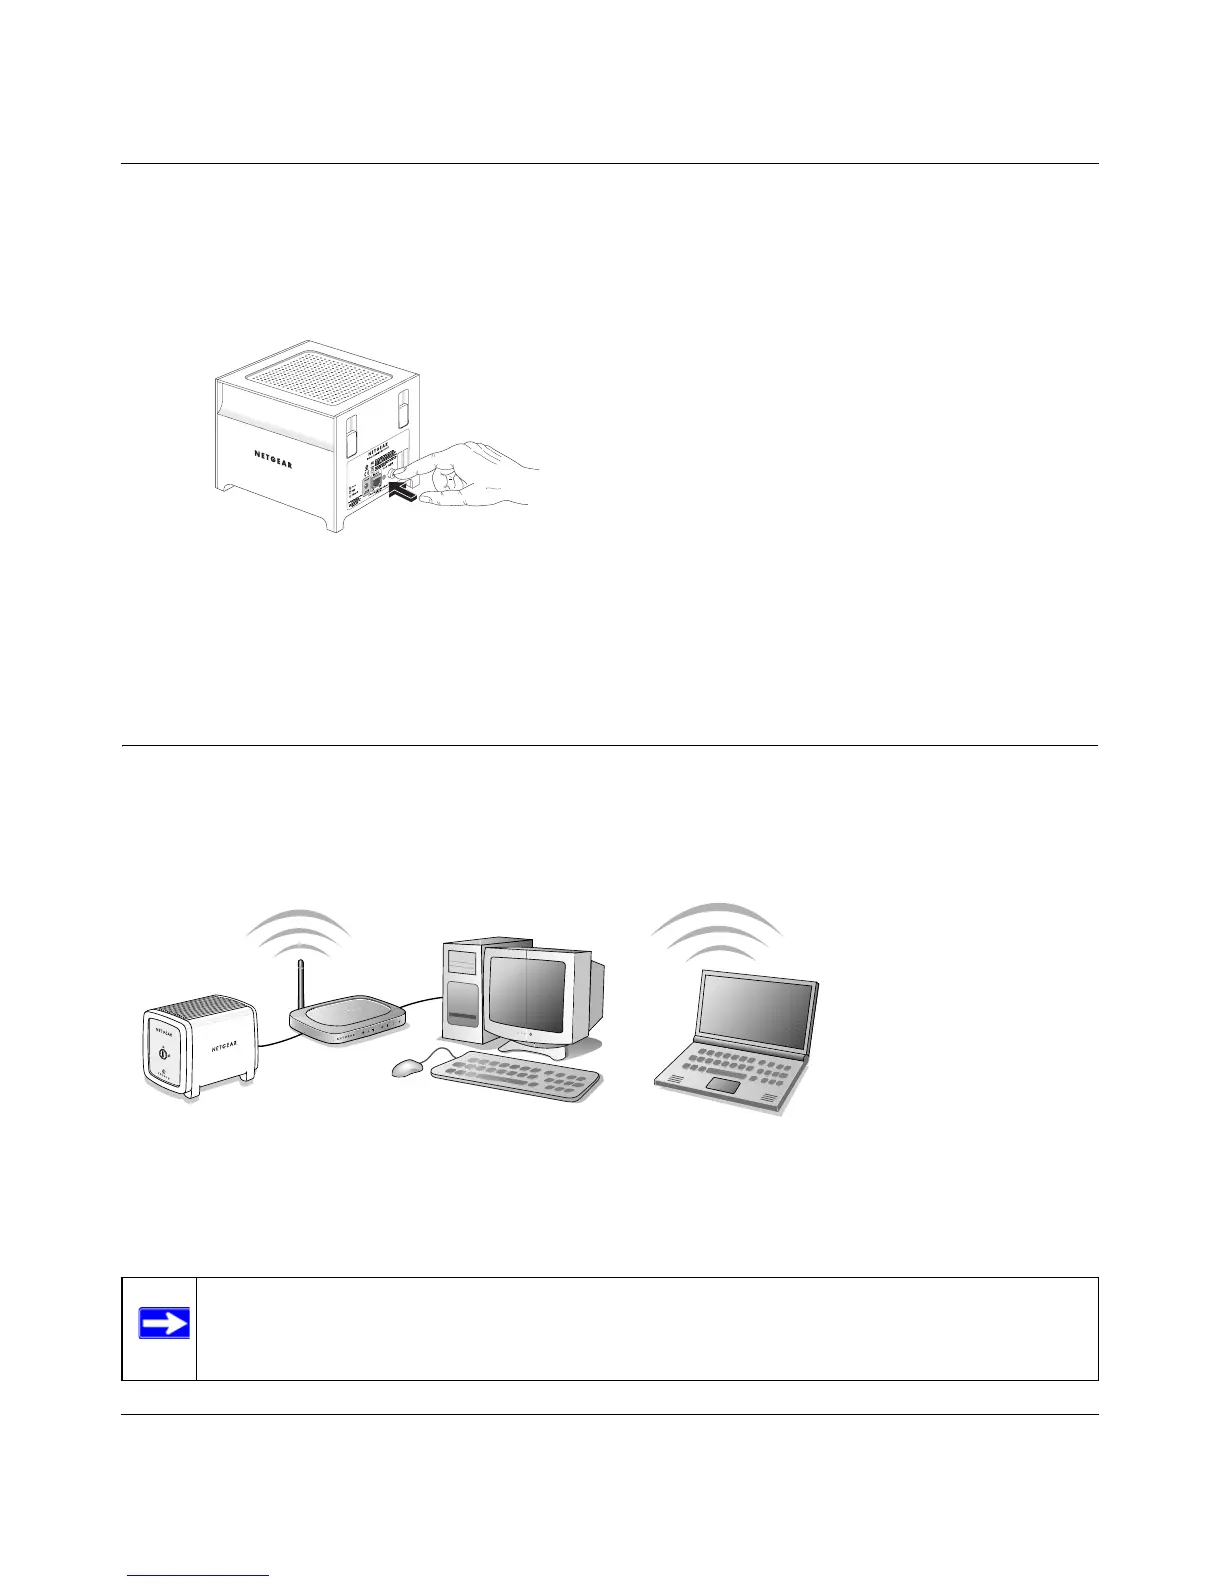
• Plug in the power adapter to a power source and connect the other end to the Storage
Central.
• Turn the unit on with the On/Off switch located on the rear panel.
• View the front panel to verify that the green power and network lights are on. The label on
the Storage Central back panel identifies these status lights.
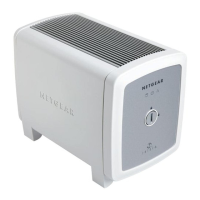
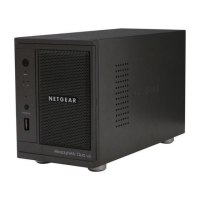
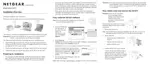
Installing the Storage Central SC101 Hardware
First prepare for installation as described in “Preparing for Installation” on page 2-1. Then, install
a hard disk, and connect the Storage Central to your network. When you finish the installation,
your network will resemble this illustration.
Before installing the hard disk, check its cable select setting. Then install an ATA type disk and
connect the Storage Central.
Figure 2-8
Figure 2-9
Note: Storage Central units format hard disks differently than a PC does. Do not swap
hard disks between Storage Central units and a PC: the data will be unreadable.