Copyright © 2014 NEXCOM International Co., Ltd. All rights reserved
39
VMC 1100 User Manual
Chapter 5: Touchscreen Driver Installation
2. On enabling “Screen Rotation Monitor”, you will see a screen like
below:
3. Choose rotate function (0°, 90°, 180°, 270°) in the 3rd party software.
The calibration screen will appear automatically. Touch this point and
rotation is mapped.
NOTE: Rotate function is disabled if you use Monitor Mapping.
Touchscreen Configuration of PenMount
Digitizer Driver
With PenMount Windows Universal V2.2.0.283 and the later versions, since
the touchscreen is automatically installed as a digitizer device in Windows
Vista/7, the functions built in Windows Vista / 7 such as rotation, multi-
monitor, flicks, and context menu function (which launches a context menu
by user’s long-pressing on touchscreen rather than clicking the right mouse
button or pressing the application key on the keyboard) will be supported.
To configure touchscreen in PenMount Digitizer driver:
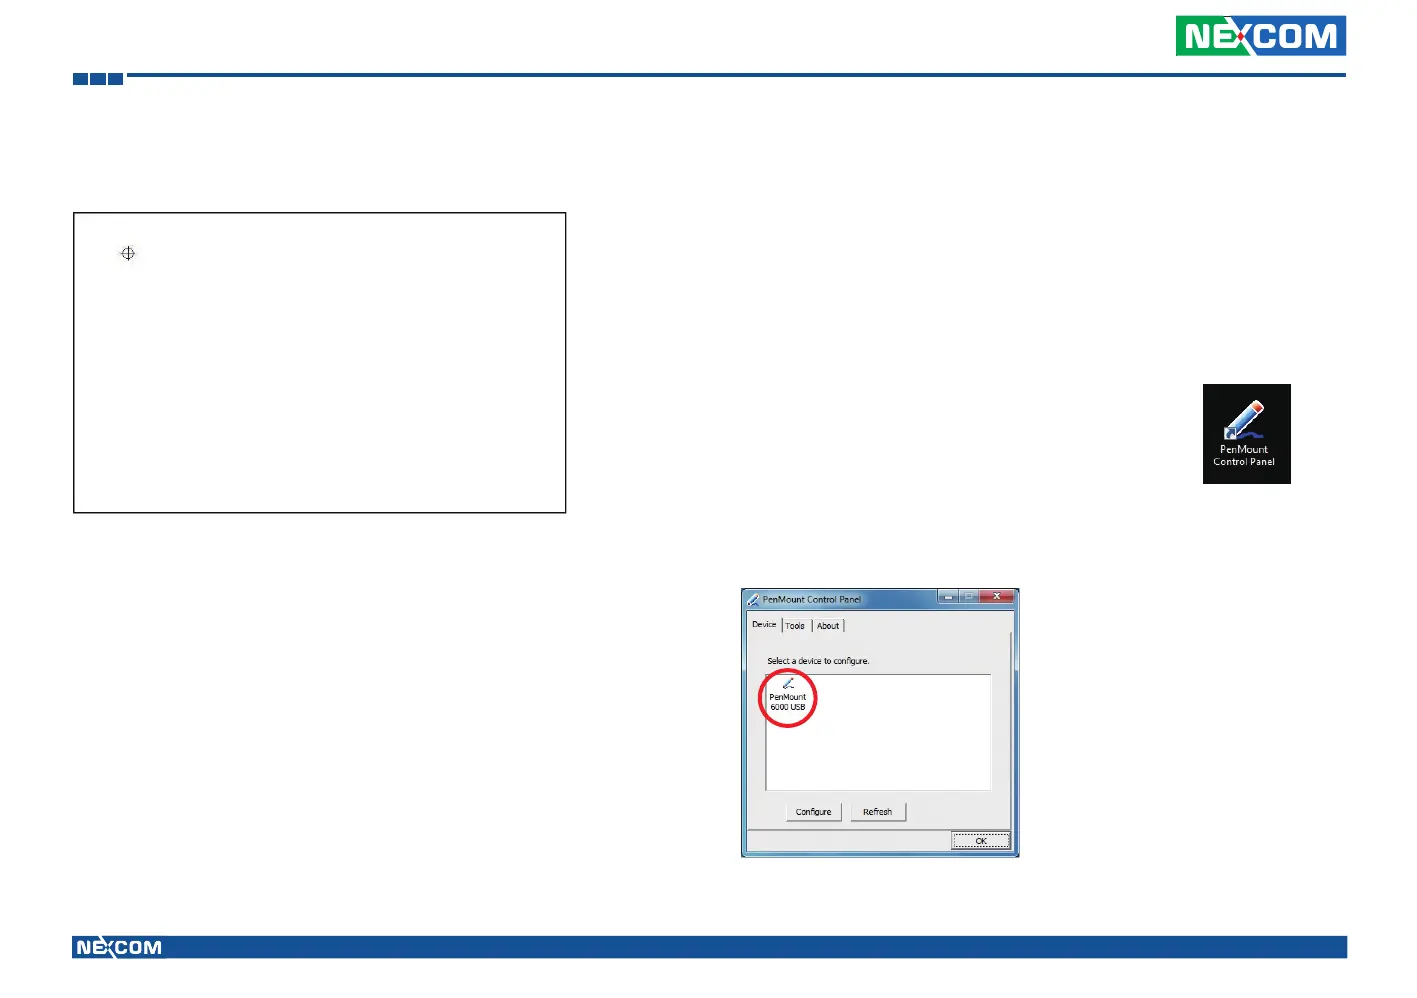
Double-click on the PenMount Control Panel icon
on the Desktop.
On PenMount Control Panel you are able to see the device of PenMount
6000 USB/RS-232 detected by your system under Device tab. Select a
device and click the Configure button.