Copyright © 2014 NEXCOM International Co., Ltd. All rights reserved
34
VMC 1100 User Manual
Chapter 5: Touchscreen Driver Installation
PenMount Control Panel
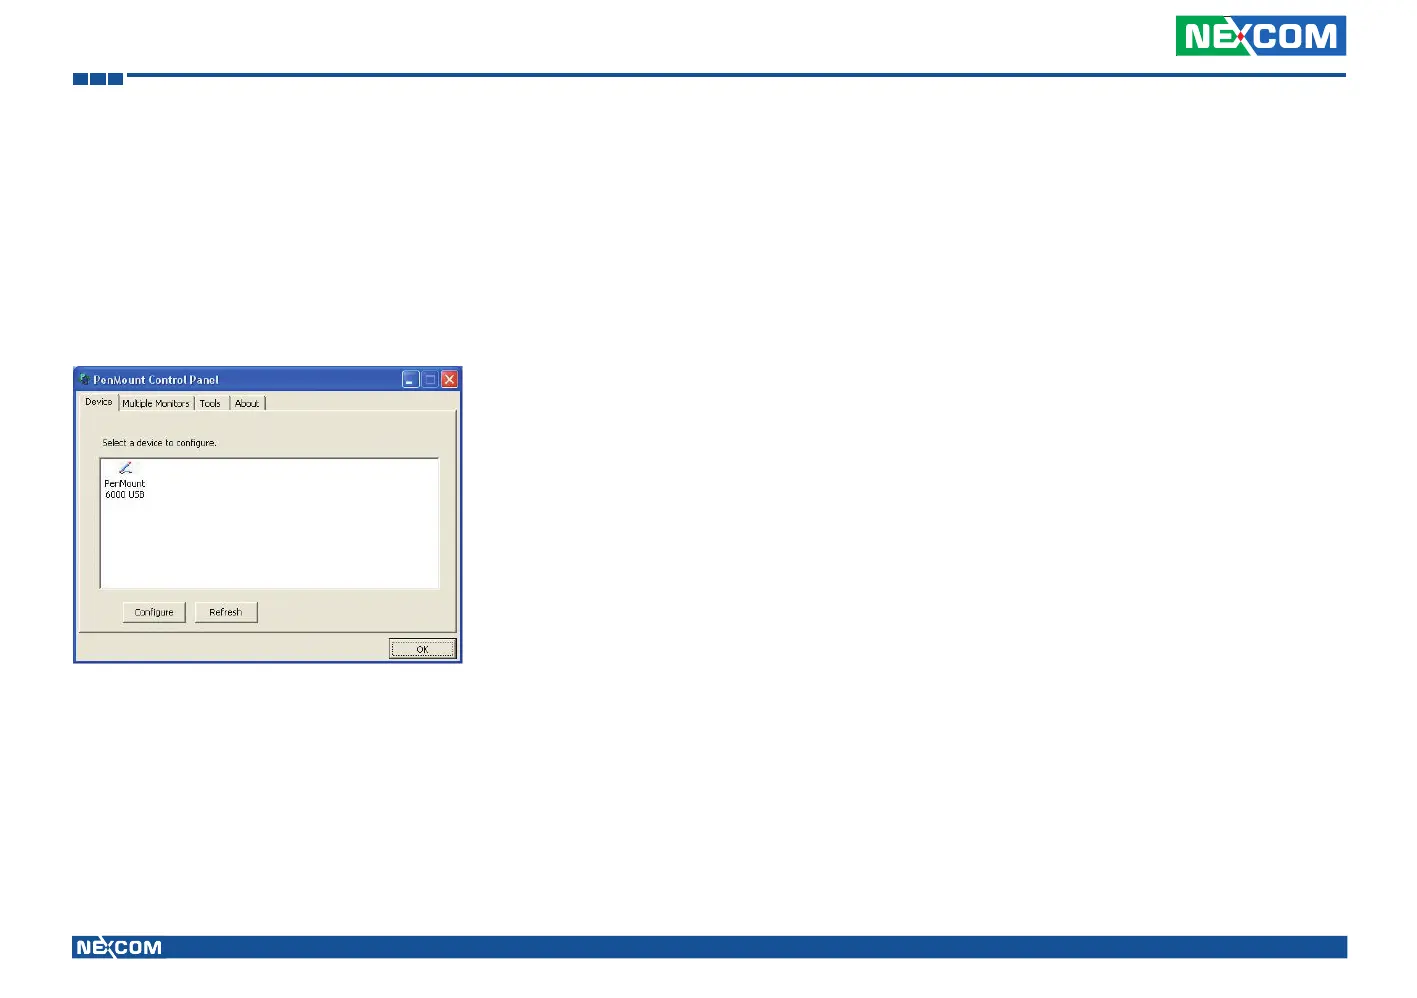
The functions under PenMount Control Panel are:
Device
In this window, you can find out how many devices are detected by your
system.
Calibrate
This function offers two ways to calibrate your touchscreen. ‘Standard
Calibration’ adjusts most touchscreens while ‘Advanced Calibration’
adjusts aging touchscreens.
Standard
Calibration
Click this button and arrows appear pointing to red
squares. Use your finger or stylus to touch the red
squares in sequence. After the fifth red point calibration
is complete. To skip, press ‘ESC’.
Advanced
Calibration
Advanced Calibration uses 9, 16 or 25 points to
effectively calibrate touch panel linearity of aged
touchscreens. Click this button and touch the red
squares in sequence with a stylus. To skip, press ‘ESC’.
Command
Calibration
Command call calibration function. Use command
mode call calibration function, this can uses 4, 9, 16
or 25 points to calibrate.
E.g. Please run ms-dos prompt or command prompt.
c:\Program Files\PenMount Universal Driver\DMCCtrl.exe
-calibration 4 (Standard Calibration)
DMCCtrl.exe - calibration ($)
4=Standard Calibration 4
9=Advanced Calibration 9
16=Advanced Calibration 16
25=Advanced Calibration 25