2 Microscopy
7
IC Inspection Microscope ECLIPSE L200ND / L200N Instructions
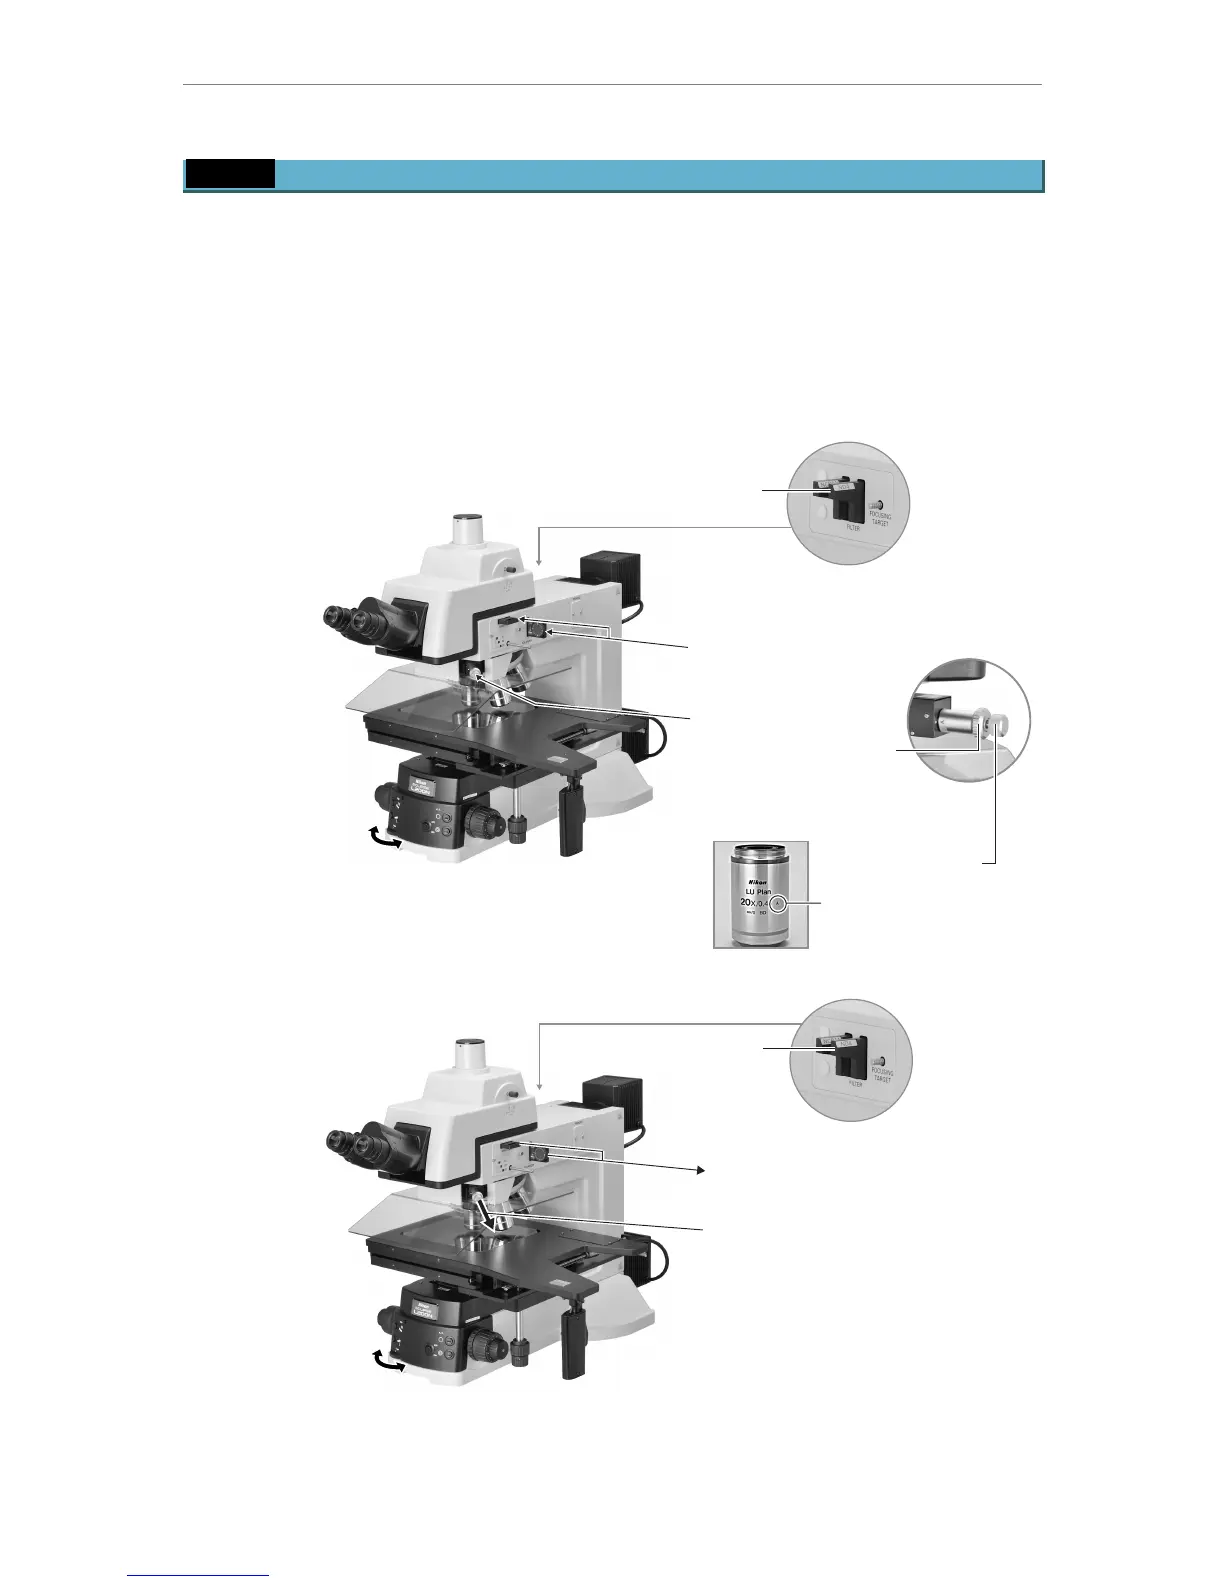
2.3 Episcopic DIC (differential interference contrast) microscopy
1.
Attach the analyzer, polarizer and DIC sliders.
Í
Slide them out to the click-stop position.
2.
Observe the sample by following the steps for the episcopic bright-field microscopy.
-------------------------------------------------------------------
See “2.1 Episcopic bright-field microscopy”
3.
Switch to the DIC microscopy.
Í
The objective with “LU” marking is suitable for DIC microscopy.
Adjust brightness
with the ND filters.
Press in the polarizer and
the analyzer.
Adjust brightness
with the brightness
control dial.
Press in the DIC slider.
Rotate the knob to the
position indicated on the
objective.
(For the objective shown
below, turn the knob to match
the leter “A” with the white dot.)
Prism position indication
on the objective
Rotate to change
the background color.
4.
After DIC microsopy, return to bright-field microscopy, if required.
Adjust brightness
with the ND filters.
Slide out the polarizer and analyzer.
Slide out the DIC slider.
Adjust brightness
with the brightness
control dial.