Chapter 3. Power Supply Replacement
This chapter describes how to replace one of the DGX A100 system power supplies (PSUs).
3.1. Power Supply Replacement Overview
This is a high-level overview of the steps needed to replace a power supply.
1. Identify failed power supply through the BMC and submit a service ticket.
2. Get replacement power supply from NVIDIA Enterprise Support.
3. Identify the power supply using the diagram as a reference and the indicator LEDs.
4. Remove the power cord from the power supply that will be replaced.
5. Replace the failed power supply with the new power supply.
6. Insert the power cord and make sure both LEDs light up green (IN/OUT).
7. Use the BMC to conrm that the power supply is working correctly.
8. Ship back the failed unit to NVIDIA Enterprise Support using the packaging provided.
3.2. Identifying the Failed Power Supply
3.2.1. Identifying the Failed Power Supply from the Back
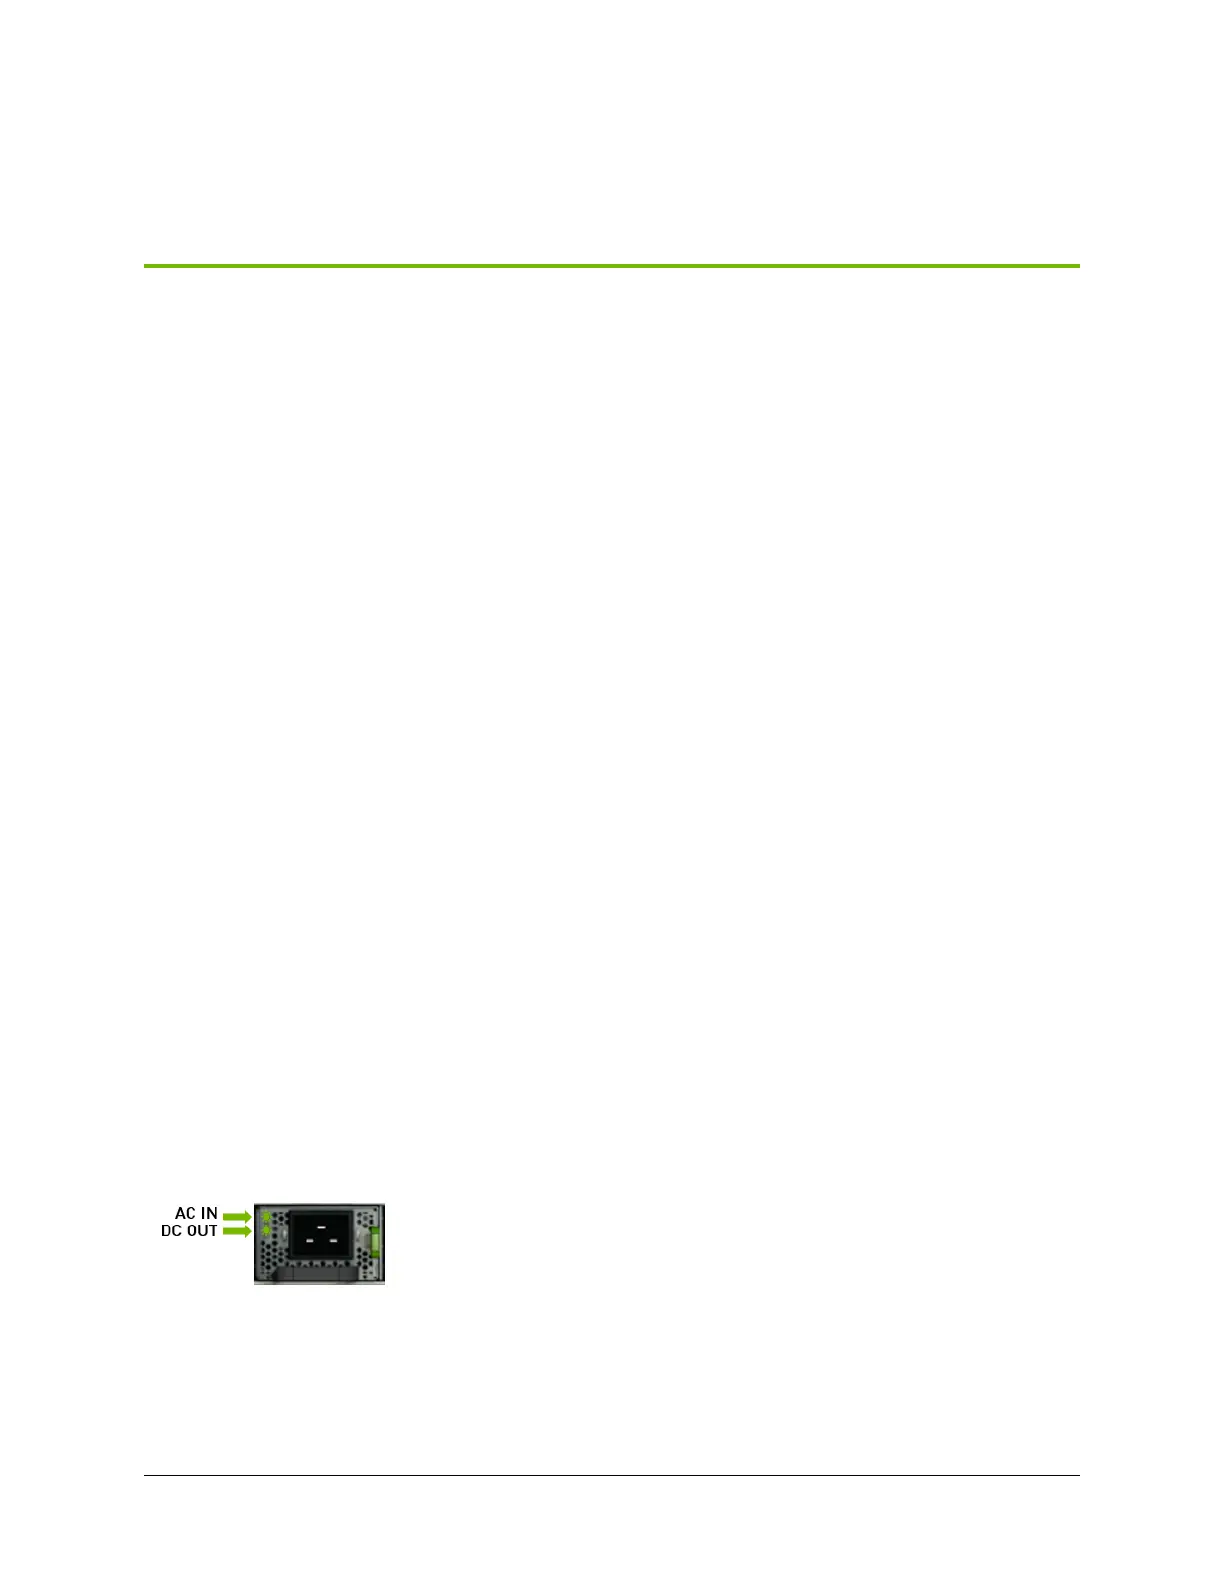
If physical access to the system is available, you can identify a failed PSU by the inspecting the LEDs
on the power supply when the system is powered on.
Both LEDs should be solid green. If either of the LEDs are not green or if they are blinking, contact
NVIDIA Enterprise Support to troubleshoot the issue.
7

 Loading...