NVIDIA DGX A100 Service Manual
7.2.3. Identifying the NVMe Manufacturer and Model
Enter the following, replacing X with the number corresponding to the Linux device name for the failed
drive.
$ sudo nvsm show ∕systems∕localhost∕storage∕drives∕nvmeXn1
Example output:
∕systems∕localhost∕storage∕drives∕nvme5n1
Properties:
Capacity = 3840755982336
BlockSizeBytes = 7501476528
SerialNumber = 174719FCF9F1
PartNumber = N∕A
Model = Micron_9200_MTFDHAL3T8TCT
Revision = 100007H0
Manufacturer = Micron Technology Inc
Status_State = Enabled
Status_Health = OK
Name = Non-Volatile Memory Express
MediaType = SSD
IndicatorLED = N∕A
EncryptionStatus = N∕A
HotSpareType = N∕A
Protocol = NVMe
NegotiatedSpeedsGbs = 0
Id = 5
Determine the manufacturer and model from the ‘Model’ entry in the output, and then request a re-
placement NVMe from NVIDIA Enterprise Support, specifying this information.
7.3. Replacing the U.2 NVMe Drive
1. Be sure you have requested and obtained the replacement drive from NVIDIA Enterprise Support.
2. Back up any critical data to a network shared volume or some other means of backup.
3. Power o the system using the power button.
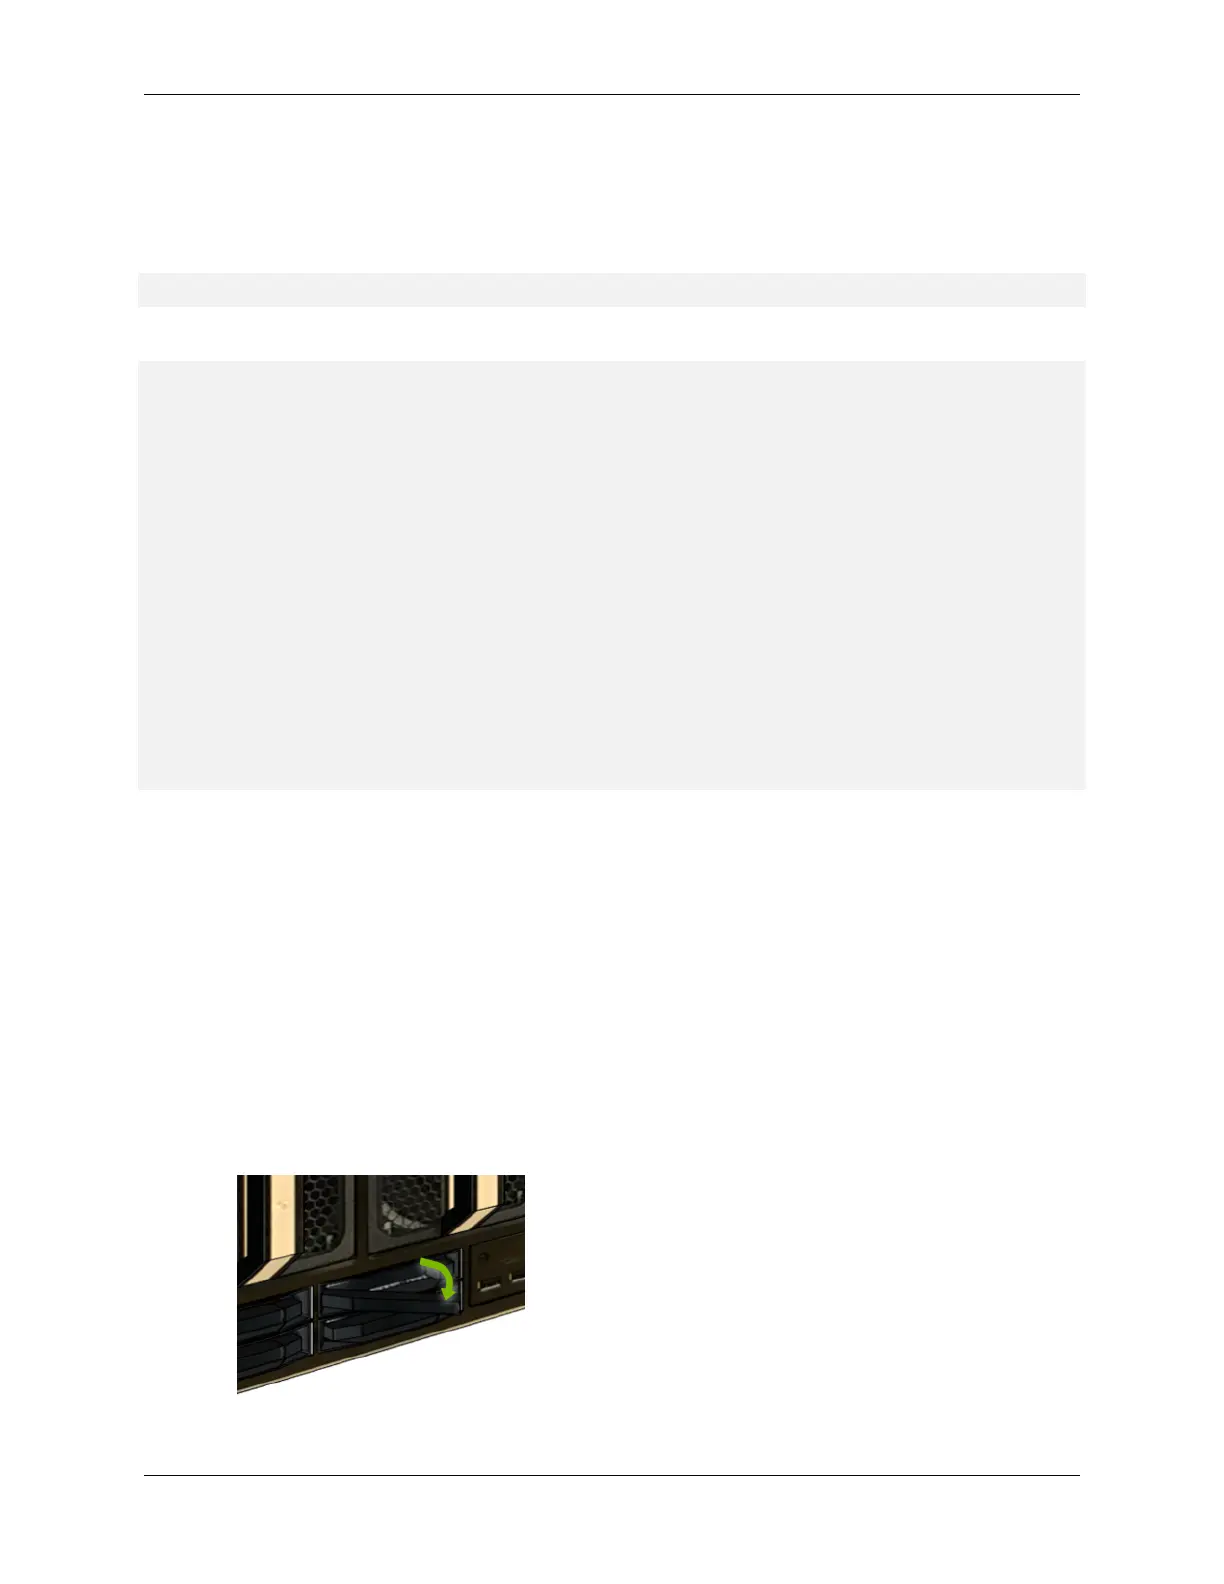
4. Remove the NVMe drive.
1. Push the lever release button (on the right side of the lever) to unlock the lever.
7.3. Replacing the U.2 NVMe Drive 31

 Loading...