PIZZAFORM
Functioning
GB - 16
FIG. 1
8
9
7
10
11
1
2
3
4
5
6
1
2
3
4
5
6
7
8
9
FIG. 2
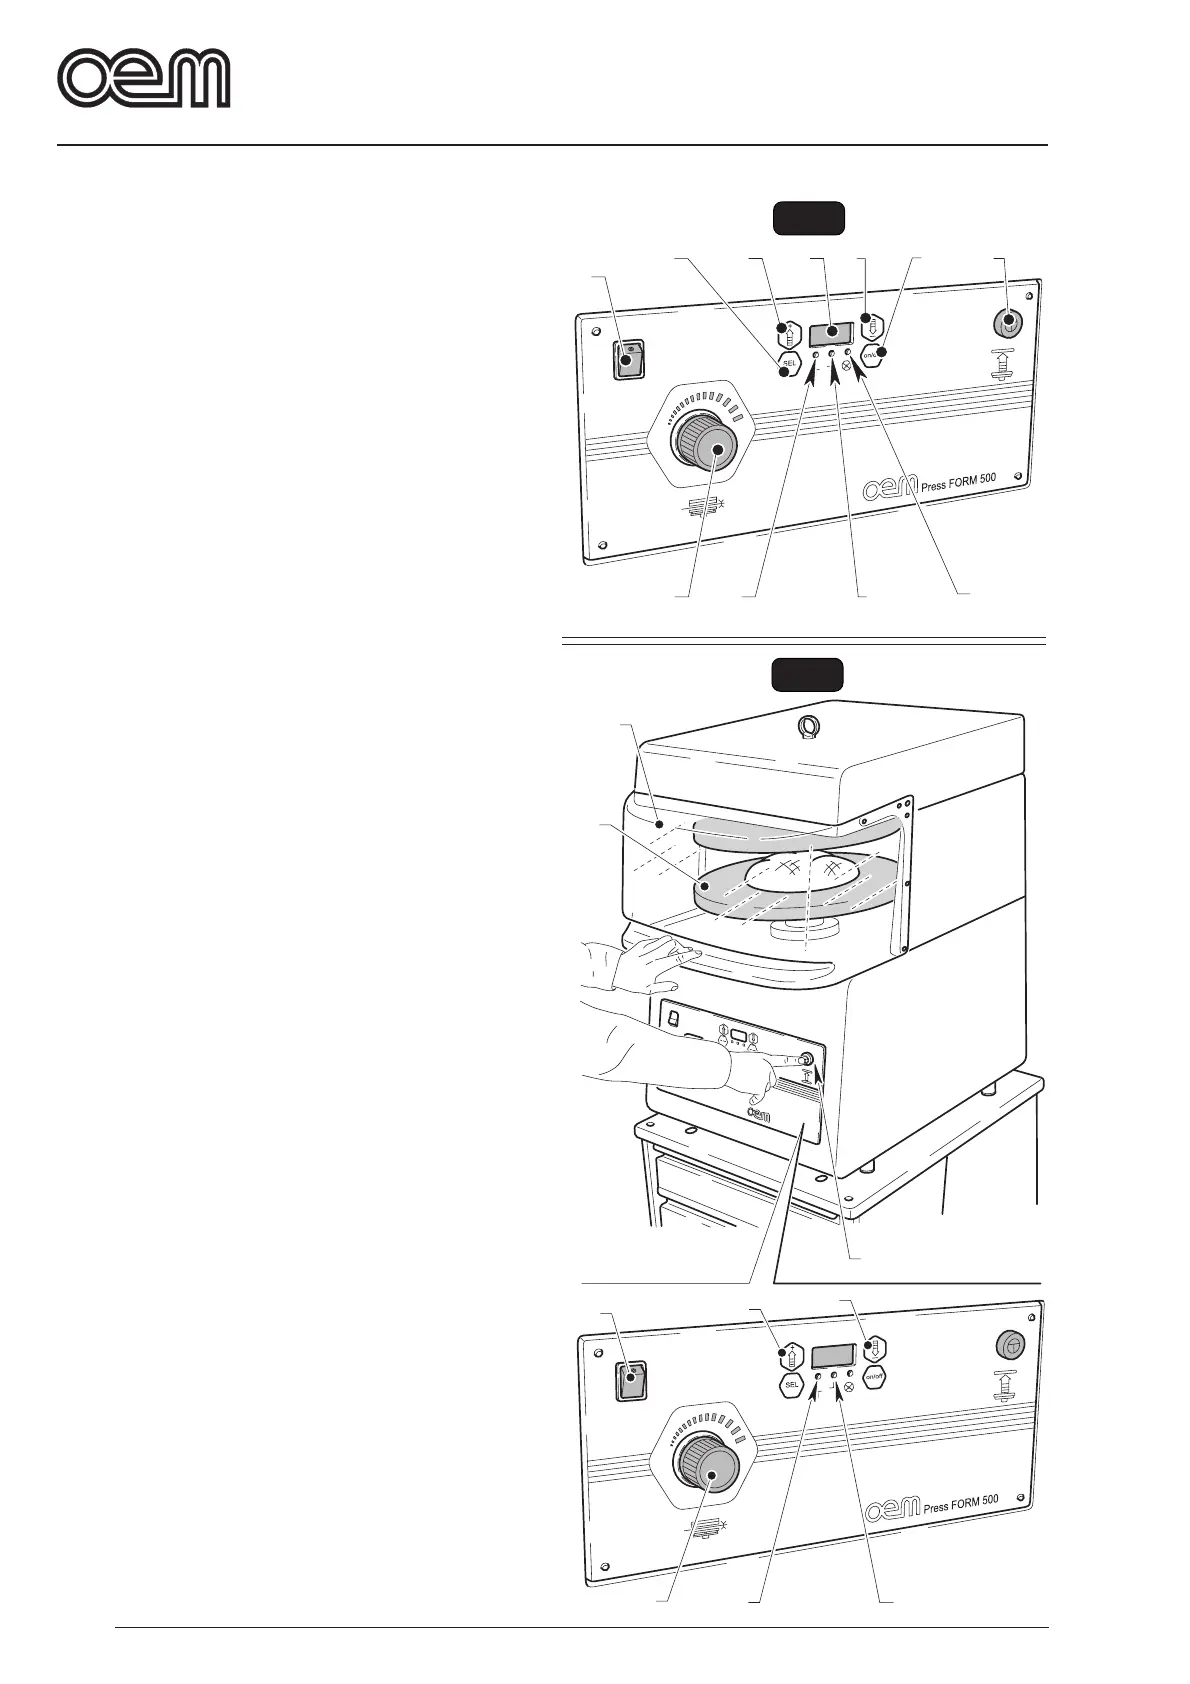
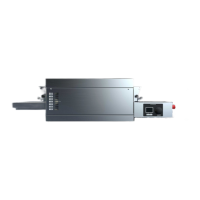
9. Led pressure
blinks when the user is in time modification menu.
10.Push-button “ON/OFF”
By pressing it, ON is displayed enabling the machine
function; by pressing it at the end of the working cycle,
“OFF” is displa yed and the machine functioning is
disabled.
11.Lower dish lifting push-button
By pressing it and keep it pressed, the lower dish is
lifted up to the upper limit switch; by releasing it during
the lower dish lifting, the motion is re versed and a
lowering of the lower dish occurs.
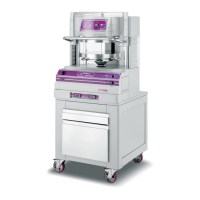
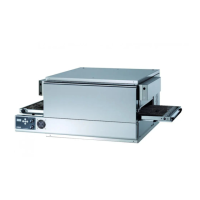
5.2 - MACHINE PREPARATION (Fig 2)
• Enable the cutout switch placed on the upper machine
side.
• Press the switch(1) on “I”, it lights up.
• Press the key ON/OFF to display ON.
• Enable the resistances to w arm up the dishes to be
indicated by a fixed lighting of (2) and (3) LED.
• Wait until the dishes reach the set temperature - LED
(2) and (3) lights go out; if the user wishes to chec k
the temperature while warming up the dish, he shall
press the key (4) for the upper dish or the key (5) for
the lower dish.
5.3 - MACHINE FUNCTIONING (Fig 2)
• A pizza dough ball shall be positioned in the middle of
the lower dish (6).
• Lower the top (7) and k eep it in position, then press
the push-button (8) and keep it pressed until the end
of the working cycle; a lifting of the lower dish occurs
and the dough ball is pressed betw een the dishes .
The lower dish remains in position f or the set time ,
then it is lowered.
• Release the top (7) as well as the push-button (8) and
take the dough disc.
• In case of need, adjust the dough thic kness b y
operating the handwheel (9): by rotating it clockwise
the thic kness becomes thic ker, counterclockwise,
thickness is thin.