PIZZAFORM
Functioning
GB - 15
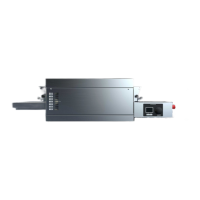
FIG. 1
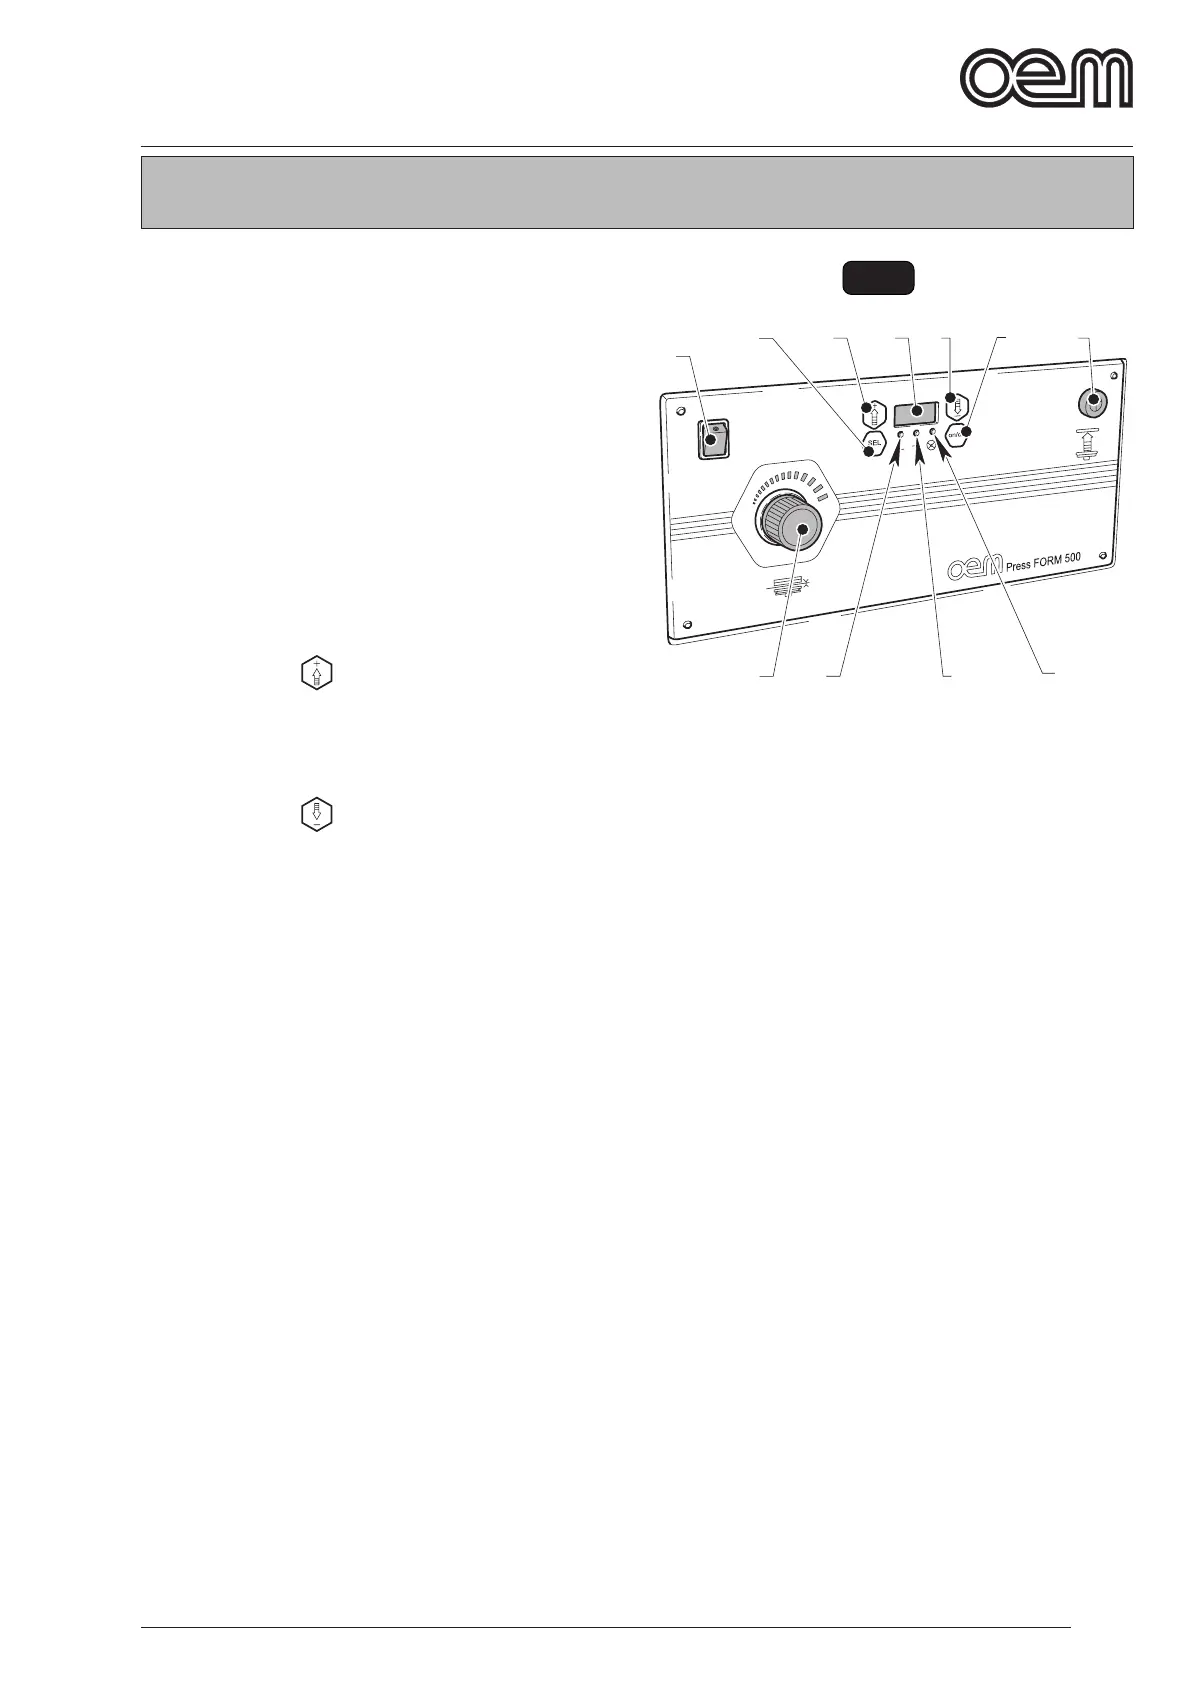
5.1 - CONTROL BOARD AND PILOT LAMPS
(Fig 1)
The machine contains following control elements:
1. Main switch
By positioning the switch on
“I”, the machine is energized and the switch lights up.
By positioning the switch on “0”, the machine voltage
is disconnected and the switch light goes out.
2. Dough disc thickness adjustment knob
By rotating the knob (2) clockwise, you get a thicker
dough disc , counterclockwise, the dough disc is
thiner.
3. Push-button “
”
If it is pressed on data set, the data value is increased;
if it is pressed dur ing the machine functioning, the
temperature of the upper dish is displayed.
4. Push-button “
”
If it is pressed on data set, the data value is reduced;
if it is pressed dur ing the machine functioning, the
temperature of the lower dish is displayed.
5. Display
The following is displayed:
• temperature of the dishes during both control and
adjustment stages;
• “ON” to indicate the machine is started;
• “OFF” to indicate the machine is disconnected.
• “AL....” to indicate alarm conditions occur.
6. Push-button “ SEL”
By pressing “SEL” you can enter the modification
menu; following values can be modified:
• Upper dish temperature
• Lower dish temperature
• Pressure time
7. Upper dish temperature led
It lights up with a fix ed light when the resistance
related to the upper dish warming up is functioning,
it blinks when the user is in the upper dish tempera-
ture modification menu.
8. Lower dish temperature led
It lights up with a fix ed light when the resistance
related to the lower dish warming up is functioning, it
blinks when the user is in the lower dish temperature
modification menu.
Chapter 5