- 72 -
Connecting the PC
AppendixPrinting
3
Setting Up
2
Before use
1
Basic Device Operations
4
Index
USB Connections
Note
Check that the device power supply is turned OFF.
Setup requires computer administrator privileges.
This section described the operating procedure for
Windows 7 unless otherwise specied. The screens and
operating procedure may differ depending on the OS.
Setup Flow
Turning ON the PC power supply
Installing the printer drivers
Turning ON the device power supply
1
Turn ON the PC power supply to start
Windows.
Memo
When the device power supply is turned ON, the
"Add new software wizard" may be displayed in the
screen. If this happens, click "CANCEL", and then
turn OFF the device beore proceeding to the next
step.
2
Insert the "Software DVD-ROM" into the
PC.
3
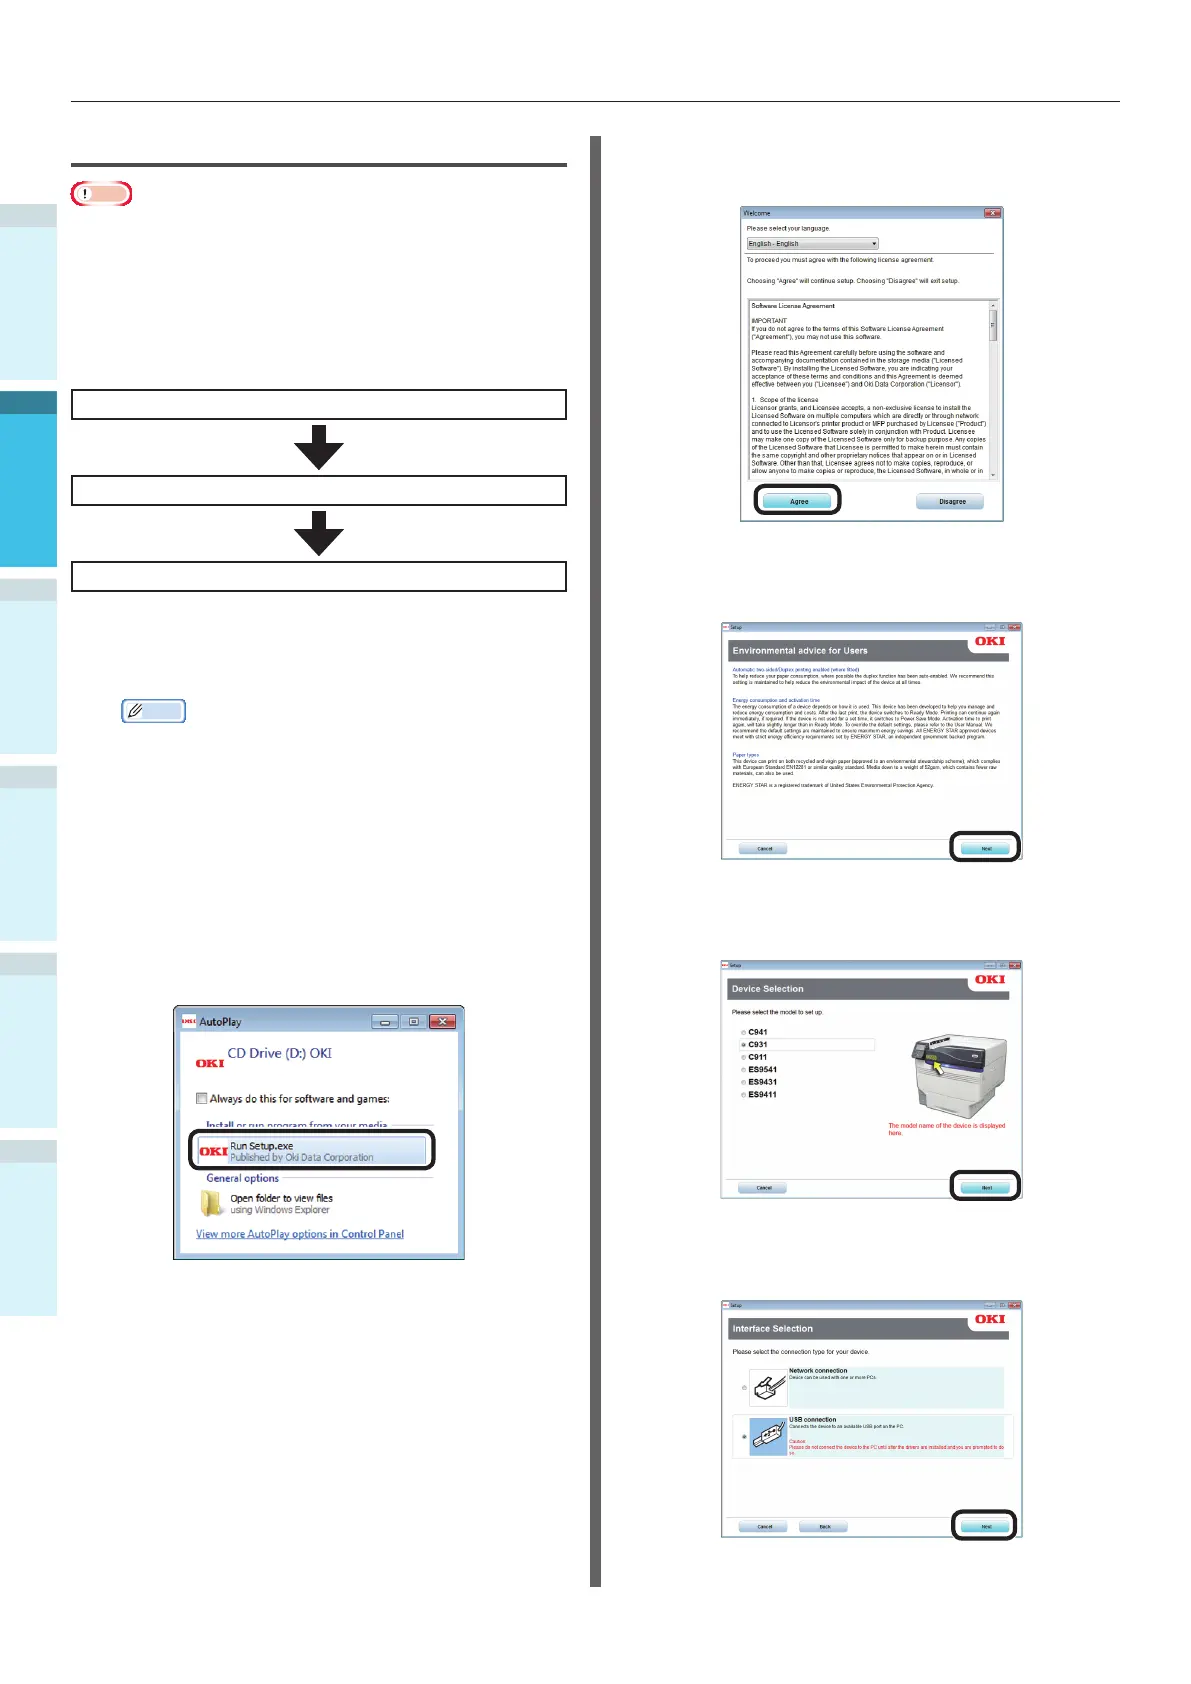
When the "AutoPlay" window is
displayed, click [Run Setup.exe].
4
When the "User Account Control"
window is displayed, click [Yes].
5
Read the "Software License Agreement",
and click "Agree".
6
Read the "Environmental advice for
Users", and click [Next].
7
Select the printer model to be used,
and click [Next].
8
Select "USB connection", and click
[Next].