Field Service Ver. 1.0 Jun. 2008 5. Machine Adjustment
MB-502
Adjustment / Setting
5. Machine Adjustment
5.1 Printer Area
5.1.1 Leading Edge Adjustment
NOTE
• Make this adjustment after any of the following procedures has been performed.
When the PH unit has been replaced.
When the image on the print is offset in the sub scan direction.
A faint image occurs on the leading edge of the image.
1. Call the Service Mode to the screen.
See P.146 of the main body service manual.
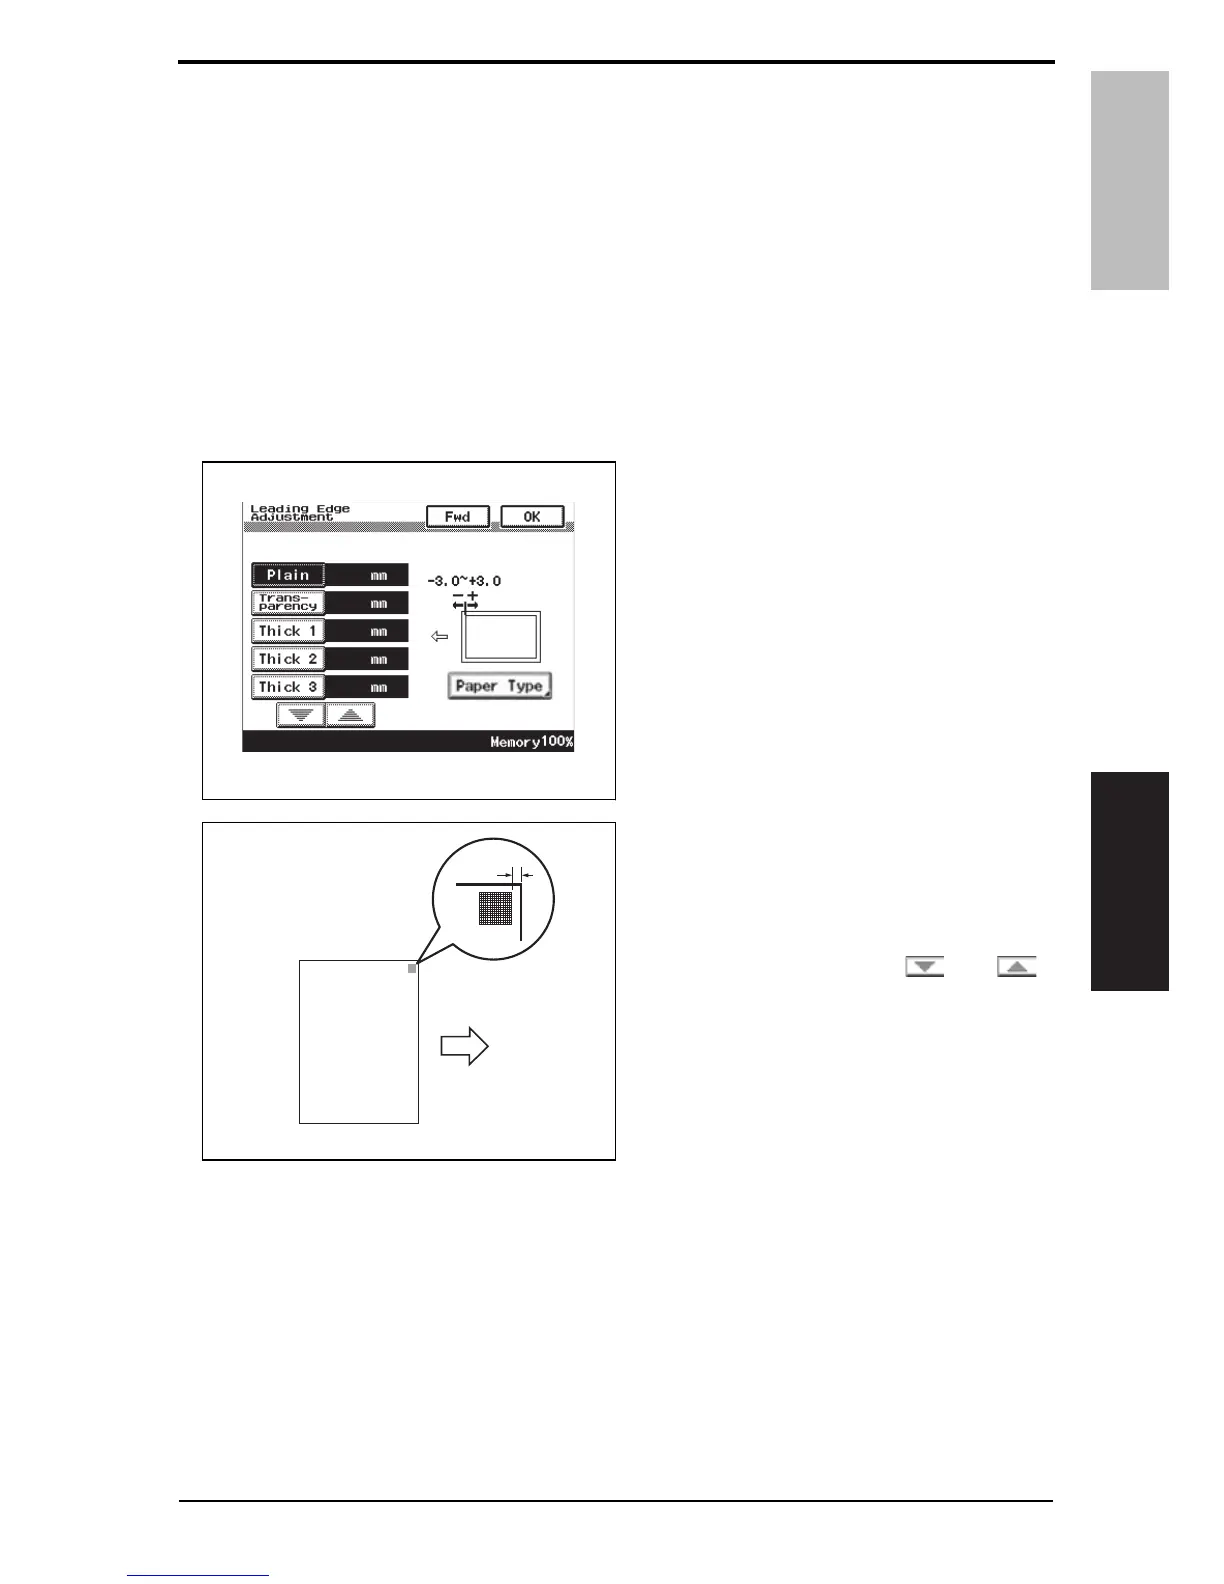
2. Touch [Machine Adjustment] o [Printer Area] o [Leading Edge Adjustment].
3. Touch [Plain].
4. Press the Start key to let the
machine produce a test print.
5. Touch [OK].
6. Measure the width of printed refer-
ence line A.
Specification: 3.0 mm
± 1.0 mm
7. If the measured width A falls outside
the specified range, enter the correc-
tion value using the [ ] or [ ]
key.
8. Produce another test print and check to see if width A falls within the specified range.
9. Following the same procedure, adjust for transparency, thick 1 to 3, and envelope.
10. Touch [OK].
11. Touch [OK] on the Service Mode screen.
12. Turn OFF the main power switch, then wait for 10 sec. or more and turn ON the main
power switch.
A0EPF3E513DA
A0EPF3C502DA
A
Y109730-6 Service Manual 13