EN 35
Shooting functions – Various shooting functions
3
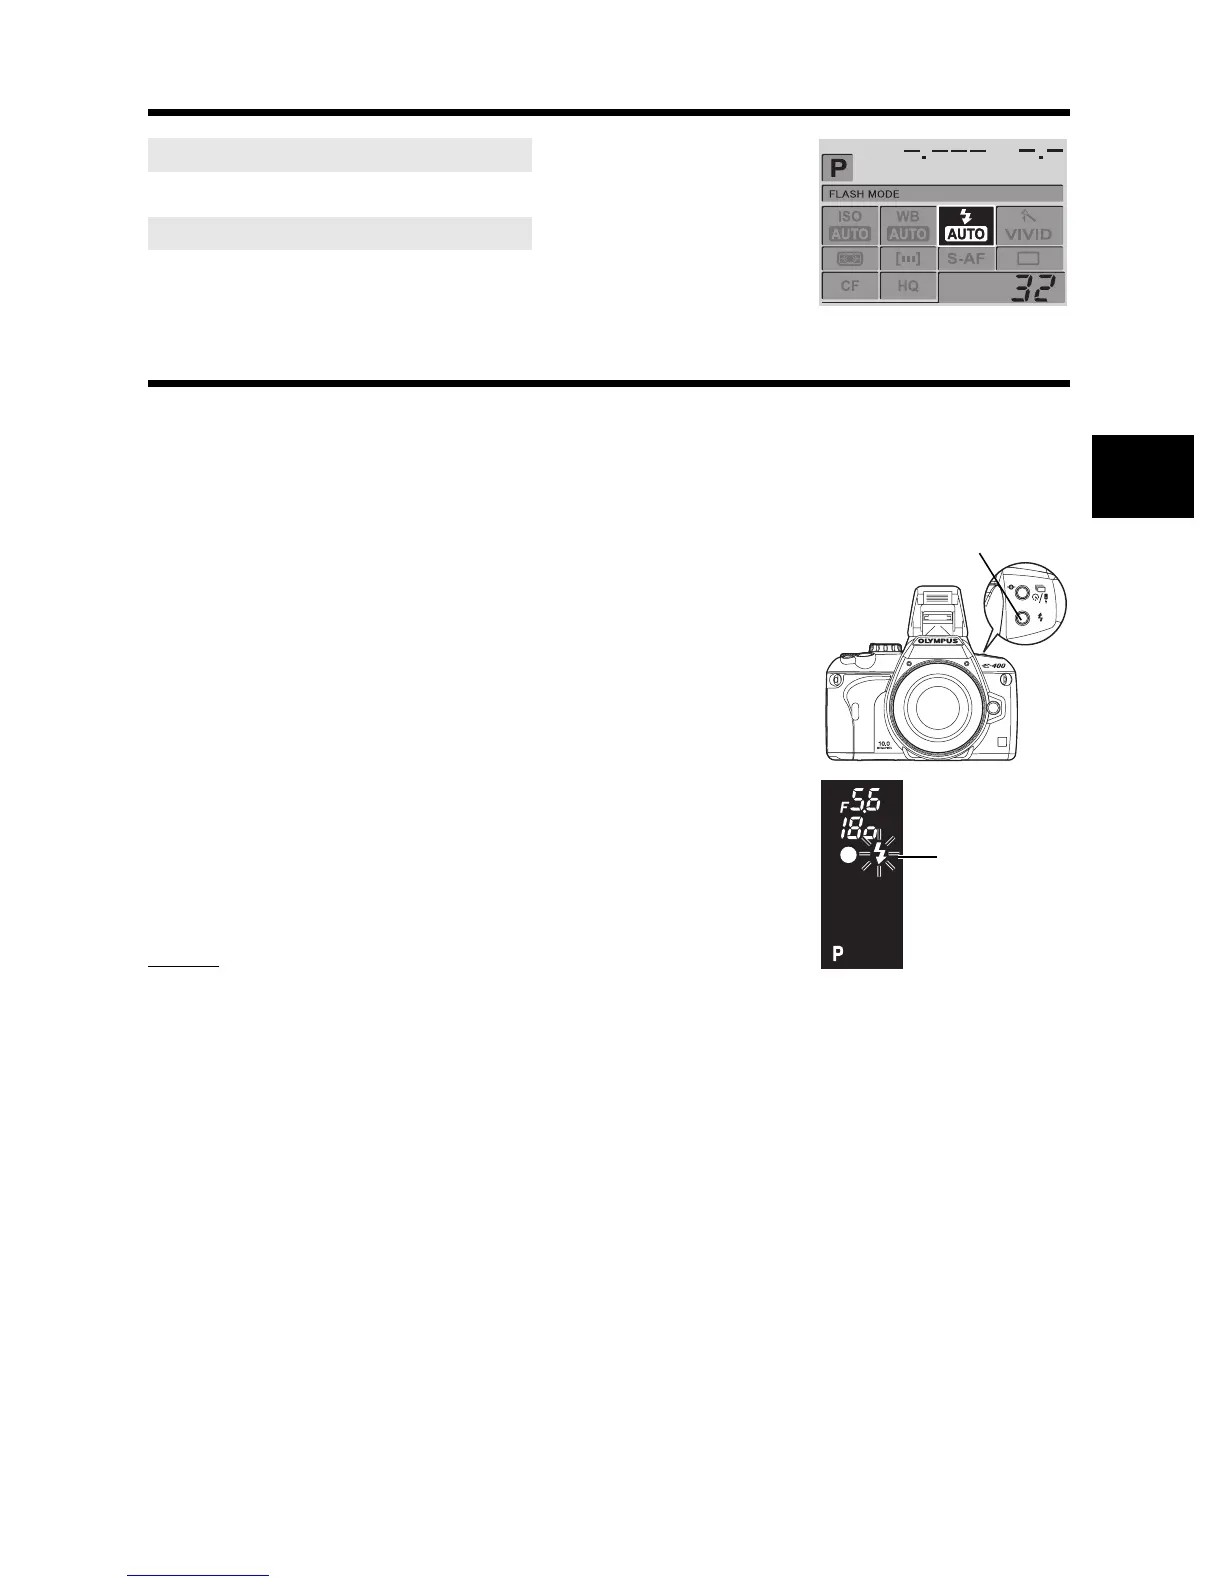
Setting the flash mode
#
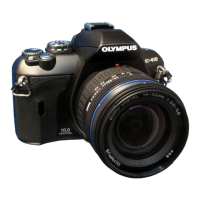
button
Control dial
ip
: FLASH MODE
i
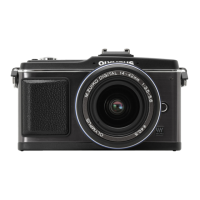
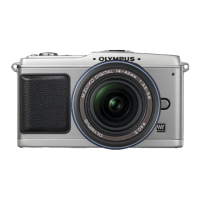
Using the built-in flash
If you shoot a subject using a lens that is wider than 14 mm (equivalent to 28 mm on a 35 mm
film camera), the light emitted by the flash may produce a vignette effect. Whether or not
vignetting occurs also depends on lens type and shooting conditions (such as distance to the
subject).
1
Press the
#
button to raise the built-in flash.
•
The built-in flash will pop up automatically and fire in low light
conditions under the following modes.
AUTO
/
i
/
&
/
/
/
I
/
U
/
G
/
J
/
r
/
g
/
B
/
A
2
Press the shutter button halfway.
•
The
#
(flash stand-by) mark lights when the flash is ready
to fire. If the mark is blinking, the flash is charging. Wait until
charging is complete.
3
Press the shutter button all the way.
TIPS
When you do not want the flash to pop up automatically:
J
Set
[AUTO POP UP]
on the menu to
[OFF]
.
g
“Auto pop up” (P. 68)
Direct buttons
Control panel screen
button
Flash stand-by
mark
Viewfinder