Precautions for Correct Use
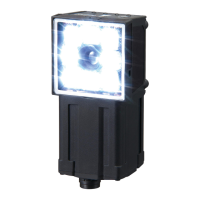
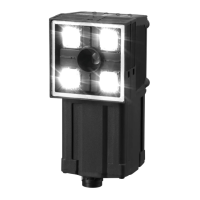
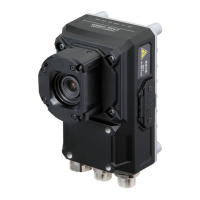
Note that models with integrated lighting cannot be attached by its front surface.
Front mounting is not available
due to the lighting hood.
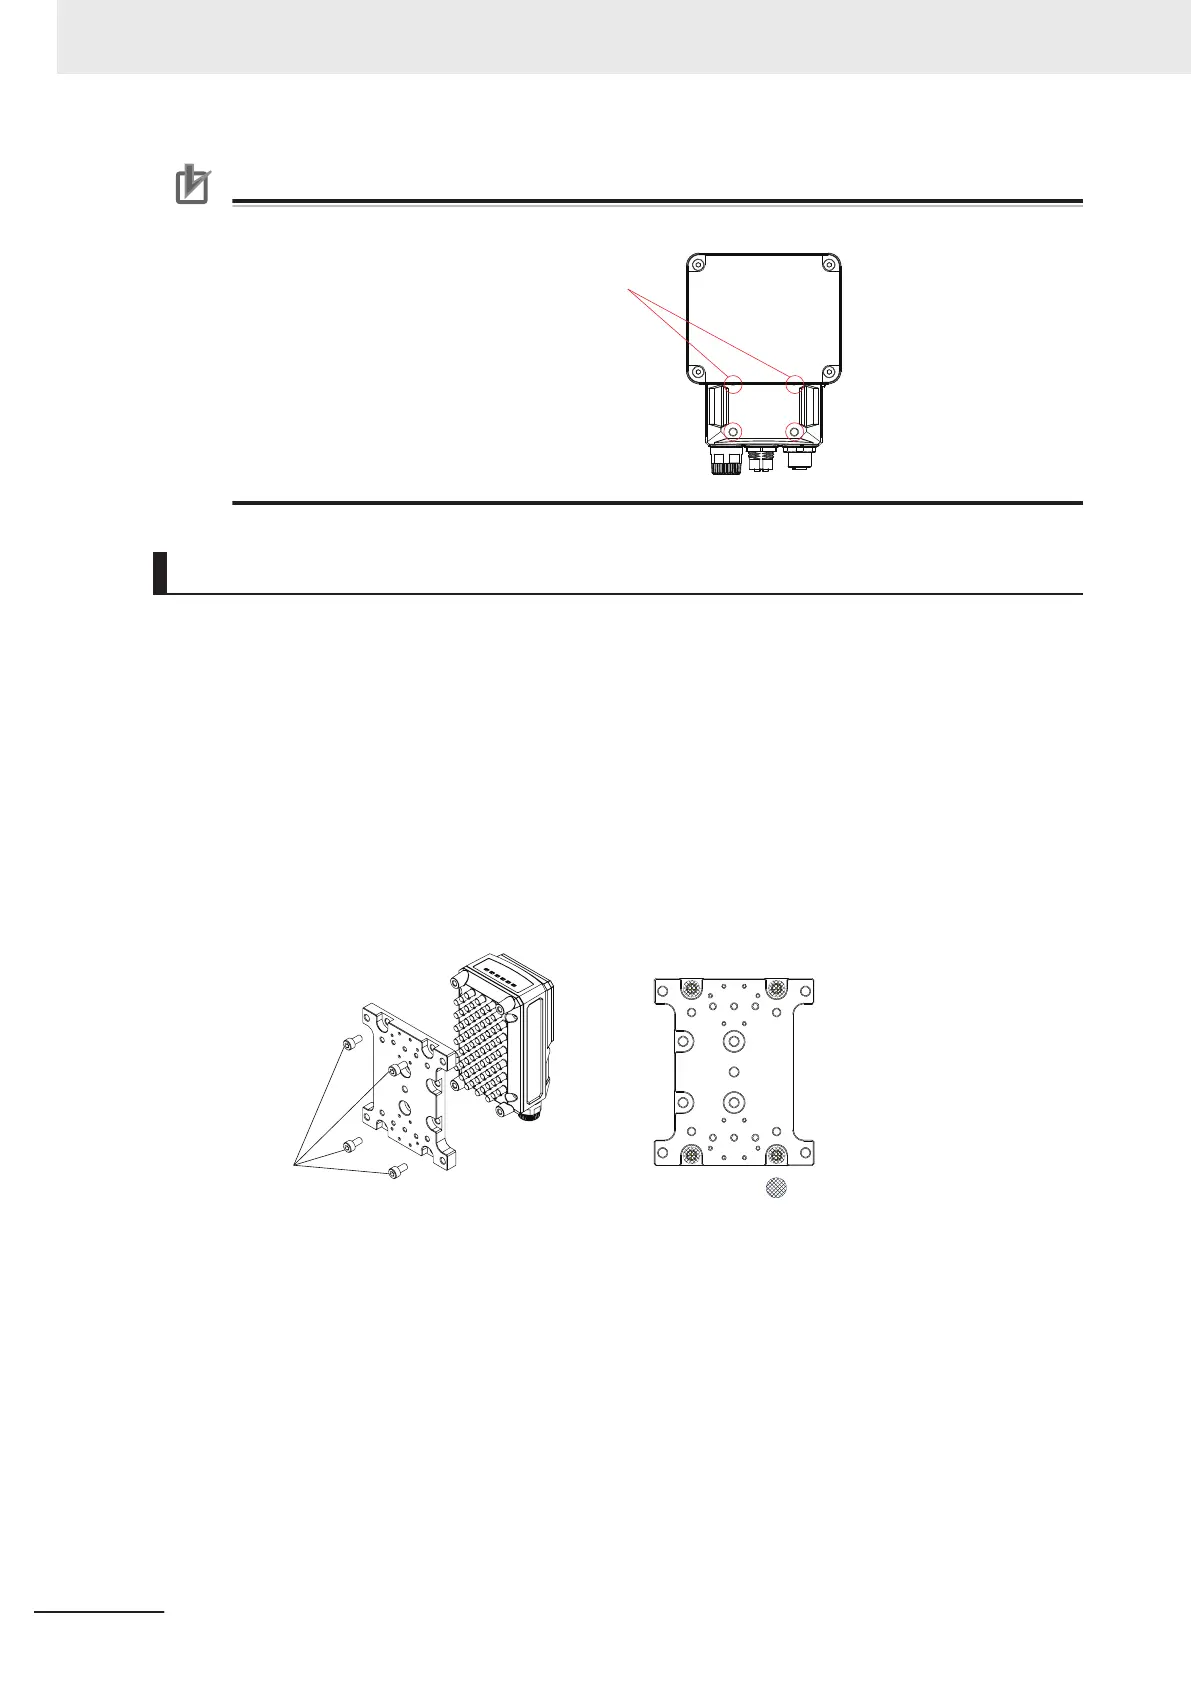
When Mounting the Smart Camera Using the Mounting Fixture
When attaching the mounting fixuter to the Smart Camera, a special fixture (FHV-XMT-7) can be used
that allows it to be attached by the screws to the front of the Smart Camera. Attach it to either the back
or the front of the Smart Camera.
l
When Installing Using the Mounting Fixture
1 Attach the mounting fixture (FHV-XMT-7) to the back of the camera.
Recommended mounting screw size: M5 x 10 mm
Tightening torque: 2.3 N・m
* M5 screws for mounting are not included with this product. Please provide or purchase sepa-
rately.
Recommendation:
M5×10mm screws
2 Attach the mounting fixture to the desired position.
* M5 screws for mounting are not included with this product. Please provide or purchase sepa-
rately.
5 Installation
5 - 16
FHV Series Smart Camera Setup Manual (Z408-E1)
 Loading...