32
Section 2 UPGRADING THE SYSTEM
ZN
System Manual
Section 2
Setup Methods Suited to Specific Applications
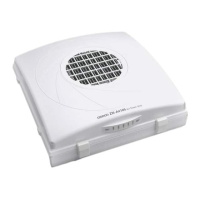
2. Setting the ID of the Air Clean Unit
1. Set DIP switch SW1 on the rear of the Air Clean Unit to ON (external
communications control enabled).
2. Set each of the channels (1 to n) by the ID rotary switch on the rear of the Air
Clean Unit.
Be sure to set unique ID numbers to each Unit.
The Units will not function properly when the same ID is set to multiple units.
When using the ZN-SF12 to perform feedback control, do not set the ID number to "0" (0ch).
A ZN-SF12 set to 0ch cannot be controlled.
3. Connecting peripheral devices
Connect the Air Clean Unit, Air Particle Sensor, Interface Unit, and the personal computer, and turn the
power supply of all of these devices ON.
Before connecting these devices, turn their power supplies OFF.
System Configuration Examples p.11
4. Checking system operation
Check operation of the Air Clean Unit, Air Particle Sensor and Interface Unit.
• When the Air Particle Sensor has not started up normally:
Check the Sensor connection. Also, refer to the Instruction Sheet for the Air Particle Sensor in the
case of other errors.
• When the Interface Unit has not started up normally:
Make sure that the Air Particle Sensor Amplifier Unit is in the RUN mode. Also, check the
connections of the peripheral devices.
• Check that the Air Clean Unit is in the standby mode.
5. Setting the feedback conditions
Operate the Exclusive Monitoring Software to set multiple feedback conditions.
1. Start up Exclusive Monitoring Software.
Starting Up the Exclusive Monitoring Software p.17
2sysup.fm32ページ2007年6月28日 木曜日 午前9時17分
 Loading...