RG2 User Manual – Version 1.44
Specifications is periodically reviewed and may change without notice Copyright © 2015 – 2016 by On Robot ApS. All rights reserved
7.3 Gripper control
7.3.1 Control variables
The control variables Close, Open, Force_, Close2, Open2 and Force2 holds the programming parameters that
are transferred to the gripper in the program_RG2.script.
Changing the variable does not affect the gripper before the program_RG2.script is executed.
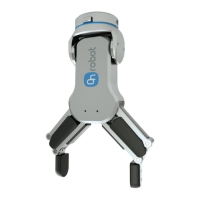
7.3.2 Teach Mode
When the robot is turned on, the gripper can be used without programming it first. Use the tool output I/O’s.
The table to the right shows the preset configuration.
1) Go to the I/O screen on the teach pendant
2) Turn on 24V in the tool section, wait 5 seconds
3) Use tool output 0 to move the gripper
4) And tool output 1 to select High or Low Force
7.3.3 Control script/functions
The RG2 gripper can be controlled directly through tool_out[0] and tool_out[1] (see 7.3.4 Control outputs
signals). The typical use case is that the robot should wait until the gripper is done with operation. That
functionality is implemented in a couple of script functions delivered by On Robot.
A table with the control script/functions for single gripper operation is shown in the below table: