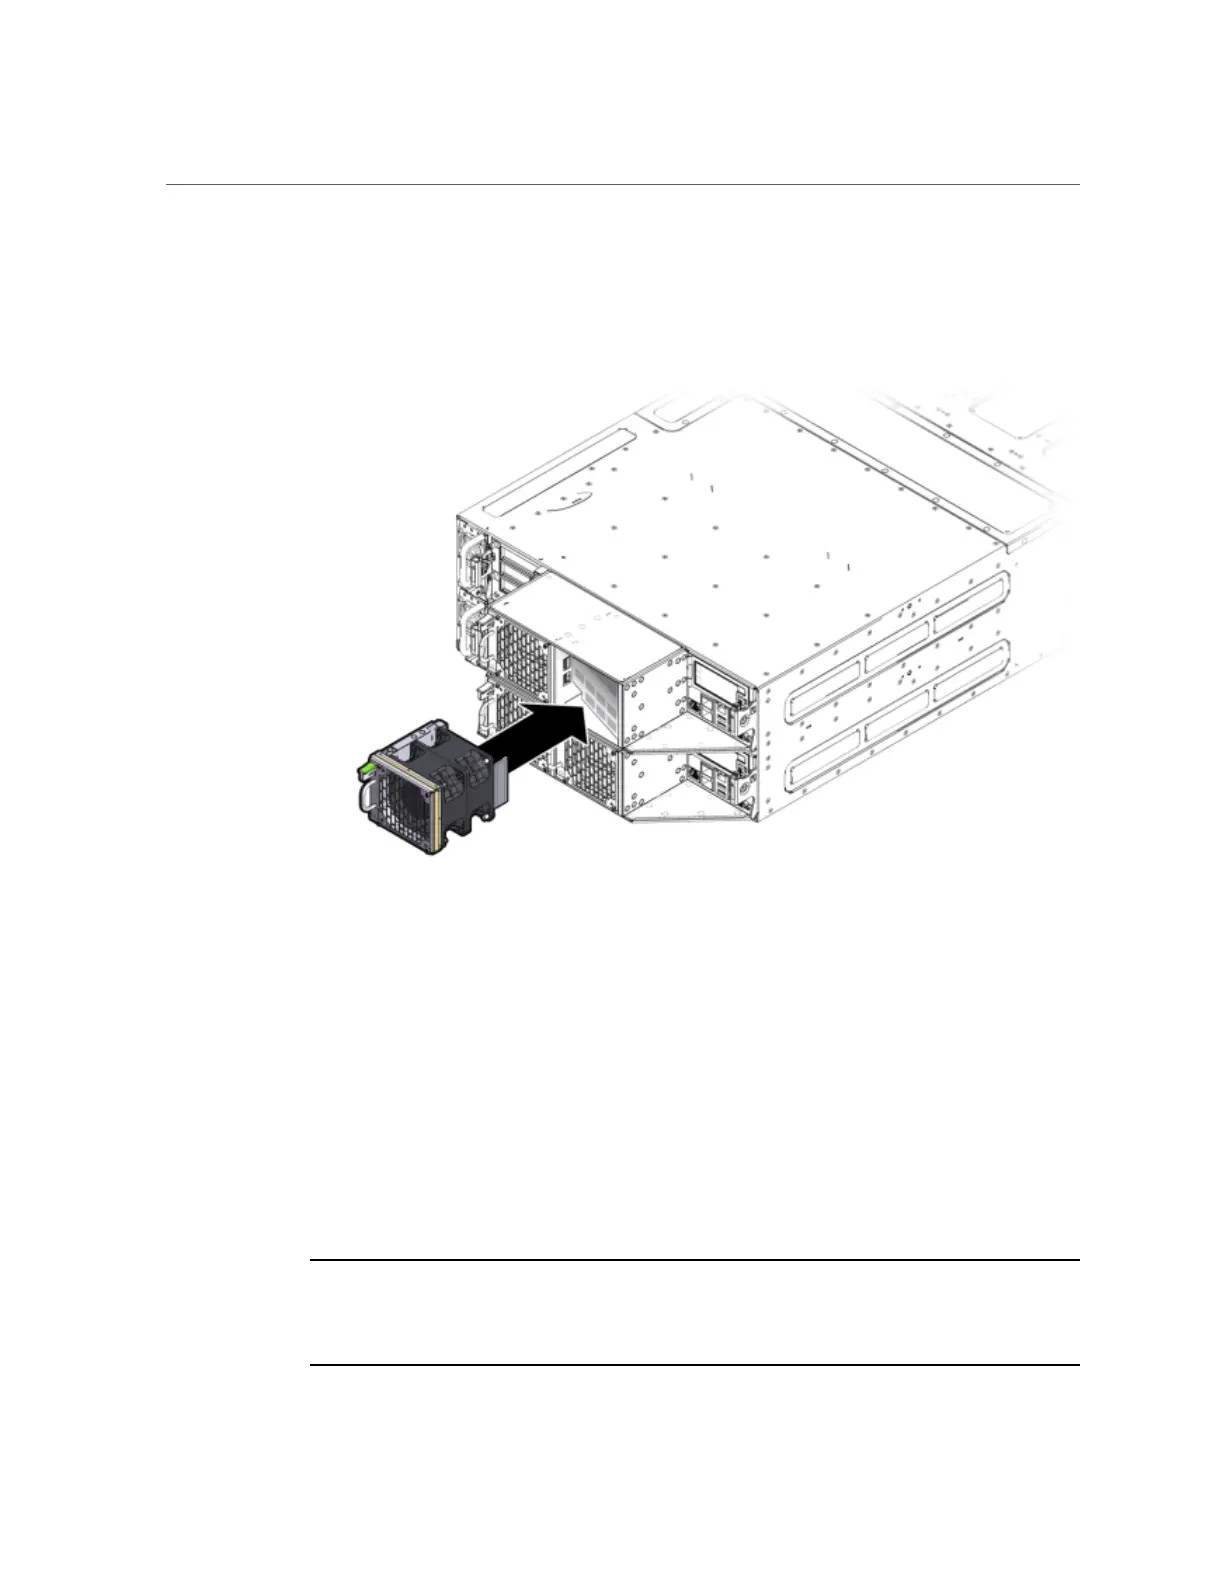
Install a Fan Module
128 Oracle Database Appliance Service Manual • June 2017
2.
Apply firm pressure to fully seat the fan module.
The fan release lever engages when the fan is fully seated.
3.
Verify that the Fan Fault Status LED on the replacement fan module is lit green.
4.
Verify that the following fault LEDs on the applicable server node are off.
■
Front and rear Service Required LEDs located on the applicable server node
■
REAR HDD/PS/FAN LED located on the front of the applicable server node
See “Server Node Status Indicators” on page 37 for more information about system LEDs.
Servicing Power Supplies (CRU)
Note - Information in this appendix does NOT apply to Oracle Database Appliance X3-
2, Oracle Database Appliance X4-2, Oracle Database Appliance X5-2 or Oracle Database
Appliance X6 series. Refer to the preceding chapters in this document for information on
servicing those systems.

 Loading...


