Install a Power Supply
130 Oracle Database Appliance Service Manual • June 2017
1.
Identify which power supply (0 or 1) requires replacement.
A lit Service Required LED on a power supply indicates that a failure was detected. For
information about power supply status LEDs, see “Power Supply Status Indicators” on page 41.
2.
Disconnect the power cord from the faulty power supply.
3.
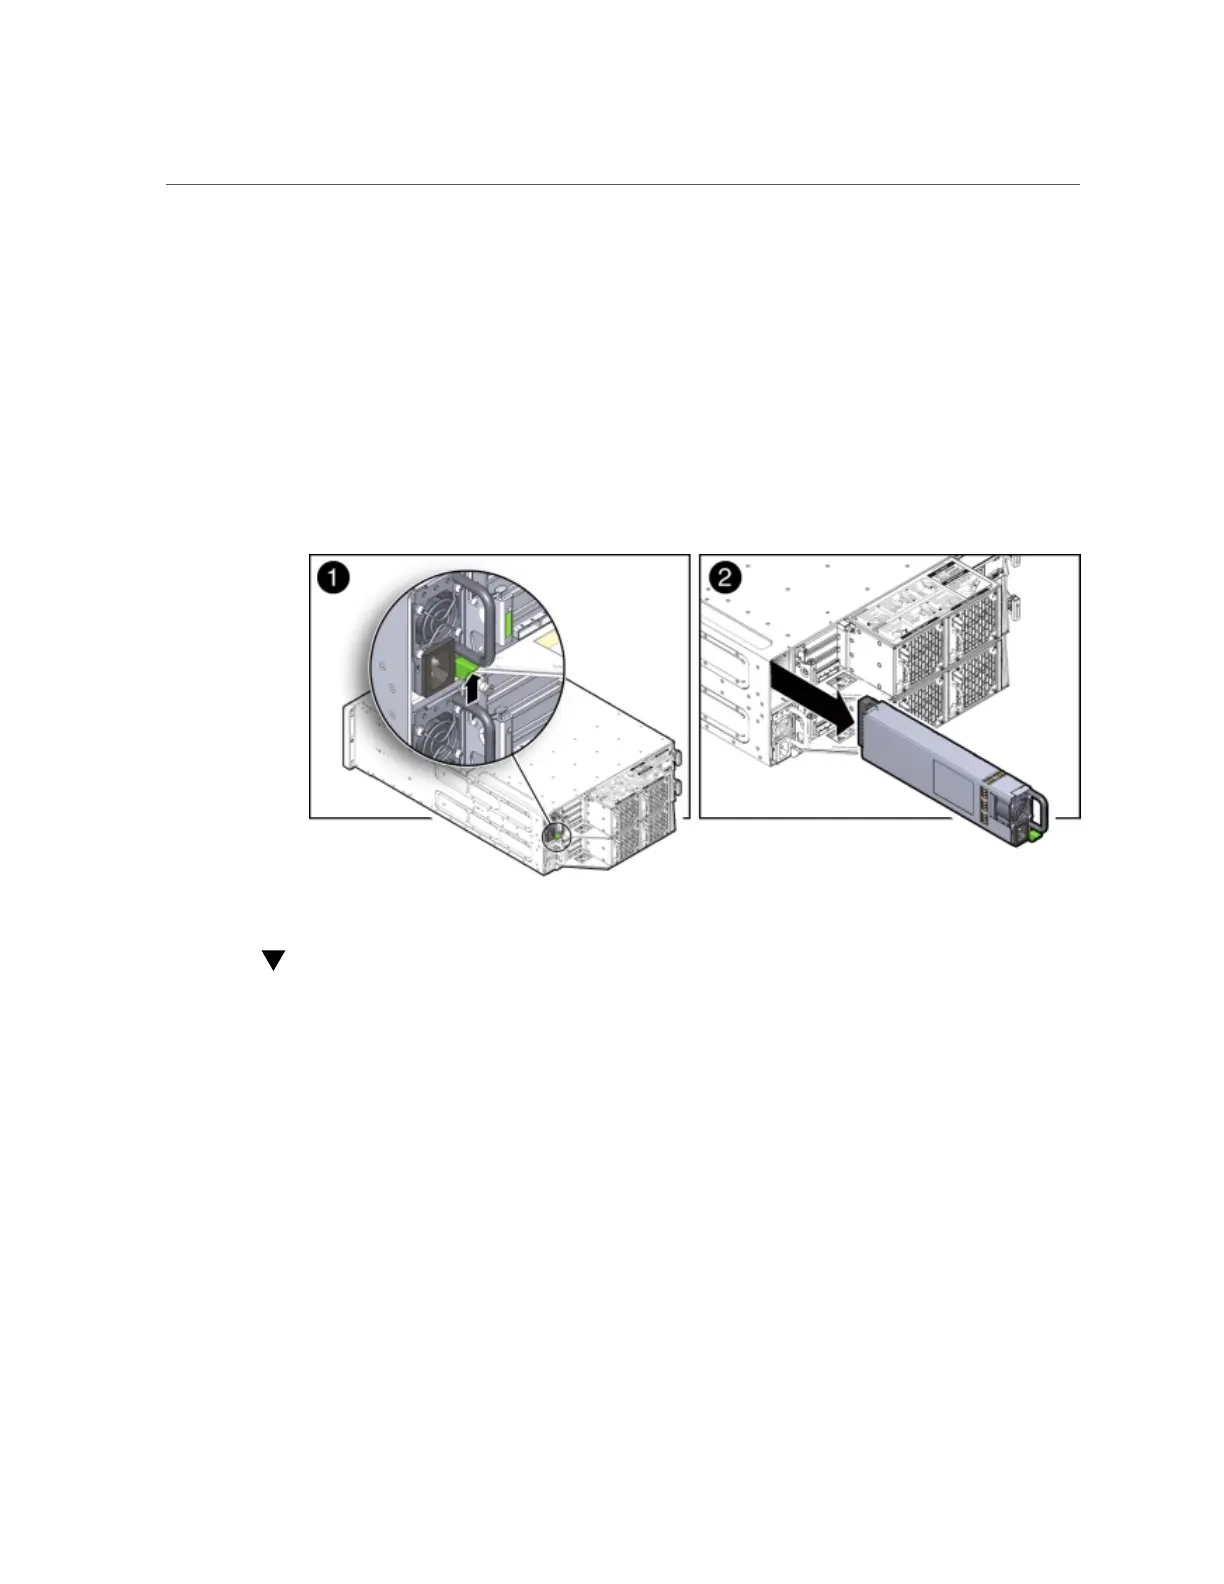
Grasp the power supply handle and press the release latch [1]).
4.
Pull the power supply out of the chassis [2].
Install a Power Supply
This section describes installing a Power Supply in Oracle Database Appliance Version 1.
1.
Align the replacement power supply with the empty power supply chassis bay.
2.
Slide the power supply into the bay until it is fully seated.

 Loading...


