Replace a Storage Shelf HDD or SSD (CRU)
60 Oracle Database Appliance Service Manual • June 2017
3.
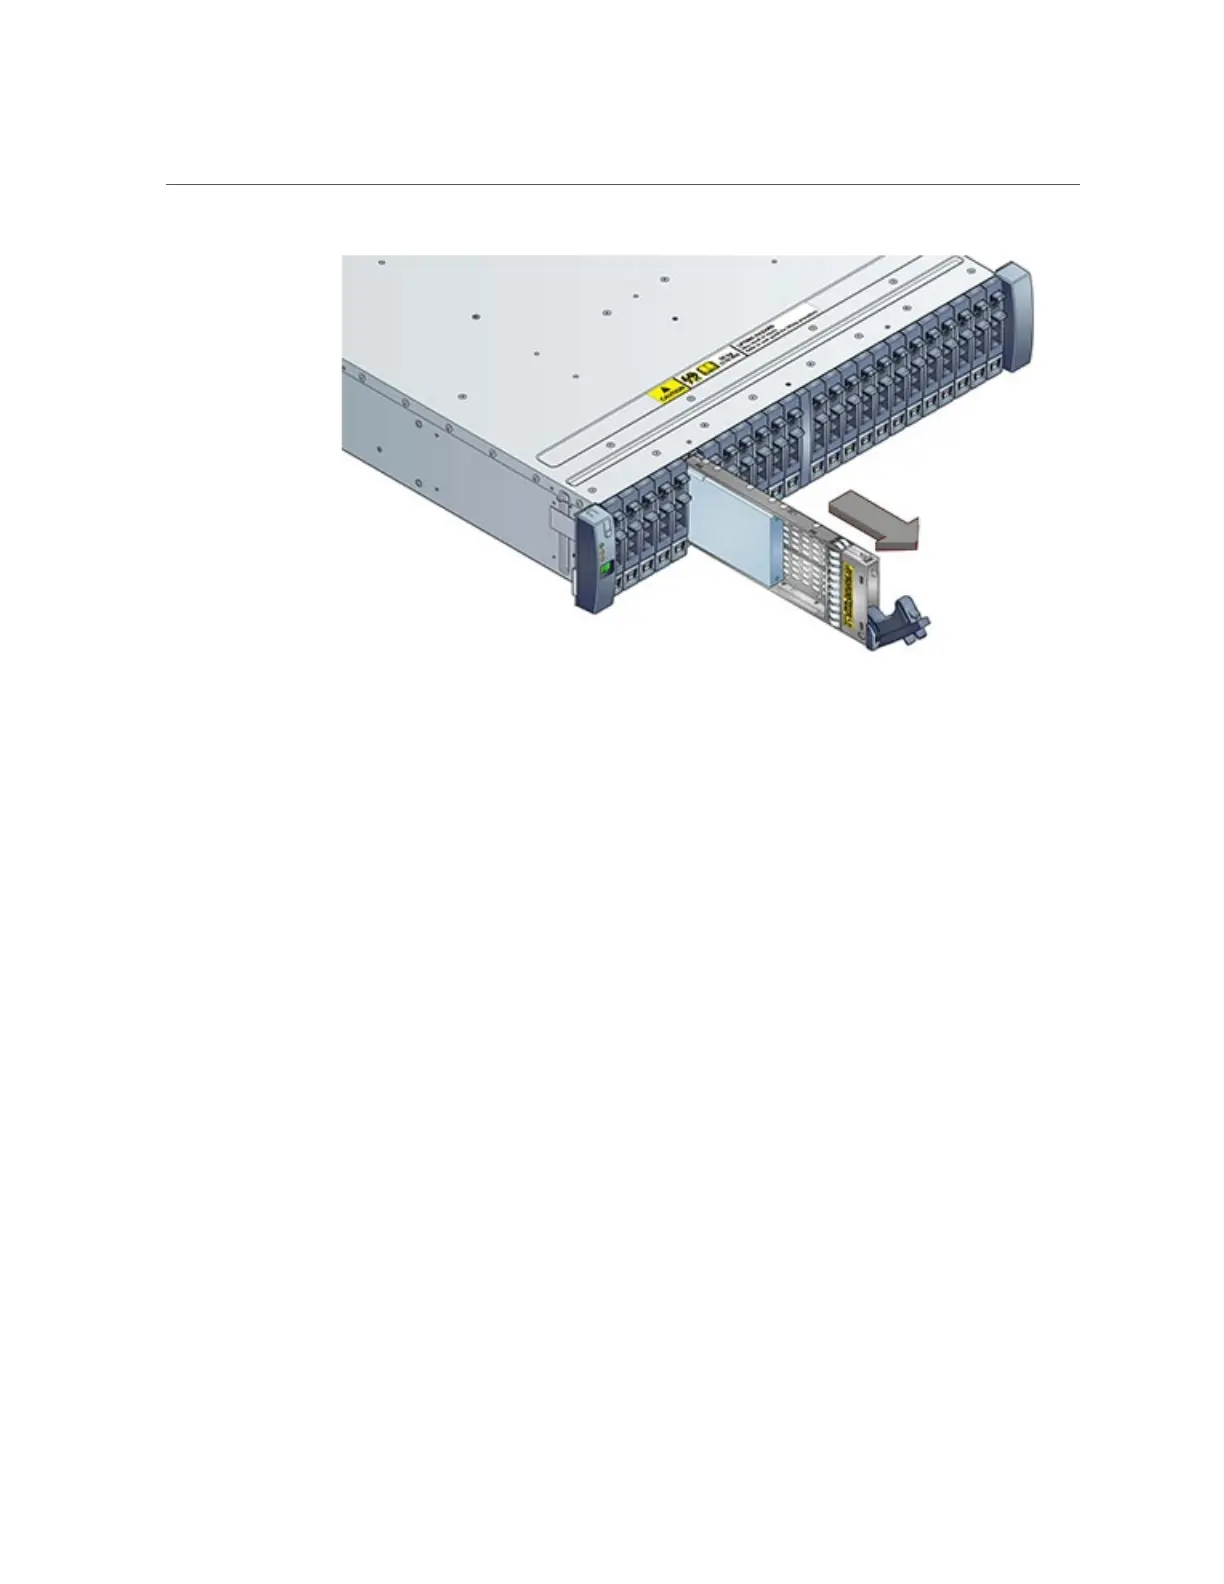
Install the replacement drive:
■
For the DE2-24C and DE3-24C, open the drive lever on the replacement drive and slide the
new drive into the drive slot [1] until it engages with the backplane connector. Then close
the lever to fully seat the drive and lock it into place [2]. Check that the drive is locked in
place and flush with the other drives.

 Loading...


